Welcome to this month’s edition of the Ink & Inspiration Blog Hop. We are a group of Stampin’ Up! Demonstrators from around the world that gather here each month on the 4th Thursdays to inspire folks like you to use ink, paper, and rubber stamps in a new way.
This month, our theme is HAPPY HOLIDAYS. Since I am in no where near ready for Christmas, or Thanksgiving for that matter… I decided to share with you a Halloween project I did for my son and his girlfriend to welcome them to their first apartment together.
First… Meet Dell and Emma.
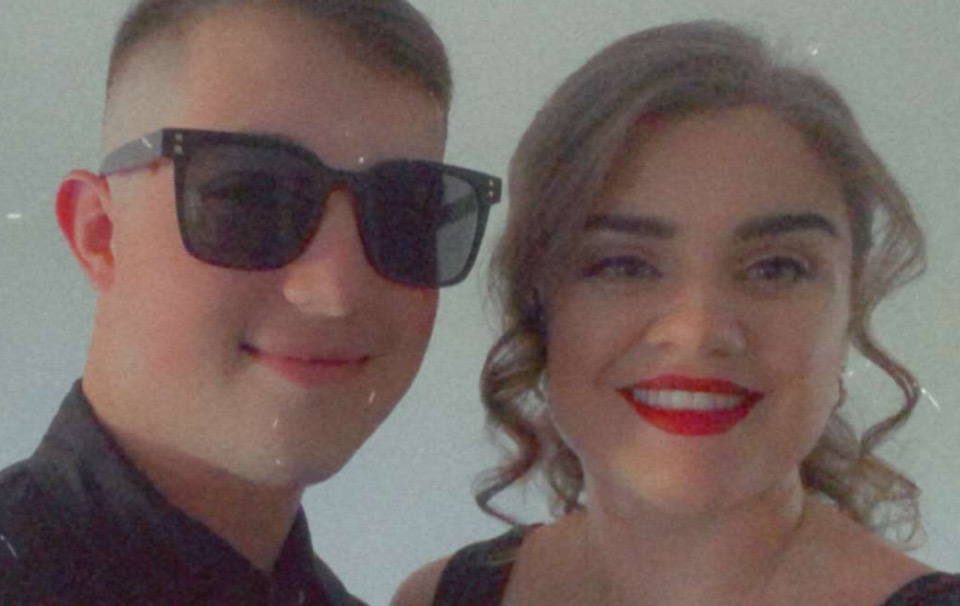
If you have followed my blog for awhile, you may recall that Dell is my oldest son who is in the Navy. Him and Emma live in Maine. They love all things spooky! Essentially, their home has touches of Halloween all year long.
So, when I first saw the Aug-Dec Mini Catalog, I immediately got a thought in my mind.
If your mind works anything like mine, sometimes it is difficult to get those thoughts and pictures out and into a real-life project.
I am please to announce… I think I succeed. I will show you the parts first, then the whole.
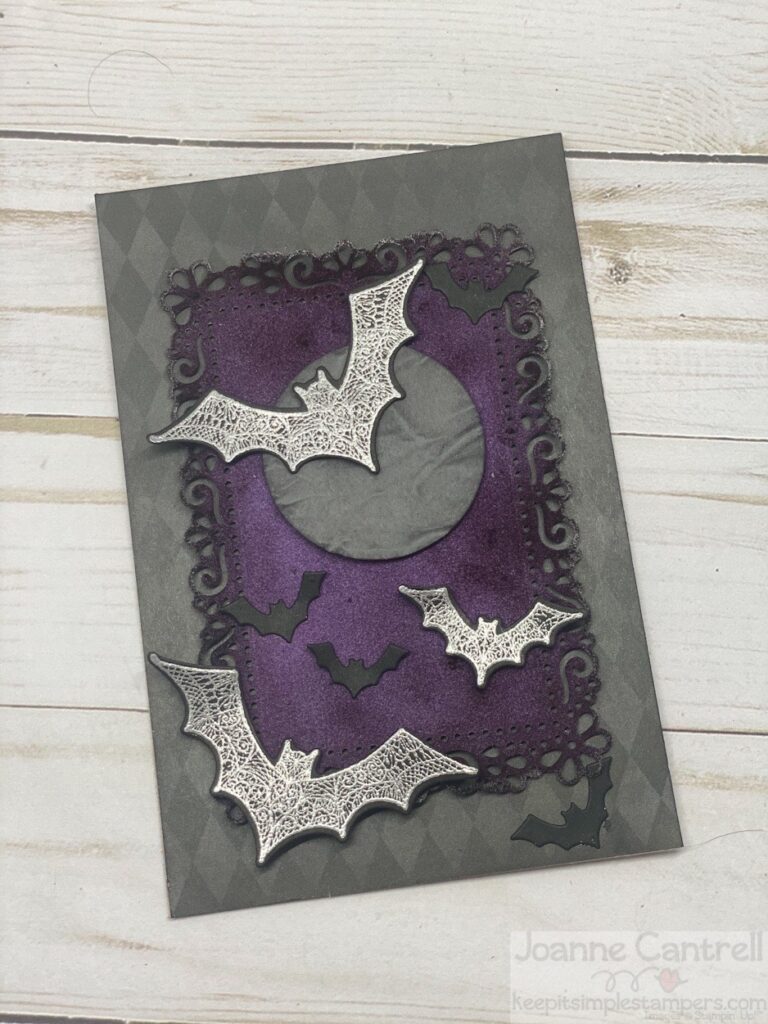
This was the first piece that I did. You will see that a major feature of this project is the Hallows Night Magic suite as well as the Magic in this Night Designer Series Paper. For the frame, used one of the Ornate Layers dies to cut out a piece of the Highland Heather Velveteen Paper. I used Basic Black and Blackberry Bliss ink to add more depth to the frame. I stamped used Silver Embossing Powder to add the detail on the bats. For the moon, I used the Old World Paper Embossing folder and added texture with Basic Gray ink.
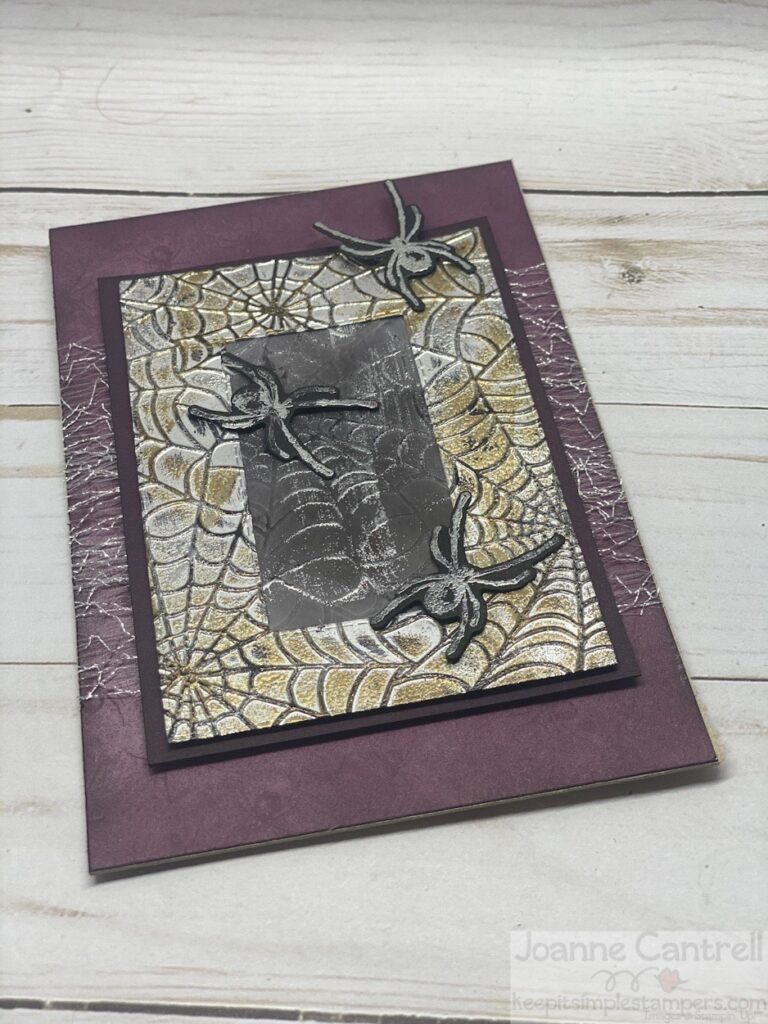
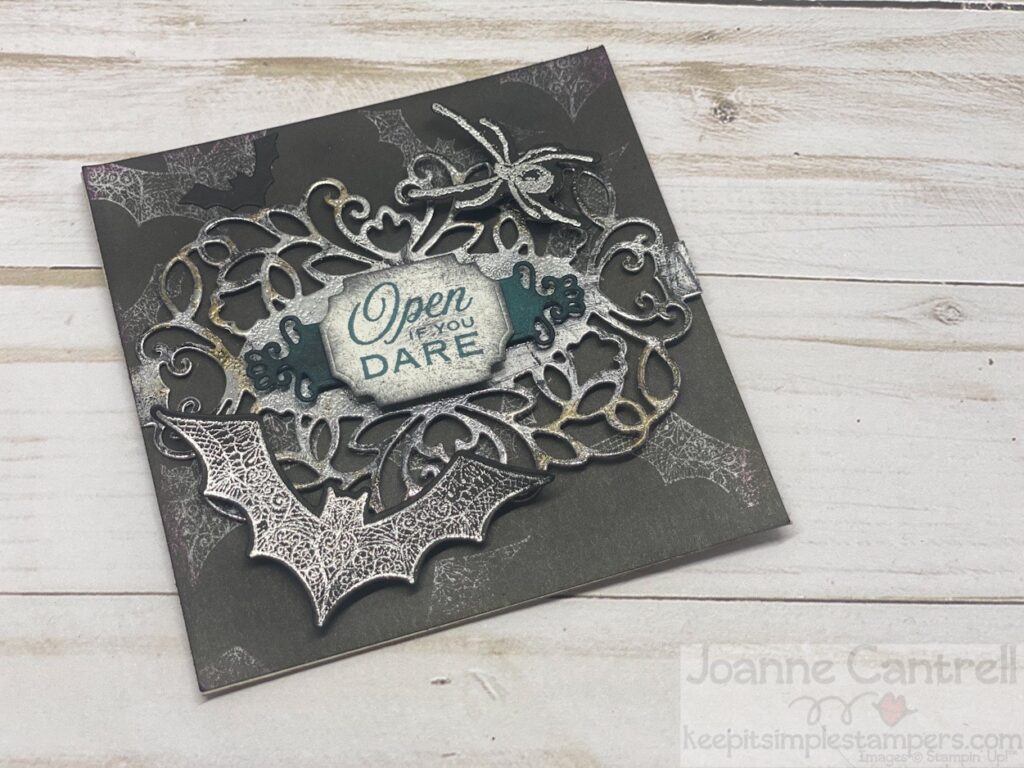
For this piece of the project, I featured spiders! I used the “tarnished foil” technique to apply gold and silver embossing powder on the Silver Foil that had embossed using the Cobwebs 3D Embossing Folder. I embossed a smaller piece of Vellum Paper with the Cobweb and added Silver Embossing powder. Before I attached the frame to the DSP, I wrapped 1-1/2″ Metallic Mesh Ribbon around it to add more of a spider web feel.
For this piece, I cut the background frame from Silver Foil using one of the Detailed Bands dies. After I cut it out, I used the tarnish foil technique to add texture.
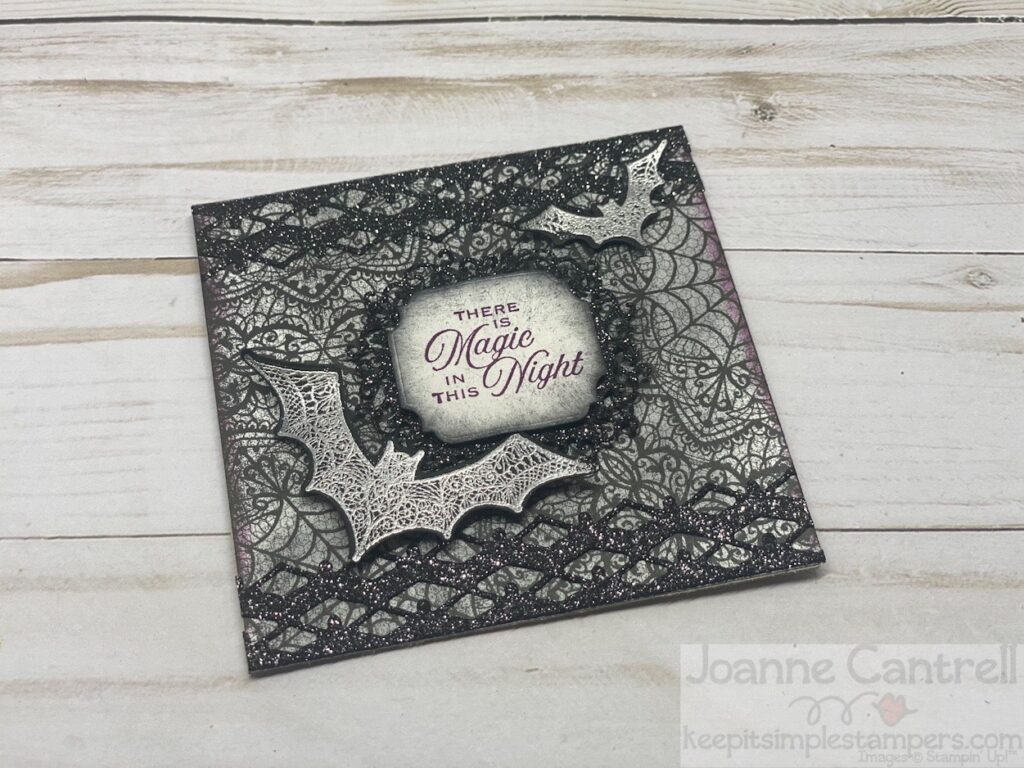
On this piece, I used Black Glitter Paper to cut the borders (Halloween Magic dies) and the frame (Ornate Frames dies).
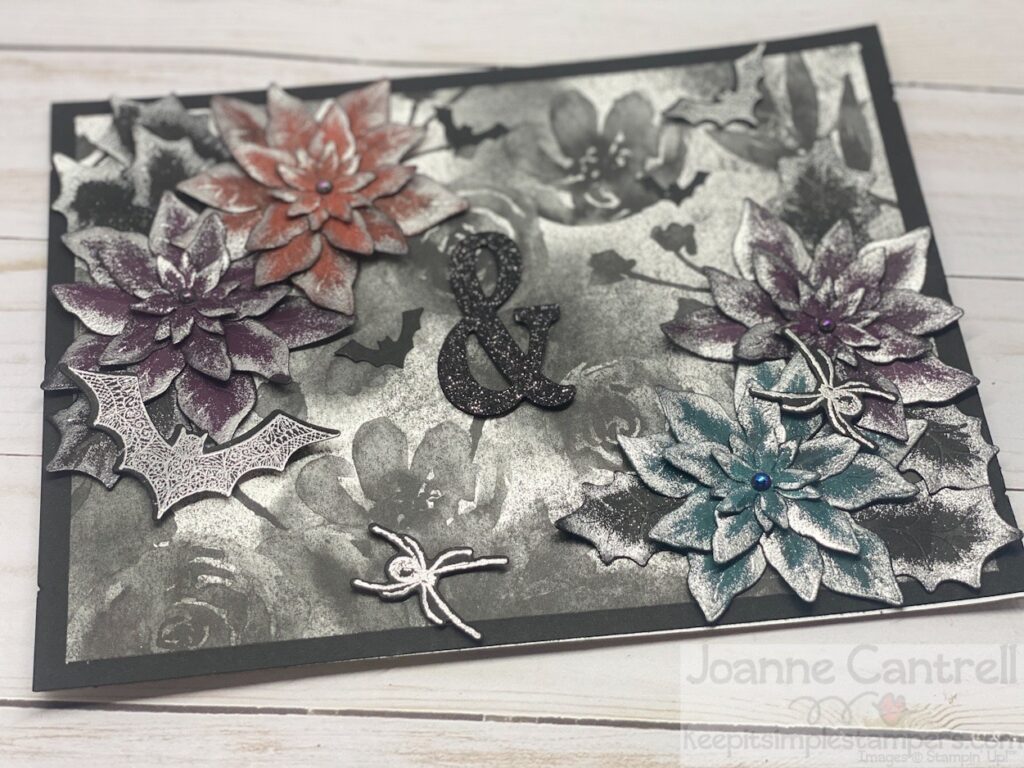
This is the largest piece of the project. I am sure you are wondering where that ampersand is from. For that and their names, I used the retired Large Letters Alphabet dies. There are just some dies and stamps you won’t part with! This is one of those die sets for me!
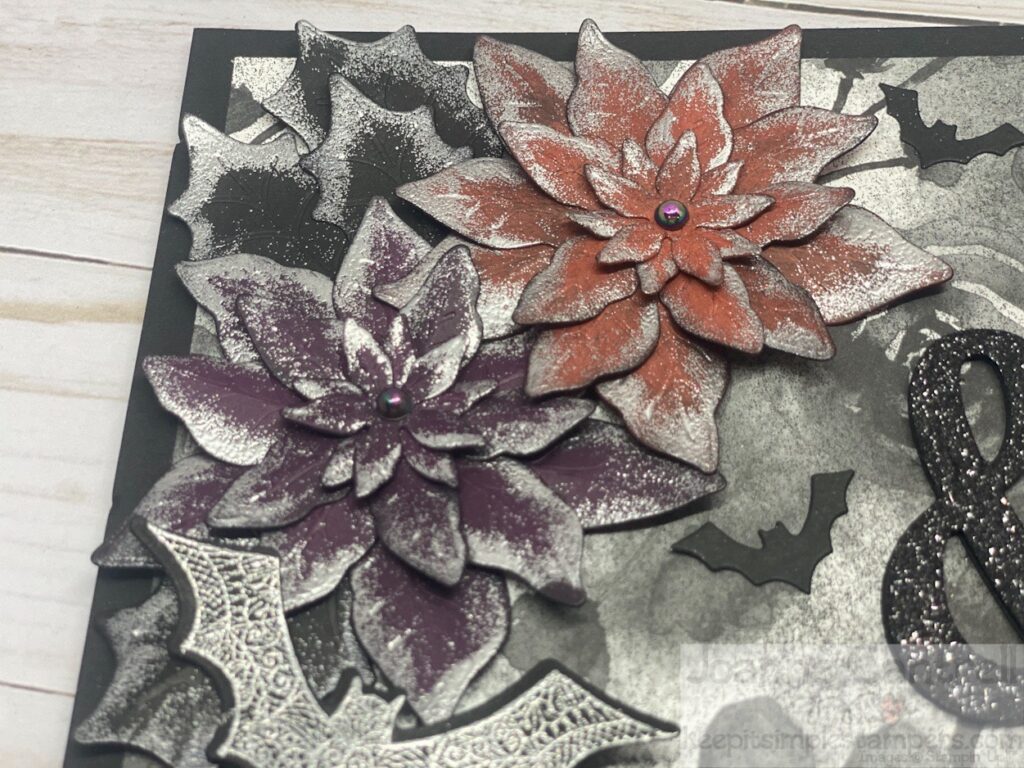
If you didn’t notice the ampersand… maybe it was because you were trying to figure out the flowers. Well, they are poinsettias! I used the Poinsettia Dies to cut the flowers and add the veining (in one step). I then sponged the edges with VersaMark and tipped them with Silver Embossing powder. I used Black Staz-on to add the aging to the flowers (and everything else where was needed). In the center of each flower, I added an Iridescent Pearl.
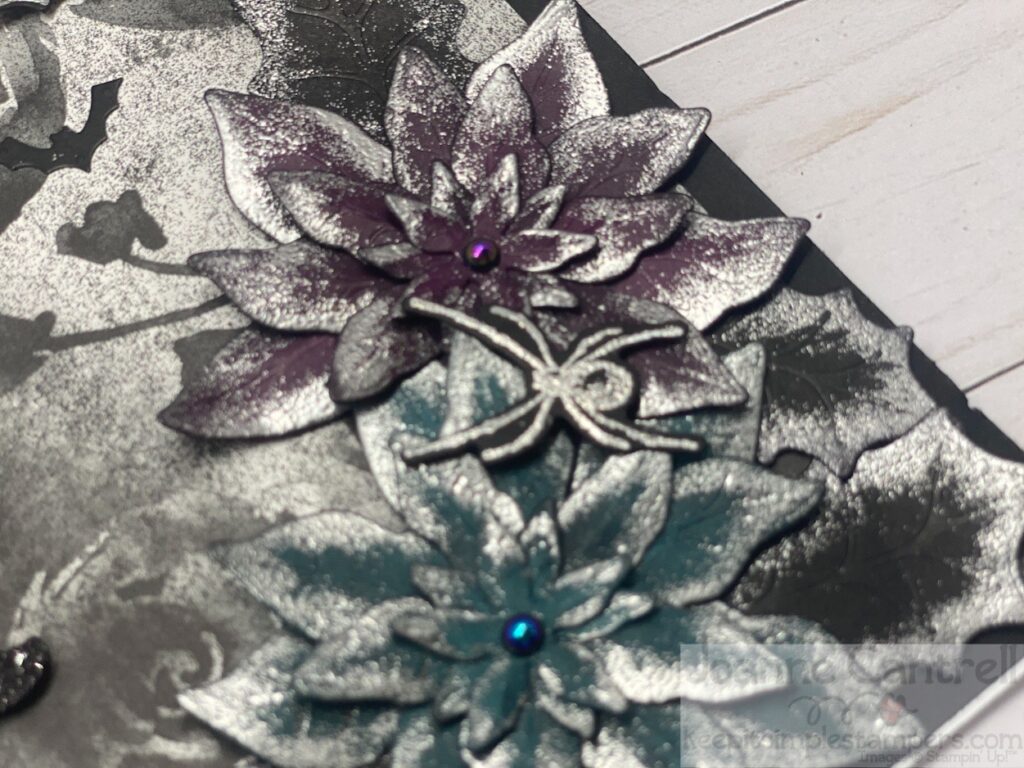
I also added some of the leaves from the Poinsettia dies – tipped in silver as well! and, of course, there has to be spiders and bats all over
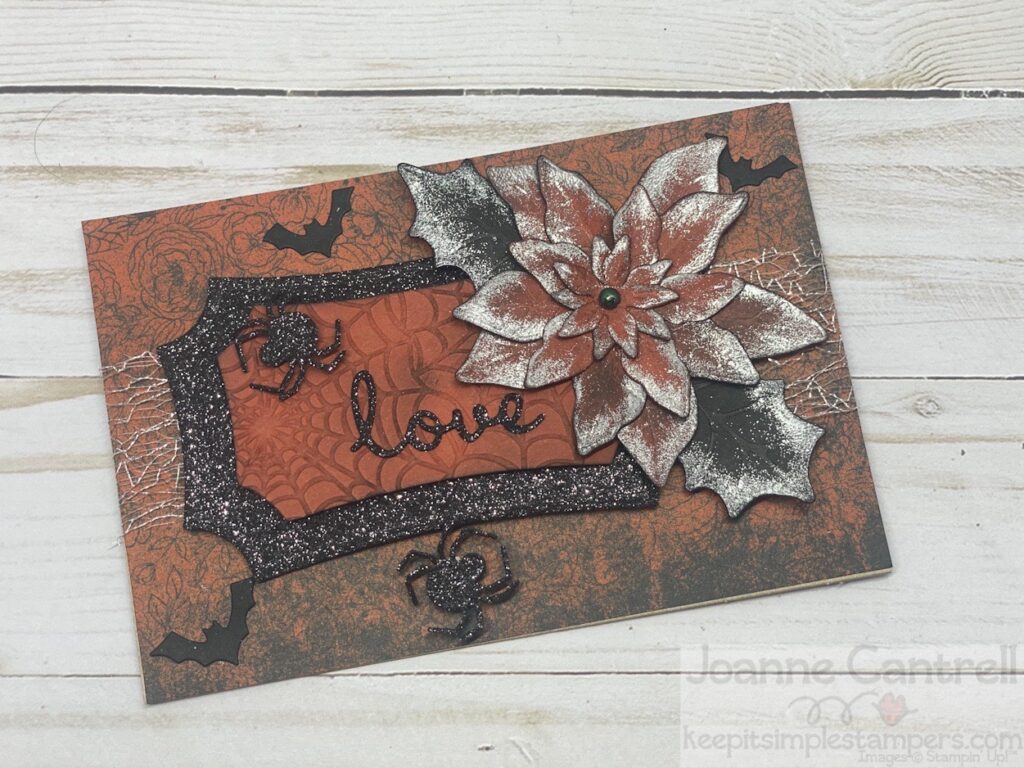
The spiders on this piece are cut from the Spider Die included with the Little Treat Box dies. I love how all the paper coordinates to give with a spooky feeling! “Love” came from the Well Written Dies.
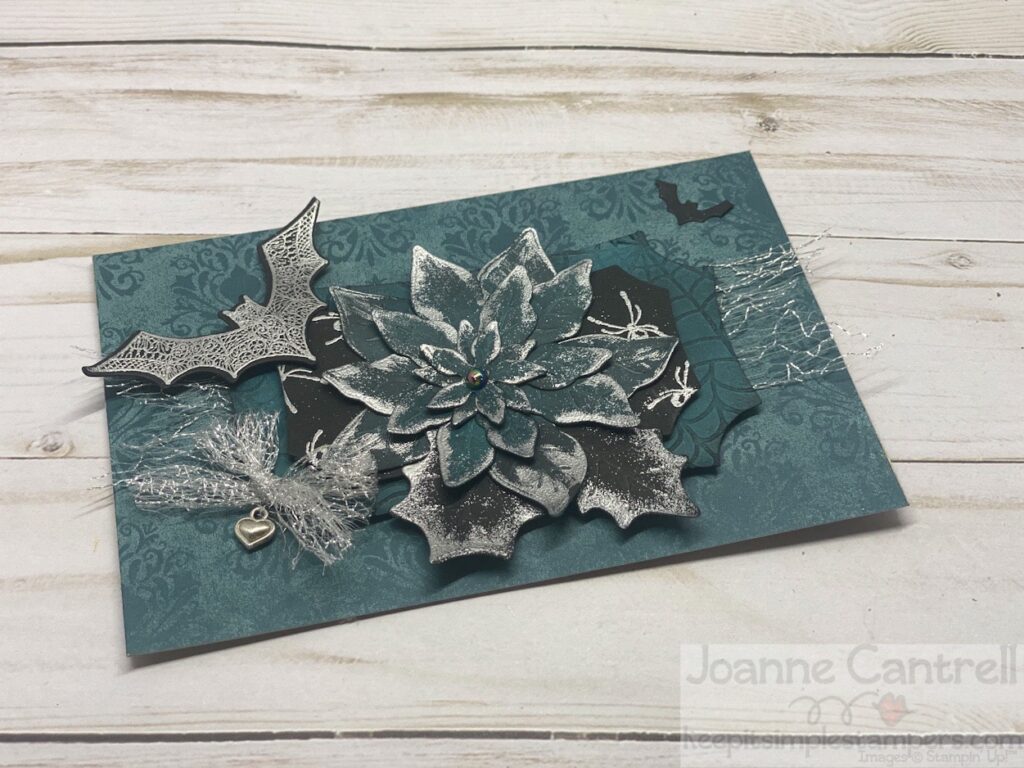
I learned it is really hard to come up with an original idea for each piece of this project. They all had to tie together, but be different. So, I used bits from one piece on another piece. On this piece, I added a heart from the Playful Pets Trinkets.
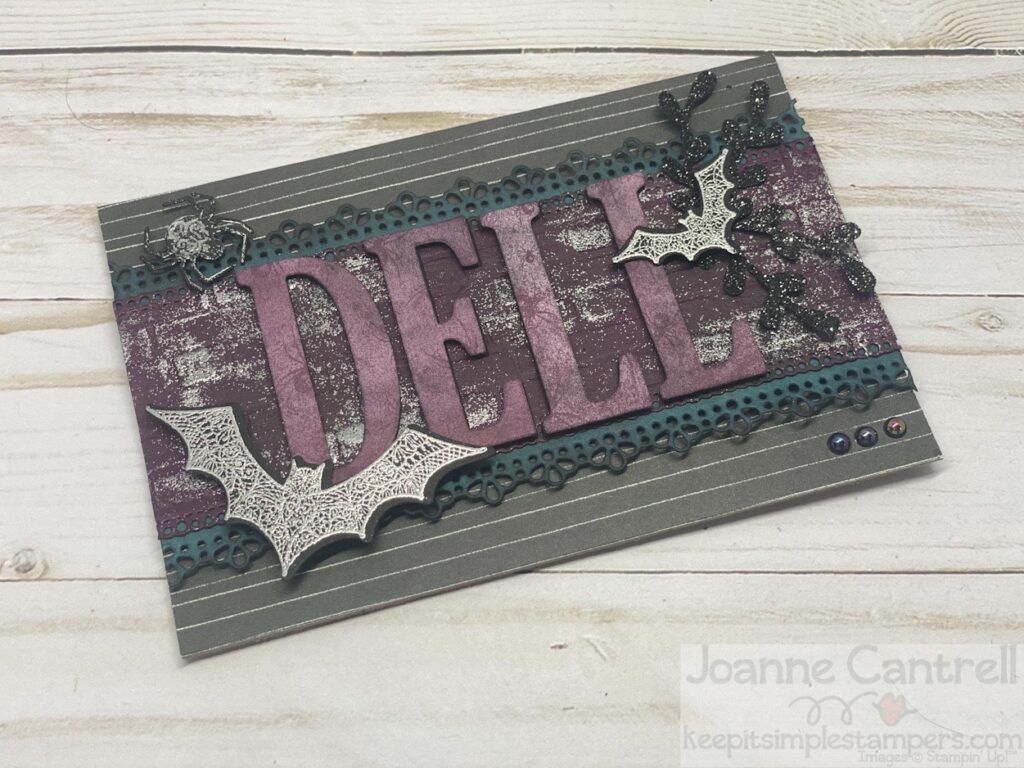
Here, I used those retired dies again (sorry!). I also cut a Sprigs from the Black Glitter paper using the Sprig punch. THe background was embossed using the Brick & Mortar 3D Embossing Folder because it is manly! LOL I then lightly embossed it with Silver Embossing Powder. The Pretty Peacock border was cut using the Ornate Border dies.
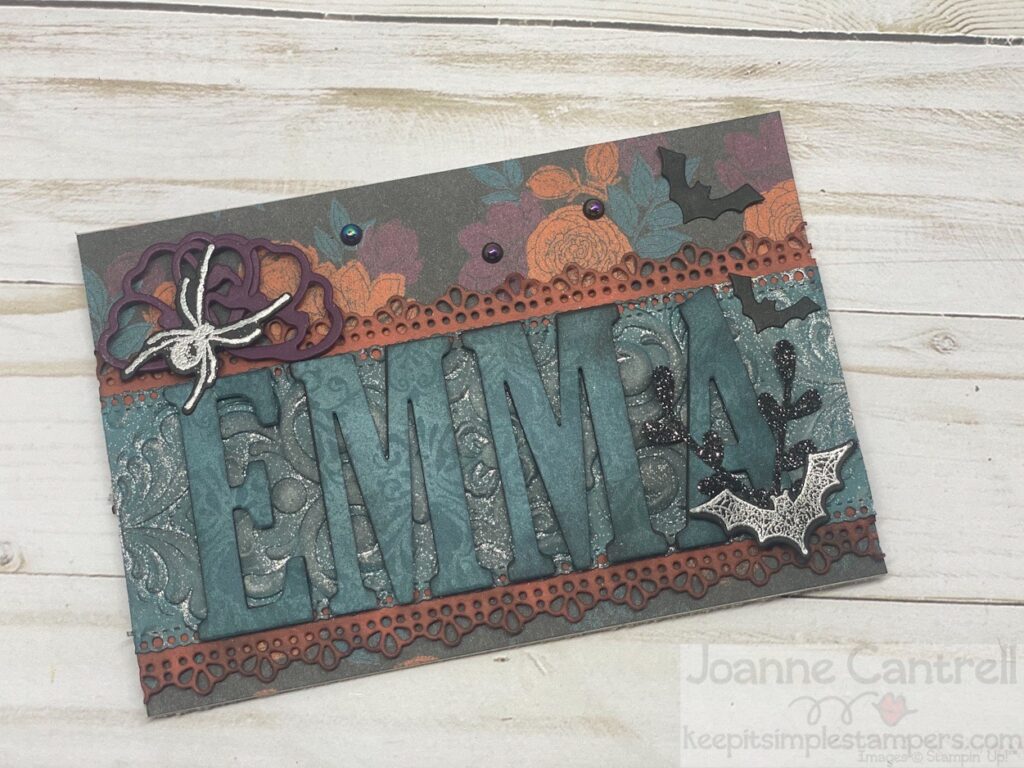
This is the final piece of the project. For Emma’s background, I used the REIRED Parisian Flourish 3D Embossing folder – but only because it matched the DSP so well!
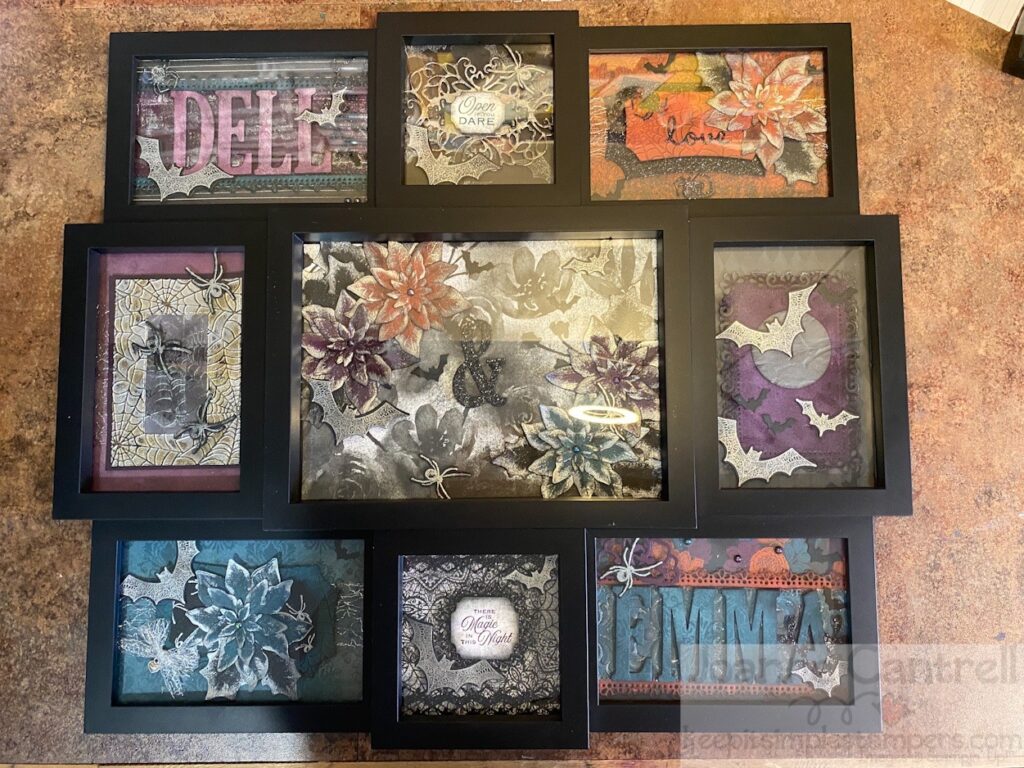
Here is the finished project. Because of the size of it, it was hard to take a picture of it without it reflecting the lights off the glass. I decided to put the glass back into the frame because it would keep the 3D items dust free. I am sure my child hates to dust as much as I do!
I sure hope you like this project… I know Dell and Emma do. I hope it is in the very least, somewhat inspiring! I can’t wait to make more poinsettias that don’t look like Christmas flowers!
It’s time to hop along now!
Until next time… keep it simple, Stampers!
🙂 Joanne
Joanne what a wonderful project, and such a thoughtful gift. I love how you have used the DSP!
This is so nice! Thanks for sharing this- have enjoyed the hop you ladies did-