So, this week, was our second T-T-T class for the year. It happens generally on the first Tuesday of each month. for those that missed it, this month’s technique was RESIST EMBOSSING.
I love this technique. Basically, you emboss an image, then you color over it. This causes the color of the embossing powder (or the color of the cardstock if you used Clear embossing powder) to show through the ink. It is a really fun technique. I will hopefully be able to explain it fairly well! If not, just google it and there are a million and one tutorials.
So.. the first card we did was fairly simple.

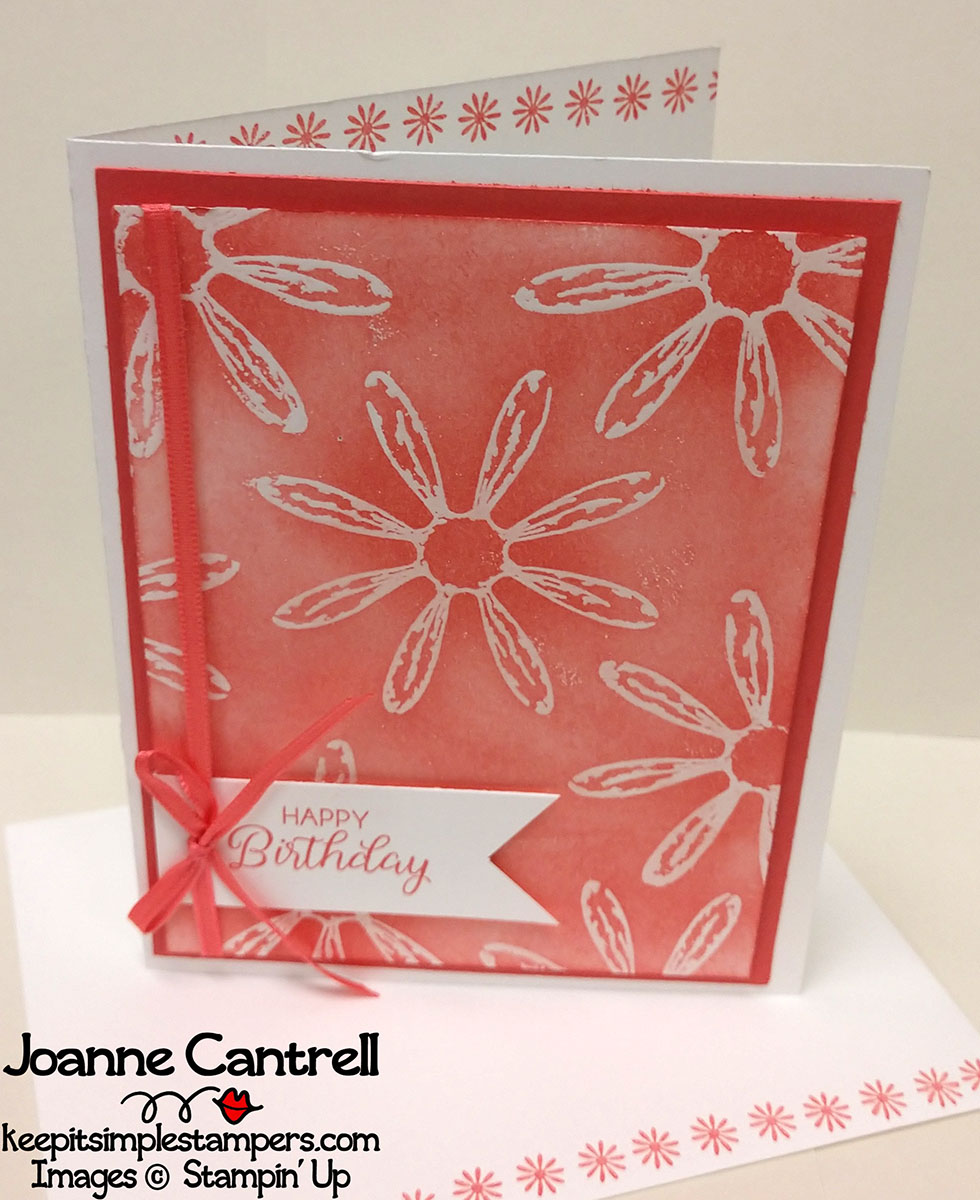
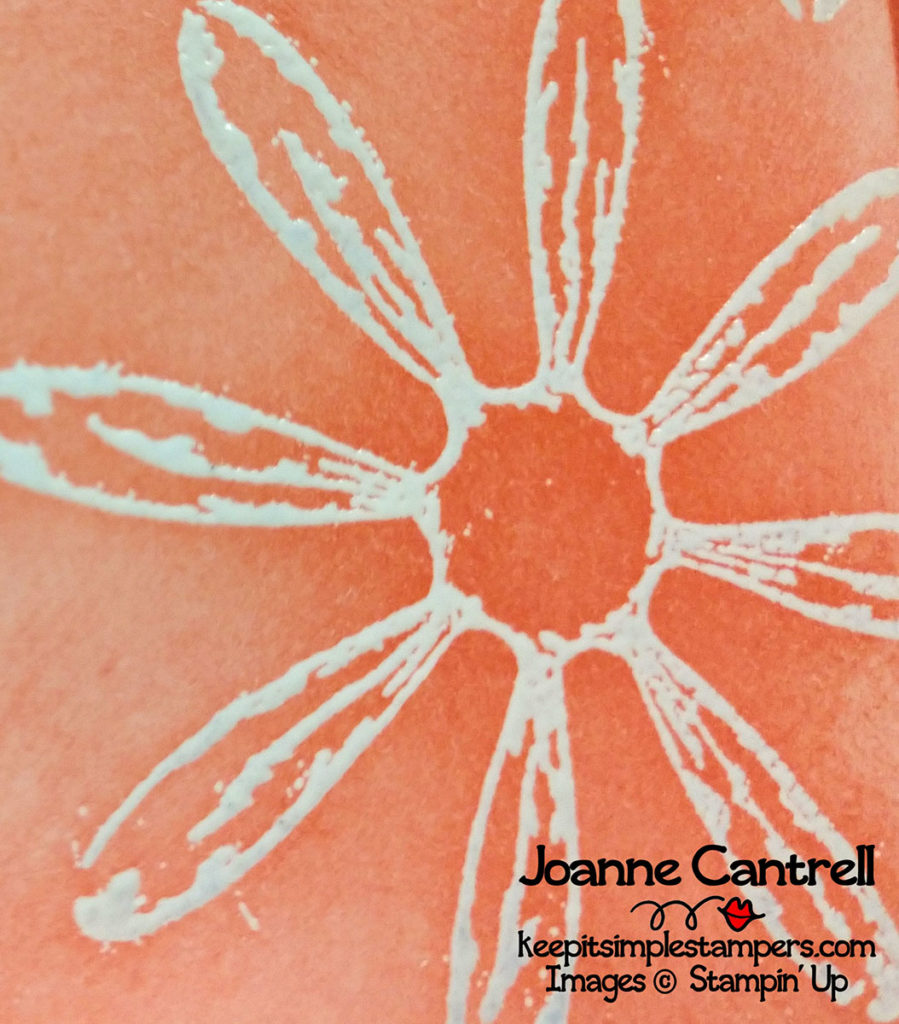
I cased this card from Donna Kish but changed it up a little. I used CLEAR embossing powder on Whisper White paper. Then, I used a sponge to color over the entire layer. I did the flowers a bit darker… Just wipe with a Kleenex or paper towel to remove any ink from the embossing… and there you go! This card uses Calypso Coral.
I will tell you what I think the hardest thing about this technique is not stamping over images you have already stamped. I had to get my face right down into the card.. it was such a sight, I’m sure!

Tip: Use an Embossing Buddy when doing this technique. You may not think you need it, but with the little splatters I have on all my cards, I should have. Live and learn…
Another tip… when you are heating the clear embossing powder, you may have to turn it in the light so you can tell when the powder has done it’s thing. If you under-heat the powder, it will rub off when you touch it much less rub a sponge over it!
We stepped up the technique a bit on the next card.

This card was cased from Staccie Donaldson. We used GOLD embossing powder then sponge daubers to color in the images. The great thing about this card is that it doesn’t have to be perfect coloring in the lines. (And please ignore the bad sentiment embossing… that goes back to that Embossing Buddy tip!)
Colors used on this card were Very Vanilla, Elegant Eggplant, Tempting Turquoise, Old Olive and Daffodil Delight. And that beautiful Gold Metallic Edge ribbon will be sticking around in the new catalog!!! Woohoo!!! (Just a hint of stuff that you know about early if you are a demonstrator! Interested… just email me… we can talk!)

In this close up, you can see the benefit of EMBOSS RESIST-ing. It really looks like you laid down the color, then you embossed over it. Of course, we know the truth!
And, the last card may be my favorite! It used a technique that I have never used before but watch out.. it will be showing up a bunch!

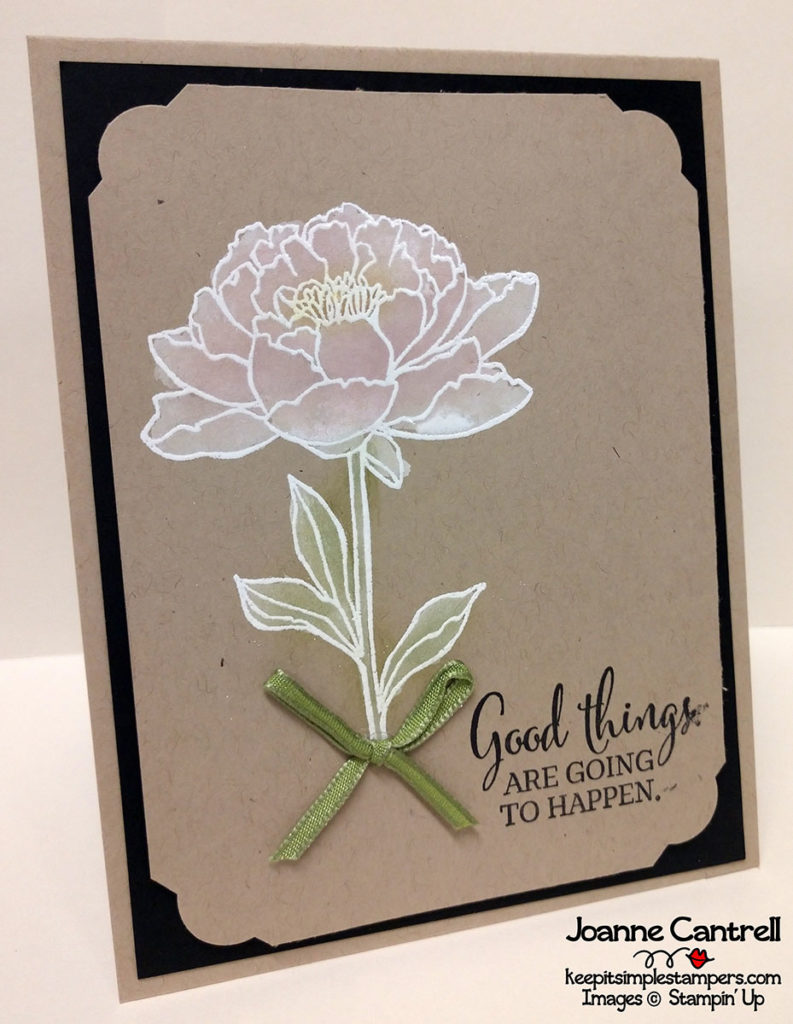
I cased the idea from Melanie Muenchinger. This card uses WHITE embossing powder and the sponge daubers. But, it also includes the whitewash technique which I had never done before!
And, this is the one card I used the embossing buddy on after I had a lot of white powder all over it. Thankfully there are two sides to the cardstock! No one will ever know what is on the back! And, I have may or may not have used my sweatshirt sleeve to wipe the powder off the messed up side! I’ll never tell!
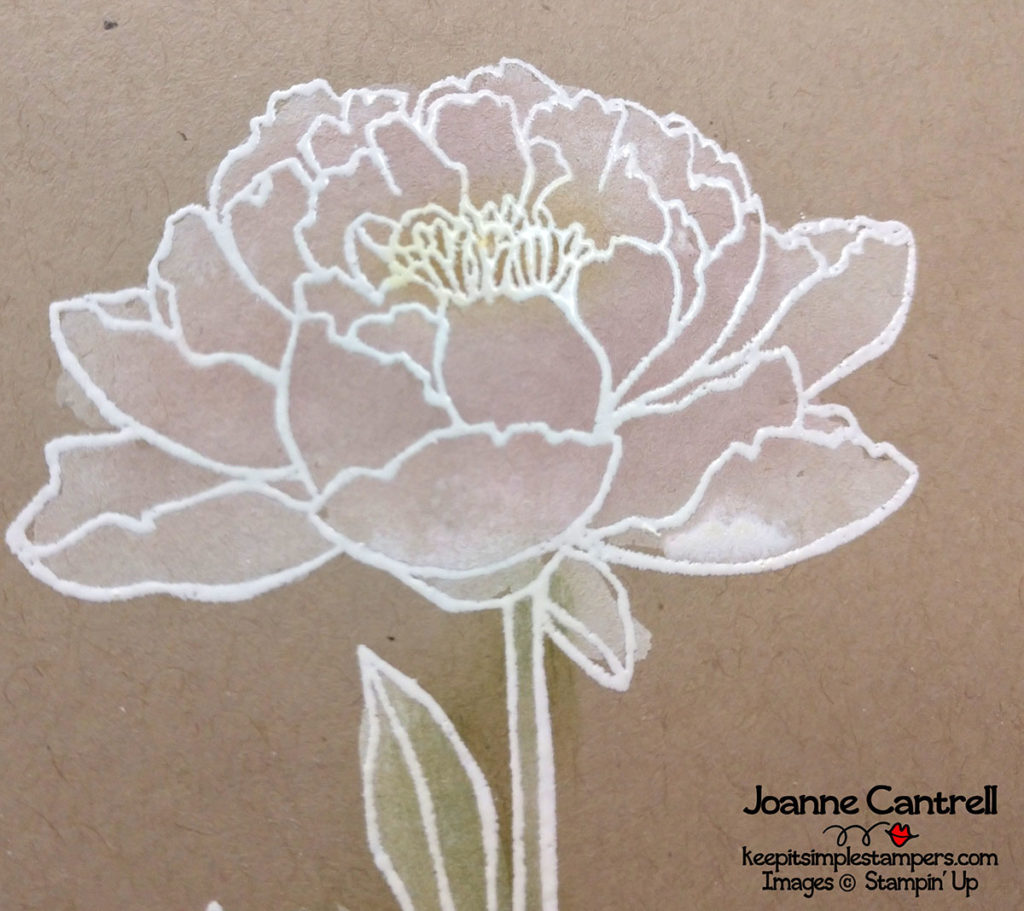
So, whitewashing… Here’s how I did it. I squeezed a little bit of the white craft ink refill onto a clear block. Then I used my aqua painter to pick it up and color in the image. A couple of tips here… have a paper towel handy to keep the aqua painter from getting too wet. There is a fine line between too much water and not enough. You will figure it out once you practice. Use your heat tool on the low setting to help dry the white ink. But, then let it set for a couple seconds so the embossing hardens back up.
After I did the whitewashing, I used the sponge daubers to color in the stems and petals. I didn’t put anymore ink on the Old Olive one after I used it on the last card because it still had plenty of ink in it. I used Blushing Bride on the petals and Daffodil Delight in the center.
Someone asked me why whitewash before putting on the ink?

If you look closely at the stem, you can see where I did not stay in the lines. Not a worry on this card. But, you can barely see the color. Can you imagine how much daubing it would take if you did not apply that lighter color under it. By doing the whitewashing, you give just a hint of color. It makes it look softer… almost lacey. Of course, you could just used the Blends or Stampin’ Write Markers… but your end effect would be totally different.
Well, that is all I have to show you today. Next month’s Tips, Tricks, and Techniques will be REFLECTION! Come out and join us in person on April 10th or check here after that day to see what we did!
Until then… keep it simple, Stampers!
🙂 Joanne
