Hello and Welcome 🙂
Here it is, ten days before Christmas. Is there anyone out there like me? Maybe the guys? I haven’t bought but two presents. I just cannot get into the Christmas spirit this year. I think the weather is too warm here in Illinois. It should not be in the 60’s. And we need snow! Because without snow… there will be no penguins.
What’s that?
You didn’t know that penguins came to Illinois with the snow?
Well they don’t. But nothing says winter to me more than penguins. We will excuse the fact that some species live in warmer weather… Because in my mind, they live in igloos with the Eskimos (which I know is not correct by any stretch of the means!).
And who better to bring wishes of winter then a penguin – which just happens to be the theme of this month’s Stamper’s Dozen Blog Hop… Winter Wishes.
With that… I present to you… a penguin and an igloo!!!
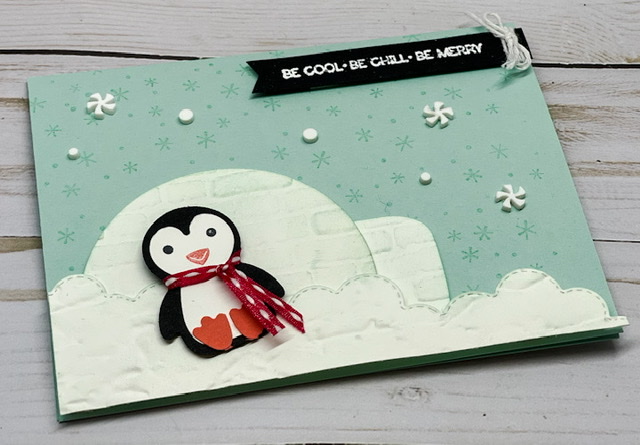
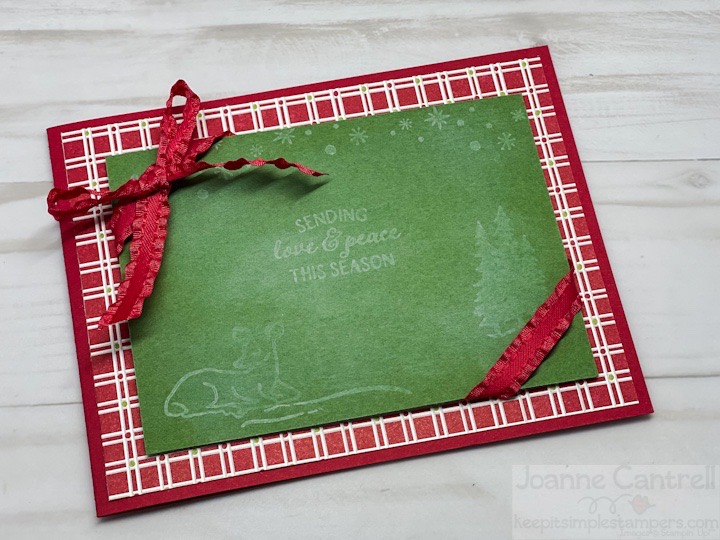
A few snowflakes stamped in Pool Party ink on a base of Pool Party cardstock sets the perfect wintery tone. My igloo was stacked using the Brink & Mortar embossing folder after I cut out a circle using the Layering Circle dies and a rectangle that was rounded using the Detailed Trio Punch. The snow bank was created using the Detailed Border dies and the Painted Texture embossing folder. Once the Winter Wonderland was comfy enough to be called a home, it needed a resident. I used the Penguin Place bundle to make the cute little penguin who wouldn’t be complete without the Playful Pets Trim scarf. I am sure with the Gingerbread & Peppermint Acrylic Shapes falling from the sky made it the perfect winter day!
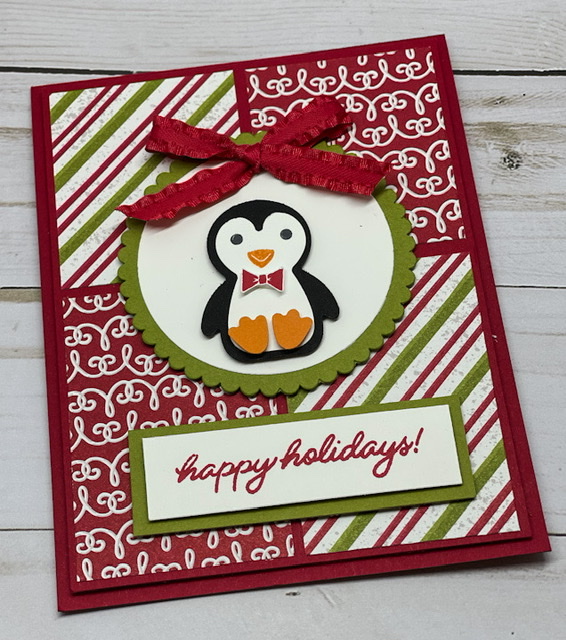
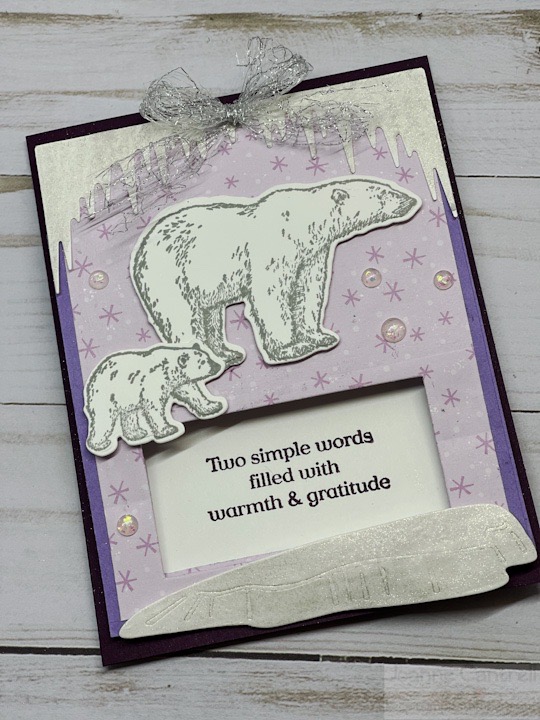
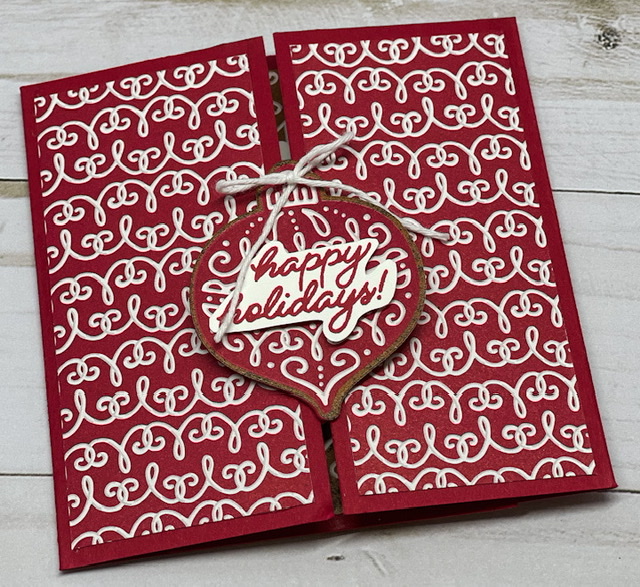
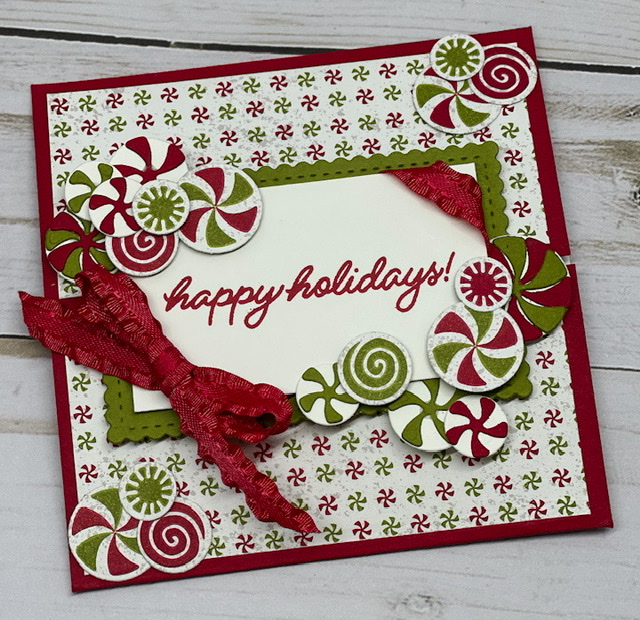
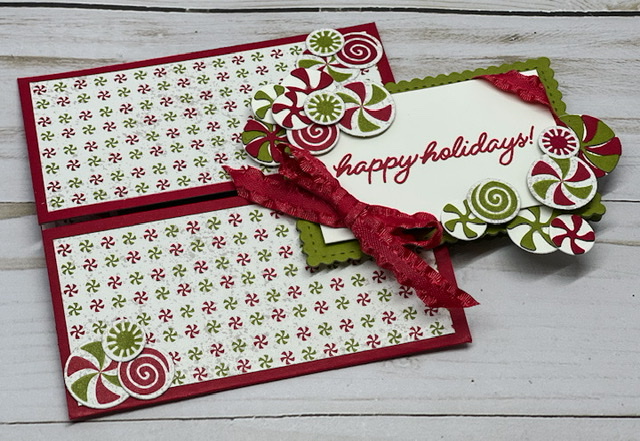
This fine dapper penguin felt the igloo was too cold and he needed a winter wreath to live upon. I used the Gingerbread & Peppermint Designer Series Paper and coordinating cardstock to create the perfect little place for him to settle in the holidays under the Real Red Mini Ruffled Ribbon bow.
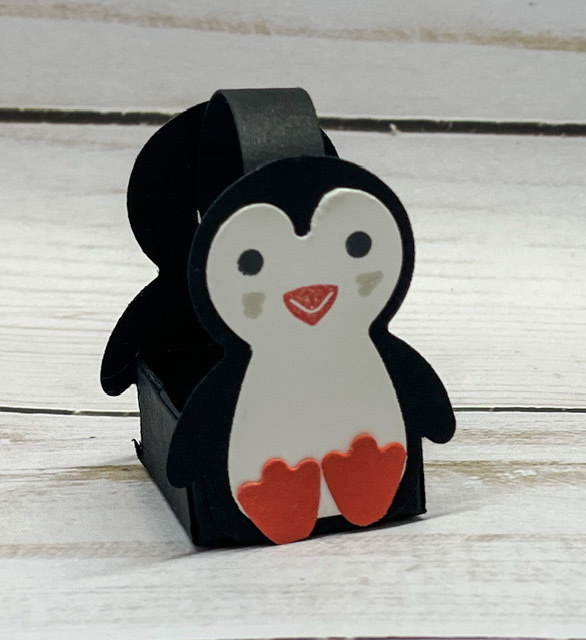
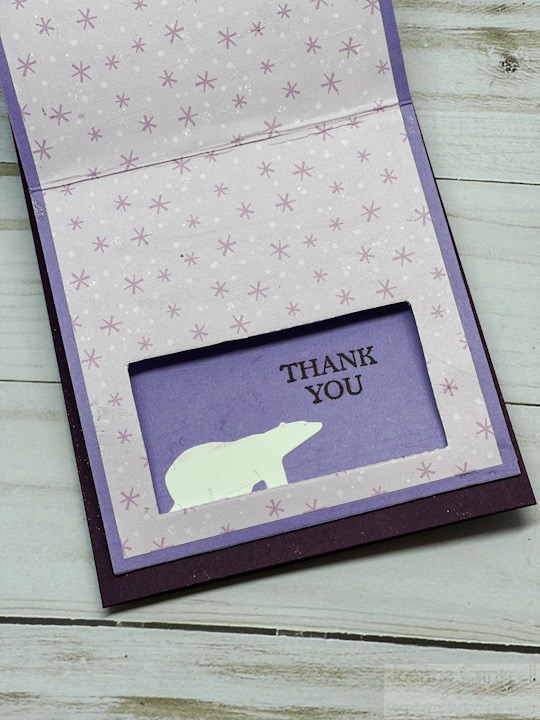
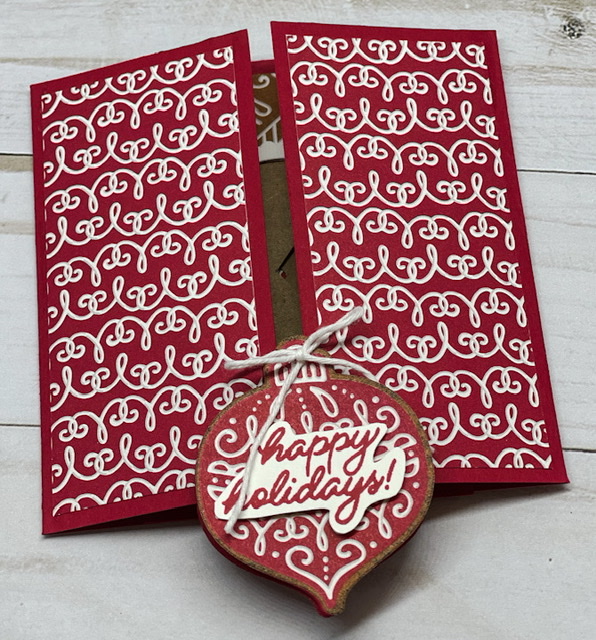
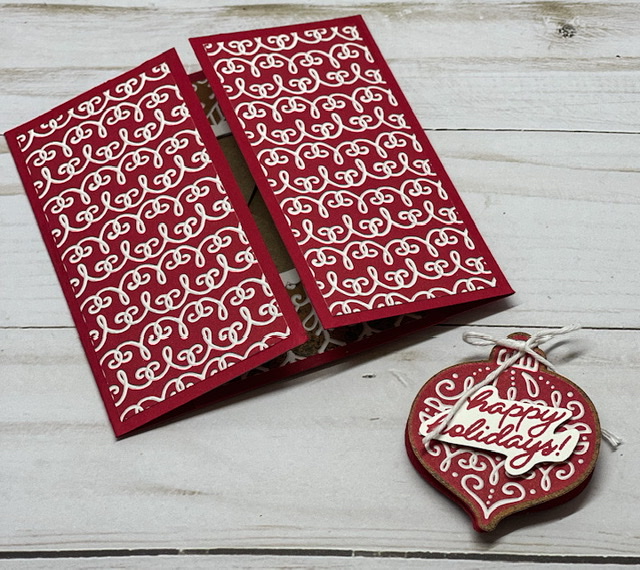
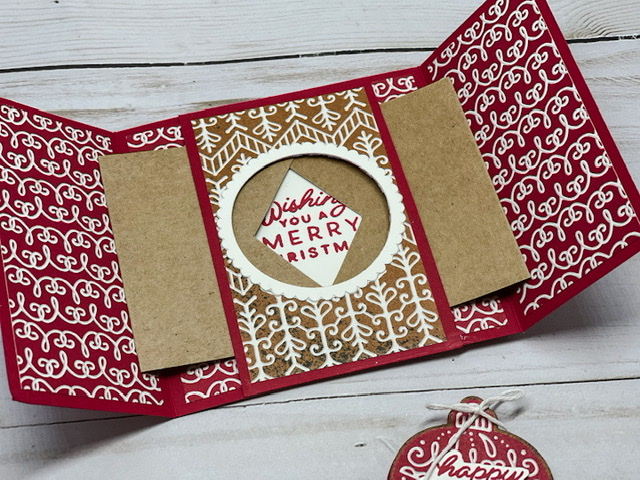
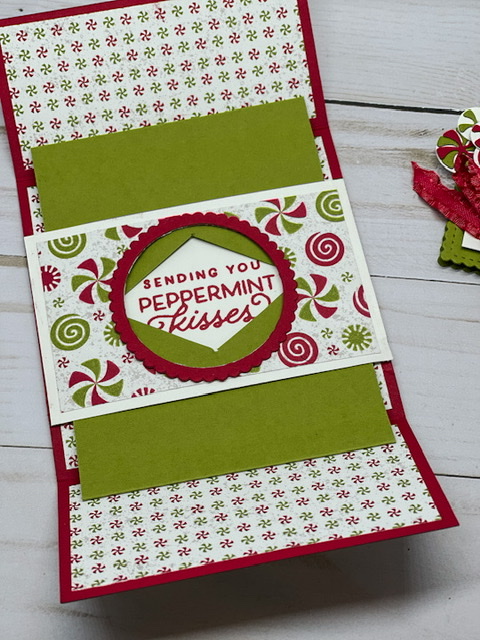
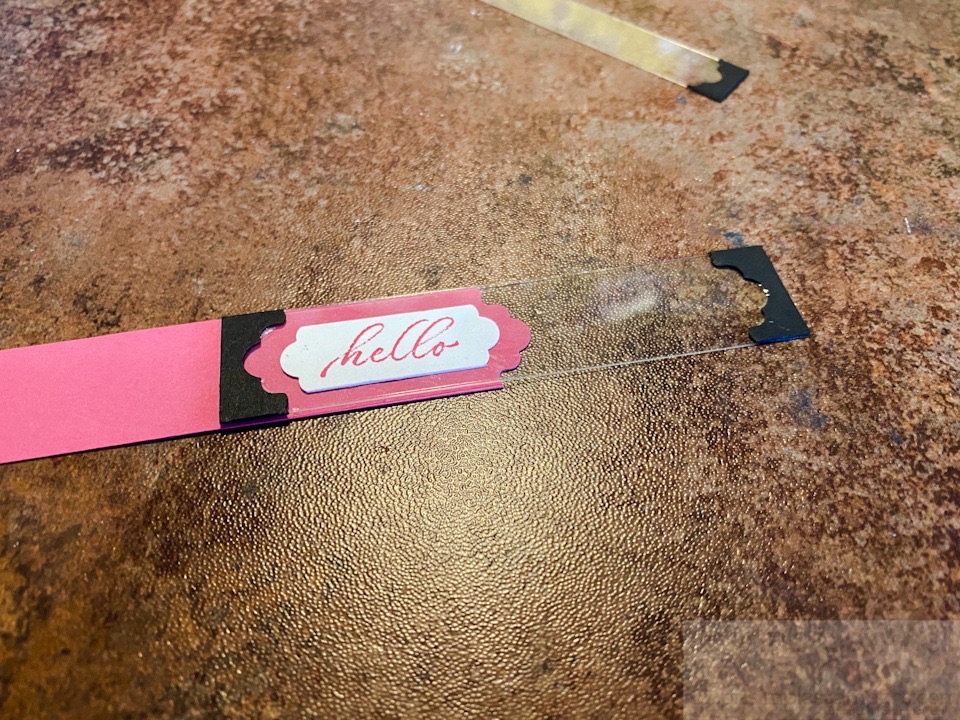
What penguin fun would it be without a kiss? I used the Penguin Builder Punch to create this little kiss holder. I created a small box to go in between the two penguins and added a little handle!
Well, that’s all I have for you today… I should probably go do some Christmas shopping while you go to explore what the others have in store for your wintery pleasure!
Stamper’s Dozen December 2021 Blog Hop
- Jodi Petersen – Jodi’s Card Designs
- Rose Grunewald – Country Cards by Rose
- Patty Chenail – Stamp-Patty’s – Stamping in My Flops
- Judy Garza – Creativity Released
- Sharon Hashimoto Burkert – As the Ink Dries
- Carol Payne – Carol Payne Stamps
- Joanne Cantrell – Keep It Simple, Stampers
- Rachel Yurkanin – Rachel’s Stamping Place
- Bonnie O’Neill – Bonnie Stamped
- Kelly Acheson – A Stamp Above
- Donna Burk Schneidtmiller – Donna Stamps
Until next time… keep it simple, Stampers!
🙂 Joanne