Stamper’s Dozen Blog Hop – Color Challenge

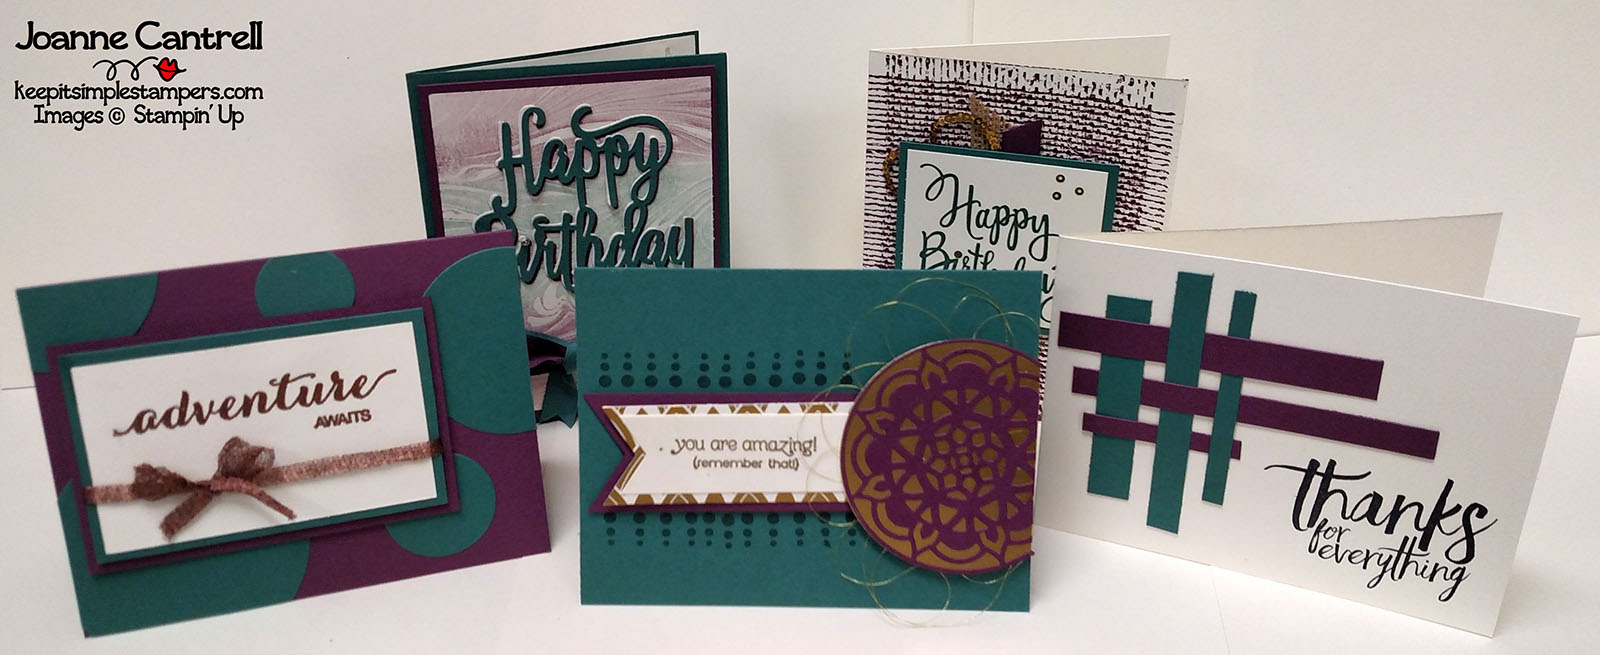
Welcome to the September installment of the Stamper’s Dozen Blog Hop.  This month, was a color challenge.  That means had to use certain colors in our projects.  The colors were…

So, here is what I came up with!

Now for a close up of each…

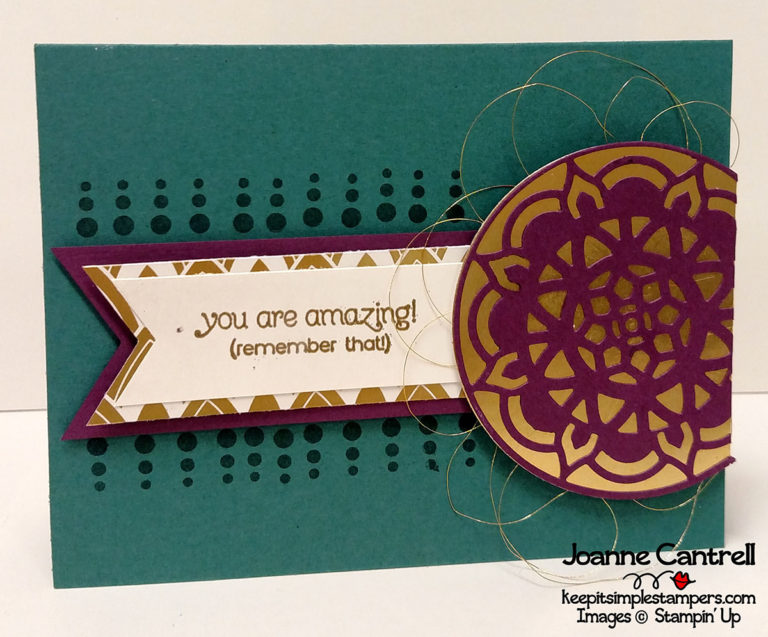
This first card was inspired by the Easter Palace Suite.  I combined a couple of the framelits from the Eastern Medallions Thinlits (143725) to create the medallion and layered it atop a Gold Foil (132622) circle.  I added a touch more gold with a piece of the Easter Palace Specialty Designer Series Paper (144147) as well as some Gold Metallic Thread (138401).  The sentiment comes from the Feathery Friends HOSTESS set (144032/144037).

I used a bit of gold on this next card too!

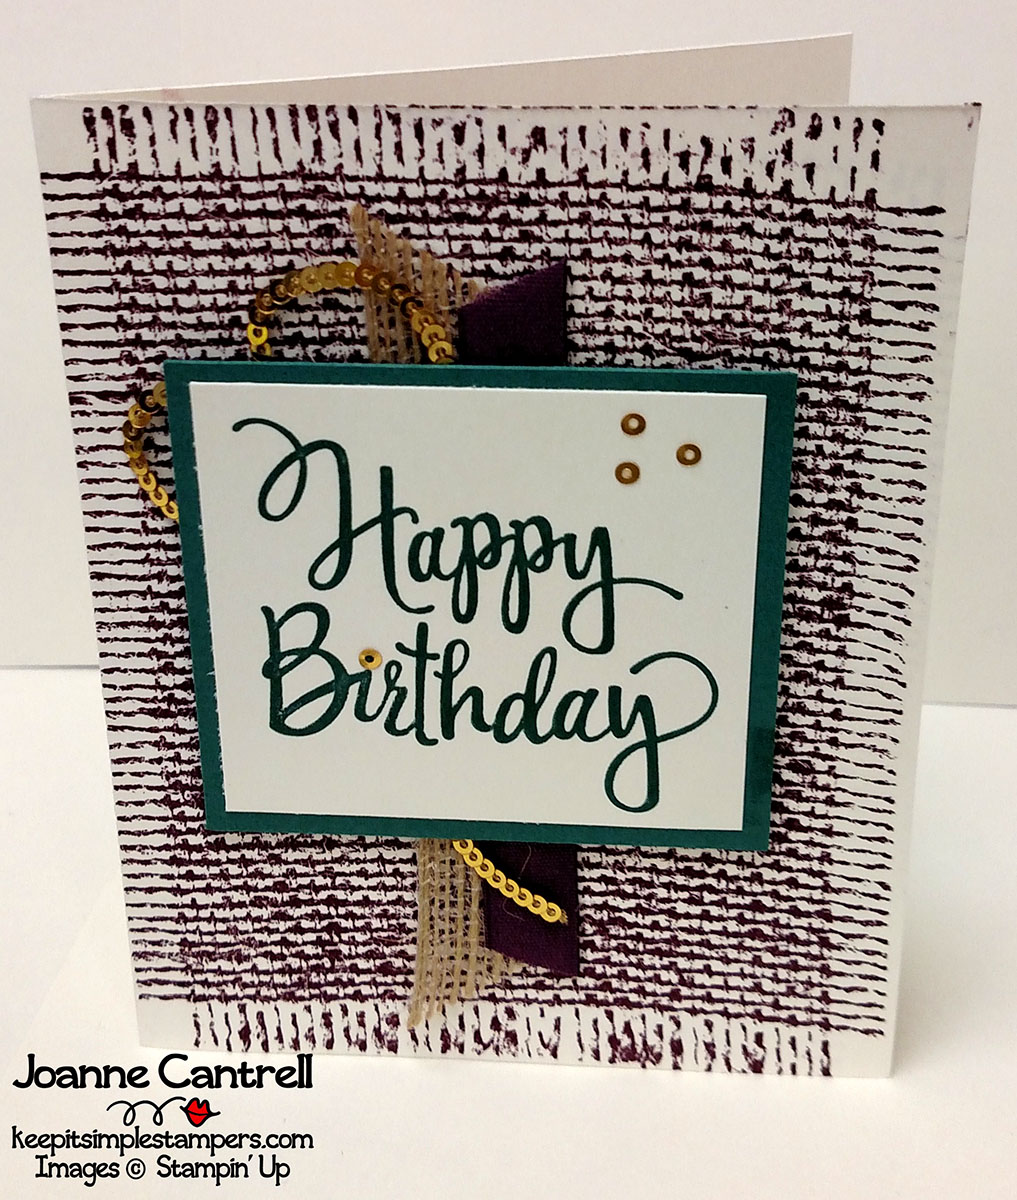
I used the Burlap stamp (143979/143982) to create the background in Fresh Fig.  I added a bit of Burlap Ribbon (141487), Fresh Fig Finely Woven Ribbon (144132) and Gold Mini Sequin Trim (144128) to add a bit of interest.  The sentiment is the Stylized Birthday stamp (141828).

But, don’t worry… It doesn’t take much at all to create a fabulous card with these colors!

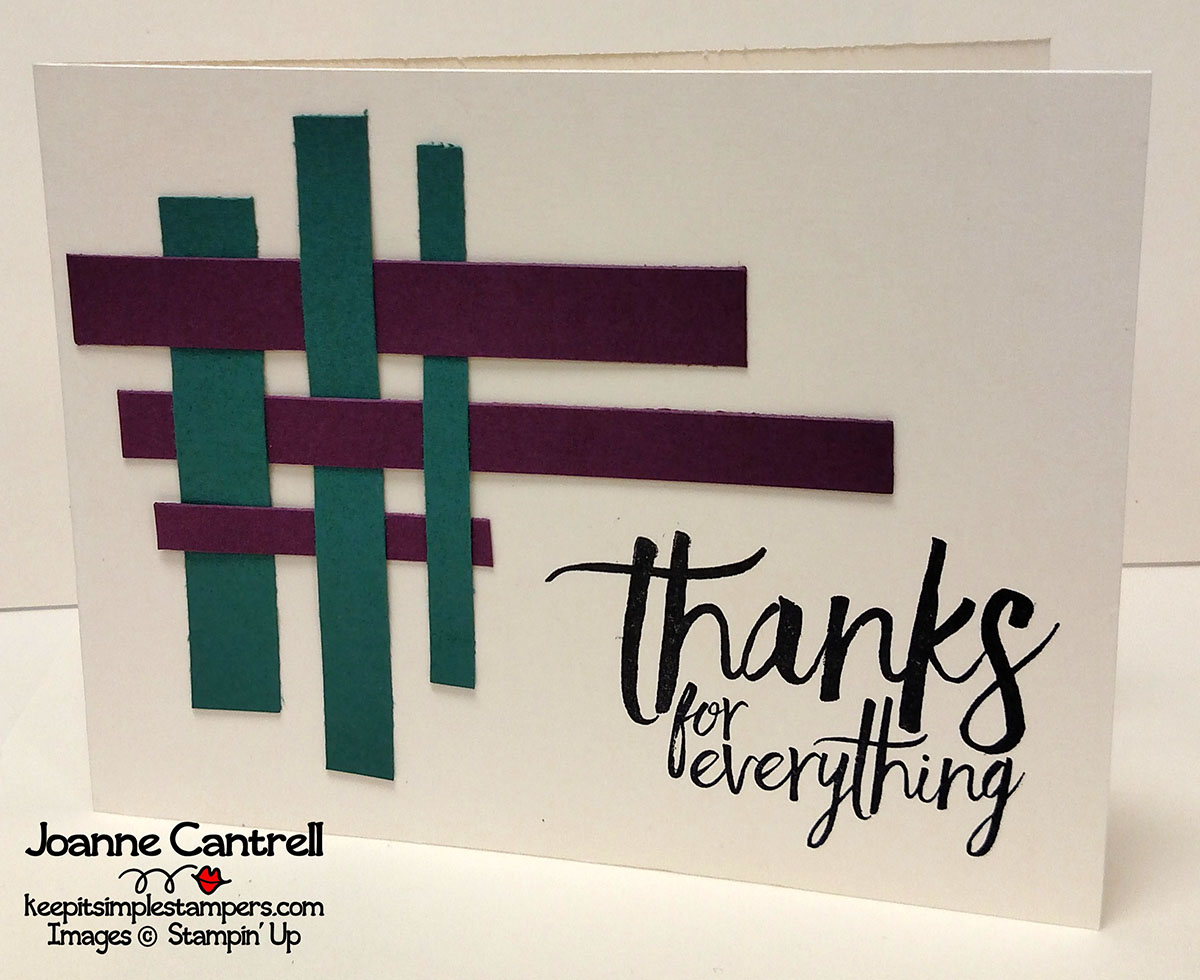
I used some scraps left over from other projects on the card above.  I simply wove them together a bit.  The sentiment here came from the All Things Thanks set (143089/143097).  This is the perfect set for all sorts of thank yous!

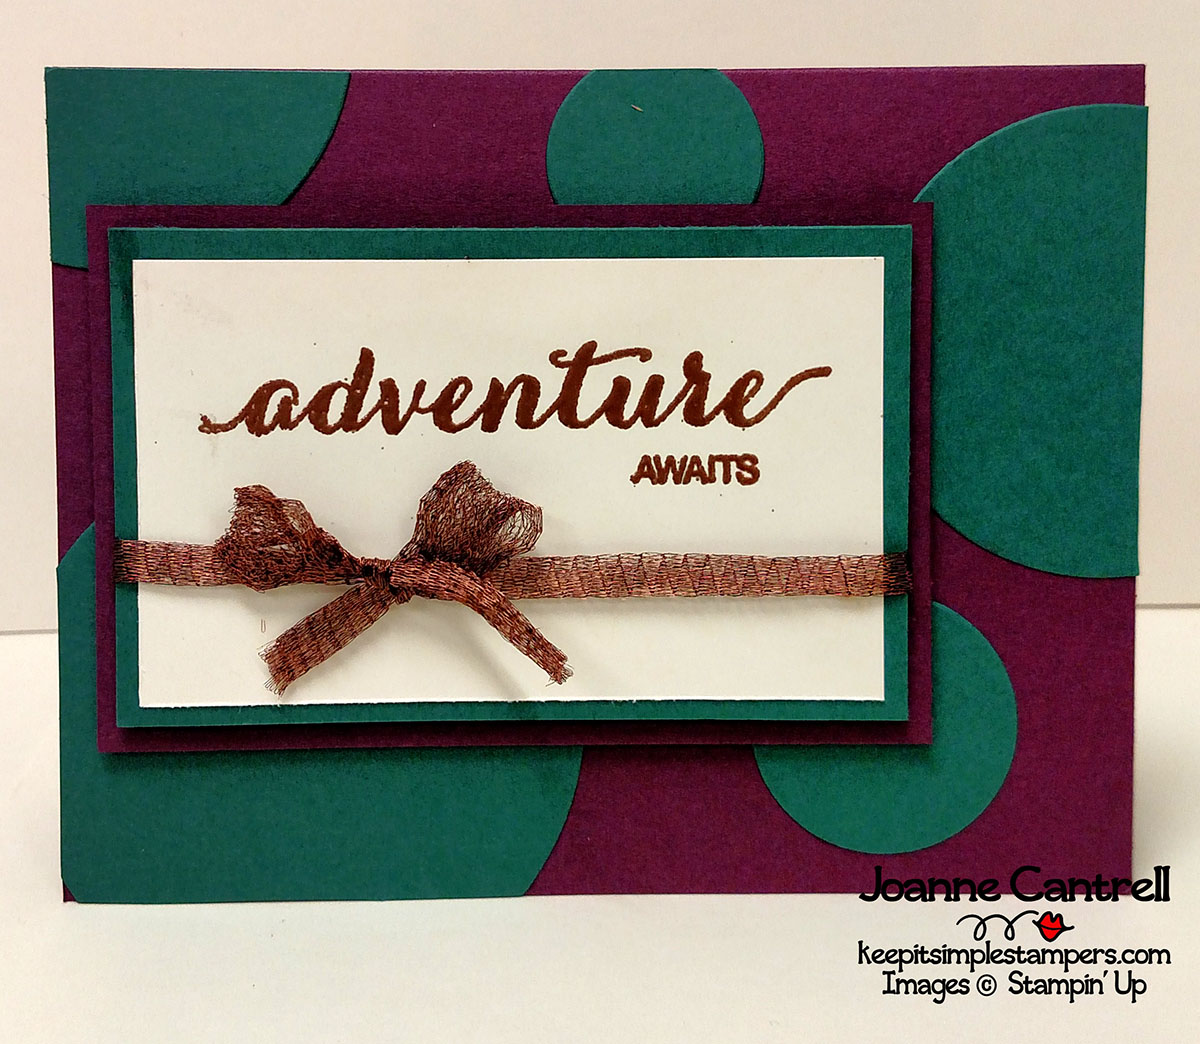
Gold isn’t the only metallic that goes well with this color scheme.  Copper is also a great choice!  On the card above, I just cut a few circles in Tranquil Tide and layered on top of a Fresh Fig card base.  The sentiment is from the Dare to Dream Hostess set (143769) and has been embossed in copper and a bit of Copper Trim (144179) was used to make a pretty little bow!

And, finally…

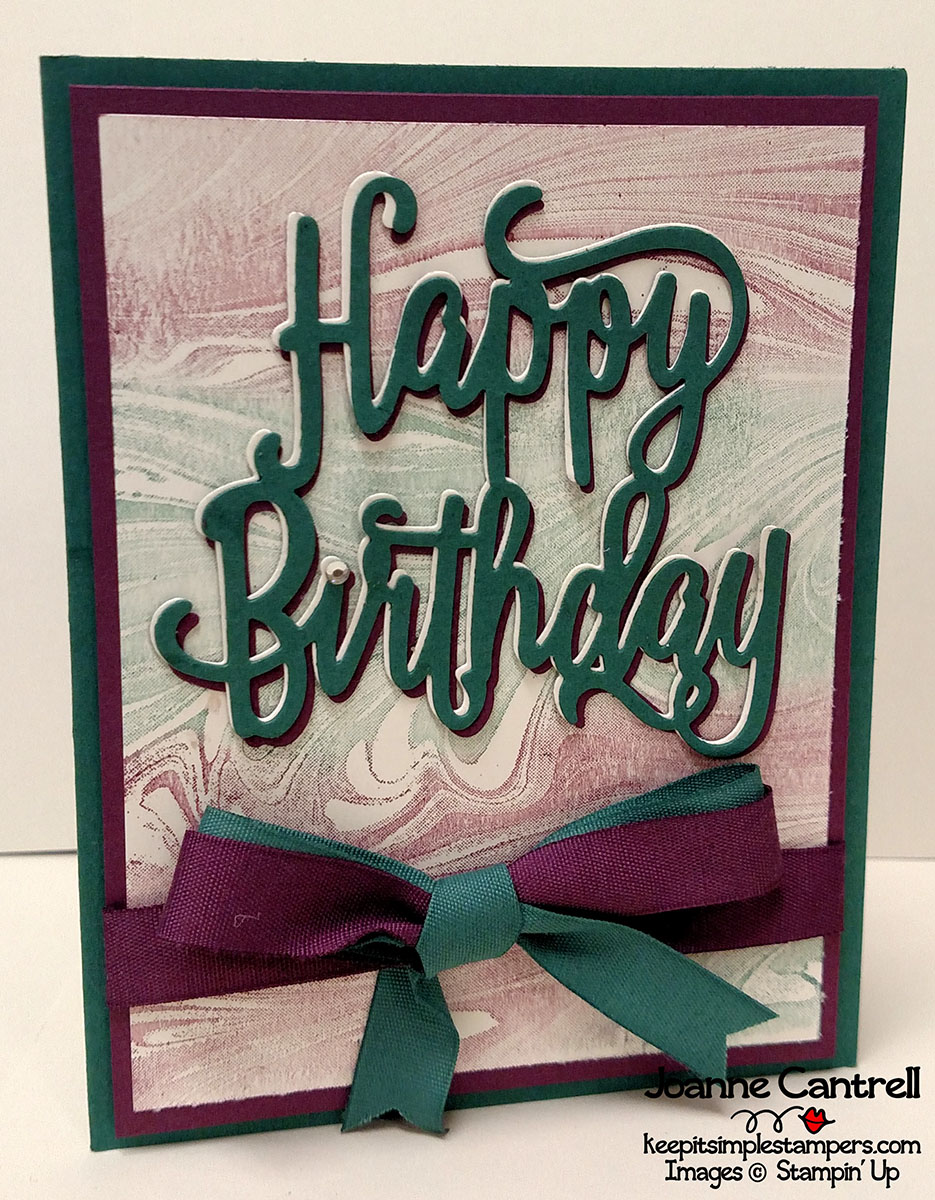
On this last card, I used by sponge daubers to apply Fresh Fig and Tranquil Tide to the Marbled (143755/144772) background stamp then stamped it ont to Very Vanilla.  I added layers of the Happy Birthday Thinlits (143700) for the sentiment and used a bit of the Finely Woven Ribbon in Fredh Fig and Tranquil Tide to add a bit of interest.  And, of course, I always dot the “i” from the thinlit with a Rhinstone!

So,

I hope you enjoyed what you saw here.  Now, hop along to see what Patty Chenail has created!

or take a hop back to check out Debbie Naylor’s creations!

Until next time… keep it simple, Stampers!

🙂  Joanne

Product Spotlight: Painted Harvest

Welcome to the Holiday Catalog Product Spotlight Blog Hop!  I am excited to have hopping through these pages to see the versatility of the products available in the 2017 Holiday Catalog.   This Blog Hop features bloggers from all over the world.

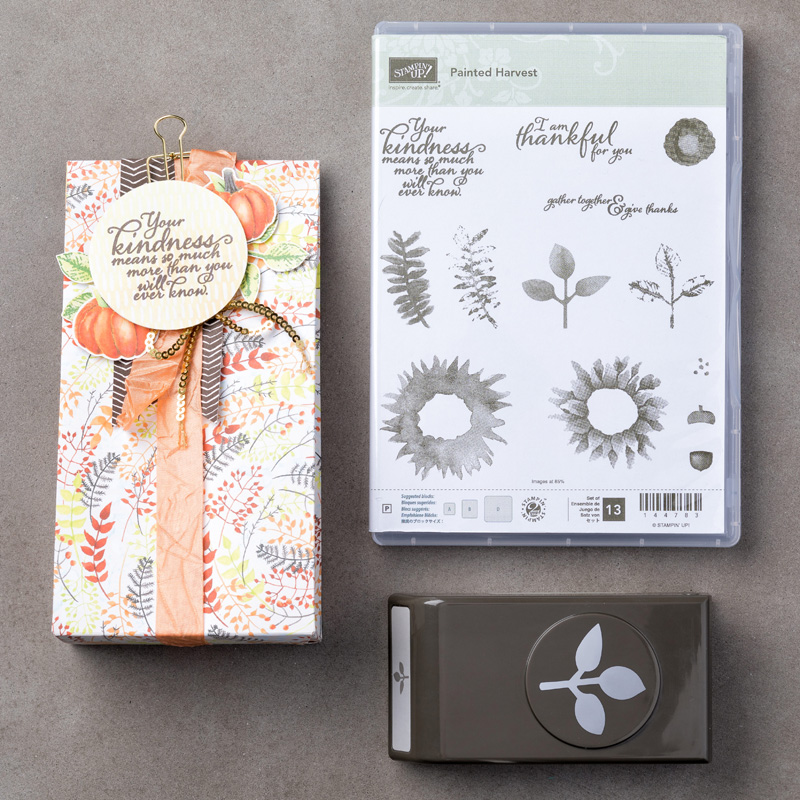
The first product we would like to direct your attention to is the PAINTED HARVEST Photopolymer Stamp Set (144783).  It is really a quite spectacular stamp set that has more uses than you would think upon first glance.

Here is what I have crafted using this set.

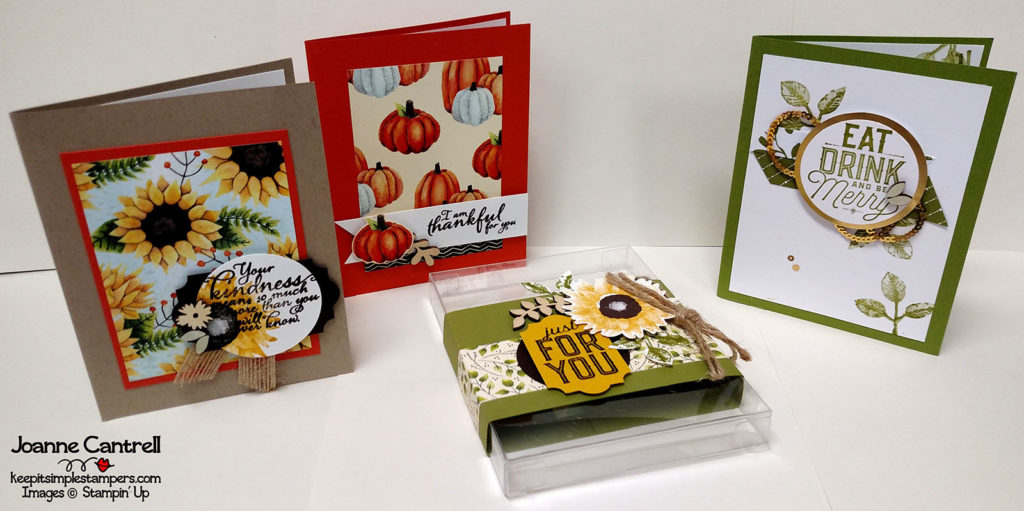
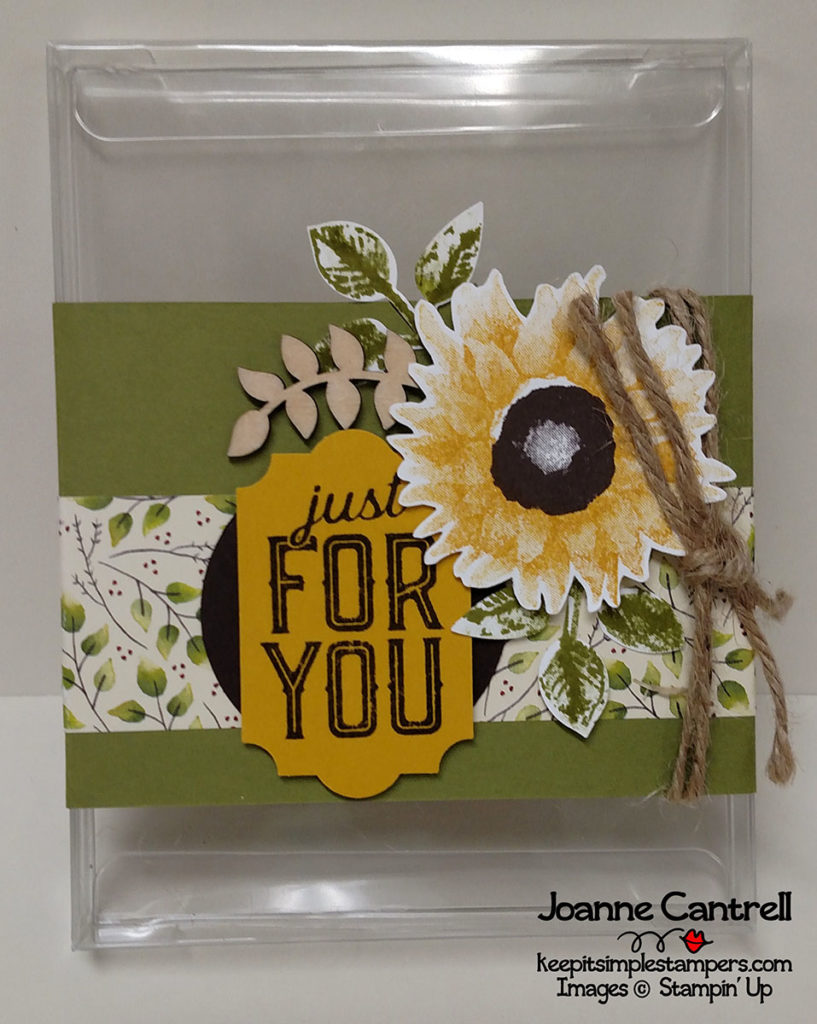
I honestly cannot tell you who created this set.  It was a “make-n-take” that we did at a recent demonstrator event.  Don’t you just love that acetate box!  It can hold 5 embellished cards and envelopes.

Here is an close up of each of the cards as well as the box.  The sentiments come from Painted Harvest as well as Merry Little Labels.  They also show off that beautiful designer series paper!

This next card was designed by Carol Payne.  It was part of our “shoebox swap” we did at our last team meeting.  It’s one of the great things about being part of a team of demonstrators.  Stampin’ together is such fun!

What is simple about this card is that there is not punching or cutting.  It is just some masking and stamping.

And, here’s this one…

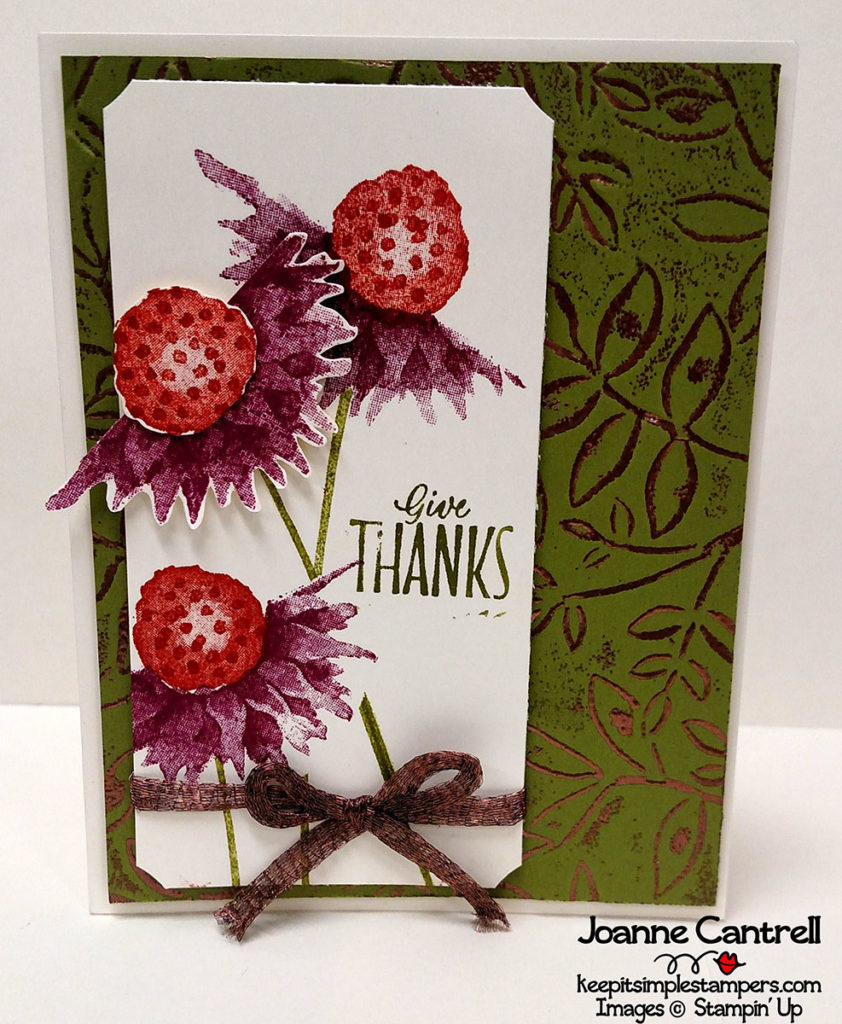
For this card, I used some post-it notes to mask off Very Vanilla paper so that only half of the flower would be stamped and voila… cone flowers!  I did not stamp off any of the center (cone) but made sure to put the pointy side up…

The background was double embossed.  First, I put some VersMark ink on the Layered Leaves Dynamic Textured Impression Embossing Folder (143704) and ran it thru the Big Shot.  I then used copper embossing powder and set it with the heat tool.  It adds a bit of rustic fun!

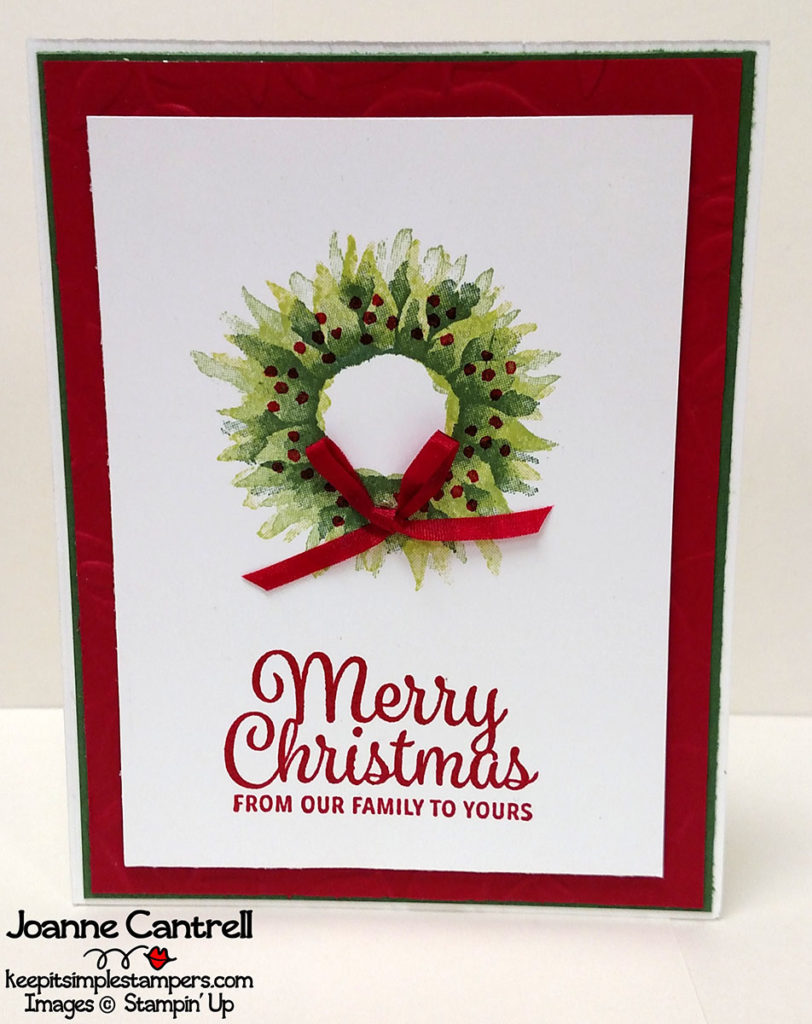
Did you ever think that flower could make a gorgeous wreath?  I layered different greens to create this effect.  On the large flower, I used Lemon Lime Twist then Wild Wasabi.  Then, I used Garden green to stamp the smaller flower. I used the dots image and stamped in Real Red… Then I quickly put clear embossing powder and set it to create a little shine to the berries.  I did the same with the sentiment that came from the Snowflake Sentiment stamp set (144817/144820).

And finally…

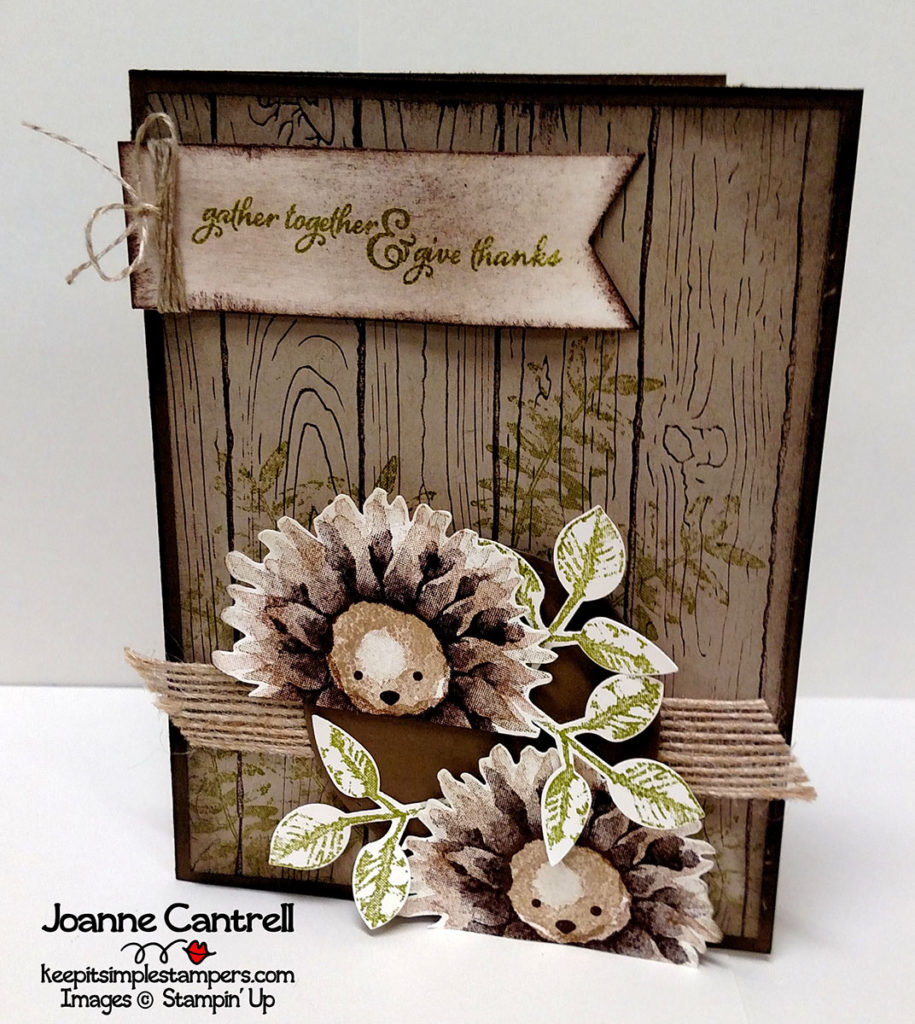
Now, I am not the first one to see these cute little hedgehogs in the stamps… but oh my… are they not the cutest!  I stamped them in Crumb Cake, Soft Suede, and Early Espresso.  I wonder what other things are hidden in this set, don’t you?

Oh – those leaves were also stamped then punched using the new Leaf Punch (144667).  You can save money by buying the punch and the stamp set together as a bundle – the PAINTED HARVEST bundle (146021),

Well, thanks for stopping by!

Now, hop on over to Sara Rayner or hop back to Janet Wakeland

Until next time… Keep it simple, Stampers!

🙂  Joanne

The One Left Behind

Lemme ask you this.

Have you ever made a card that you just didn’t love.  Something was wrong with it, but you couldn’t pin-point it?

That’s exactly what I ran into while making my cards for the Stamper’s Dozen Blog Hop on Monday.  I will admit… I actually screwed up something on one of the cards so I thought I would re-do it.  Then I liked the screw up better.  Still, I couldn’t let all that other work go to waste so I tried to create another card using it… but it just didn’t have the same feel about it.

Well, here it is.

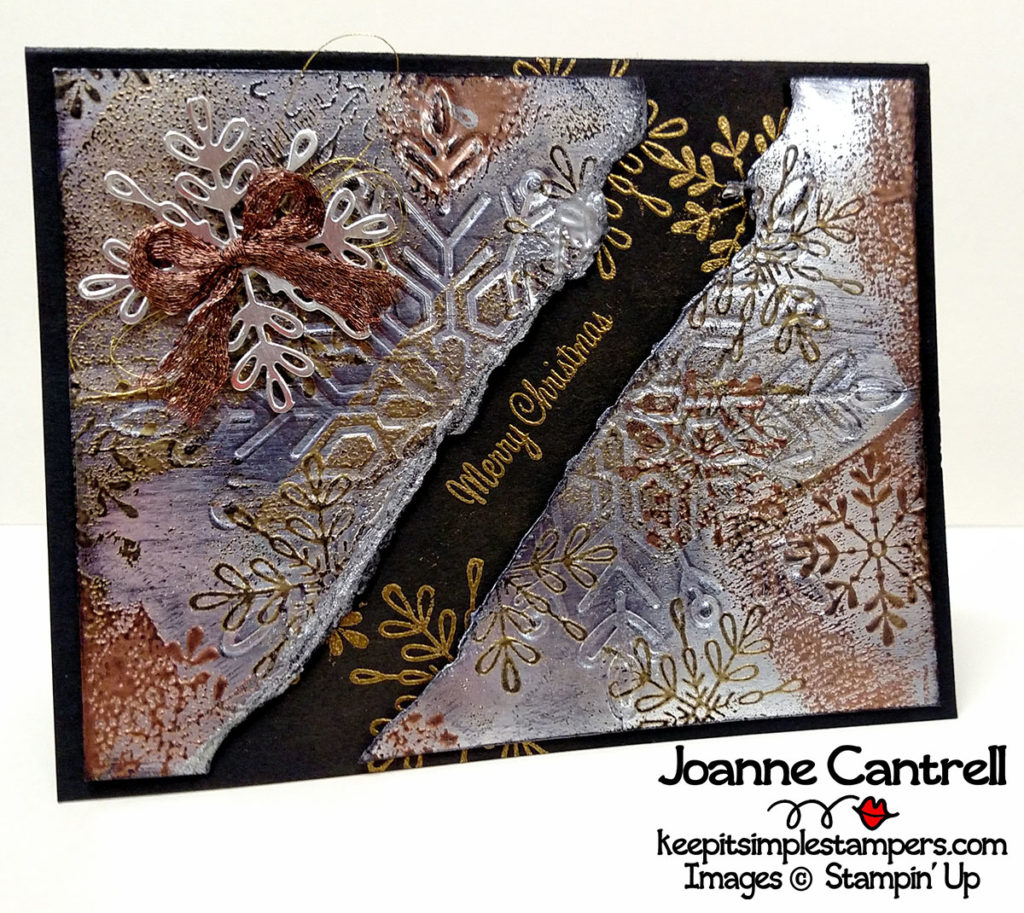
Now, of course… if you don’t know what I did wrong… you won’t know what this picture is really all about.  It’s the foil… but I don’t mind this foil here… I just didn’t like it as much.  But, I still feel like there is something missing or too much added or something.  Maybe it’s the brightness of the copper in the back with is drawing my attention away?  I don’t know.

What say you?  What is wrong with the cards… what would you have done differently?

Oh – and that mistake I made… When I ran the foil through the Big Shot in the Embossing Folder, I forgot to do any distressing to it first.  (FYI – this technique is called “tarnished metal”.)  So, I set it aside and tried again.  But then, I didn’t think the embossing was deep enough, so I ran the second one through again… but the wrong way! I DEbossed instead of EMbossed.  Ugh!  But, I kept working with it and didn’t seem like it would work.  I went back to the other silver foil snowflake to see if I could reclaim it.  It didn’t turn out bad.  I just liked the other one better.  Couldn’t let it just go to waste so I tried to create a card with it… but my brain wasn’t functioning and I got the card above!

Now… it’s not a terrible card.  At least, I don’t think it is.  But, it’s just not hitting that “great” card spot in my soul.

Does a card have to hit you like that for you to consider it worthy?  What do you do with it if it doesn’t?  This one will probably be my nephew’s Christmas card this year! You better not tell  him this was a cast-off!

Well… Until next time… keep it simple, Stampers!

🙂  Joanne

Stampers Dozen Blog Hop – August Holiday Catalog Sneak Peek

Hello and welcome to my first hop here with the Stamper’s Dozen Blog Hoppers!  I am so excited and honored to be a part of this group!  This month we are featuring our favorite sets from the NEW 2017 HOLIDAY CATALOG.

I have chosen the Snowflake Sentiments Bundle (146052/146053) featuring the Snowflakes Sentiments Stamp Set (144817/14420) and the Swirly Snowflakes Thinlits Dies (144678).  When you get your catalog, you can find the set on page 35!

This first card is simple yet elegant!

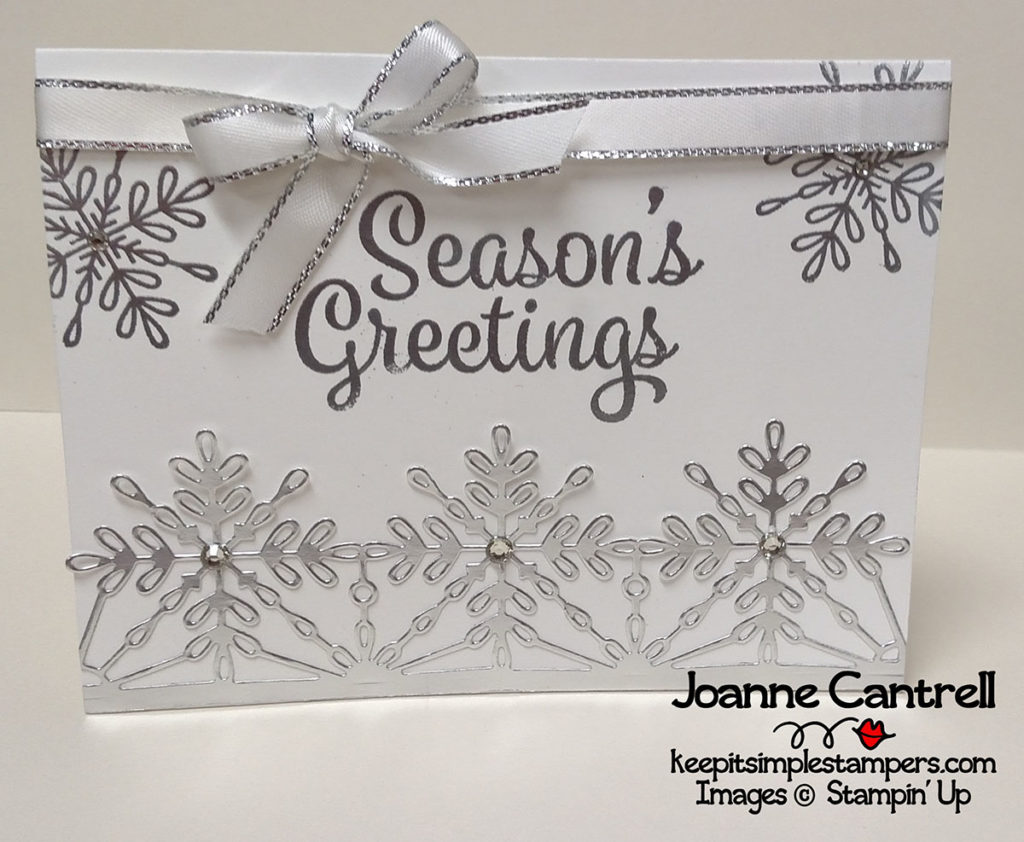
For this card, I used Silver Foil to cut the band of snowflakes using the Thinlit.  I used silver embossing for the sentiment and other snowflakes.  A little silver edged ribbon and some rhinestones is all it too to add that touch of sophistication to this very easy card!

The next card has a completely different feel! It was inspired by Robin Messenheimer.

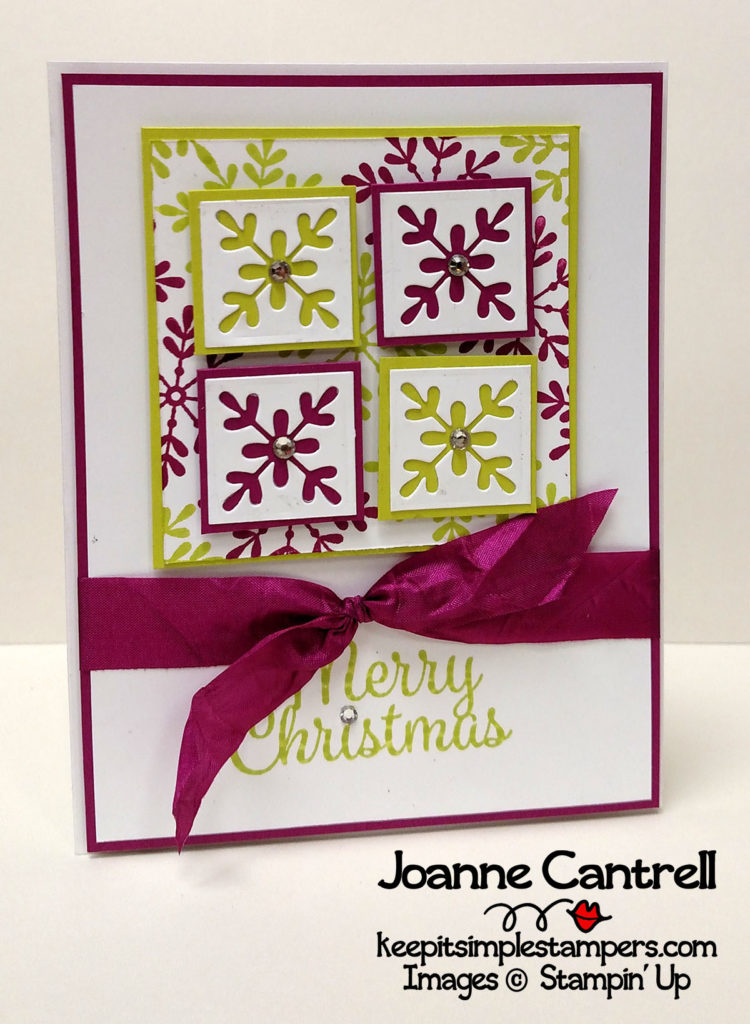
Who says that you have to use red and green on a Christmas card?  This one uses two of the new In Colors…  Berry Burst and Lemon Lime Twist.  They play really well together on this modern, non-traditional card.  And, BONUS…  I made a project sheet for this one!

Proj Sheet – Christmas with a Twist

And, my last card with the set…

Now this one is very masculine.  I just love that “TARNISHED FOIL” effect.  Don’t you?  I actually used the NEW Winter Wonderland Textured Impressions Embossing Folder (144686) to de-boss the snowflake image in the silver foil.  Add some black ink and embossing powders and you get this great effect.  That little snowflak in the corner comes for the same Thinlit used on the top card.. I just cut it away for the bunch.  Wouldn’t the man in your life love to get this card this Christmas?  (PS – the sentiment came from the NEW Christmas in the Making stamp set (144841/144845).)

I hope you enjoyed these projects.

Remember, you are currently visiting Joanne Cantrell…

Now, hop on over to Patty Chenail

Or hop back to Debbie Naylor

Until next month… keep it  simple, Stampers!

🙂  Joanne