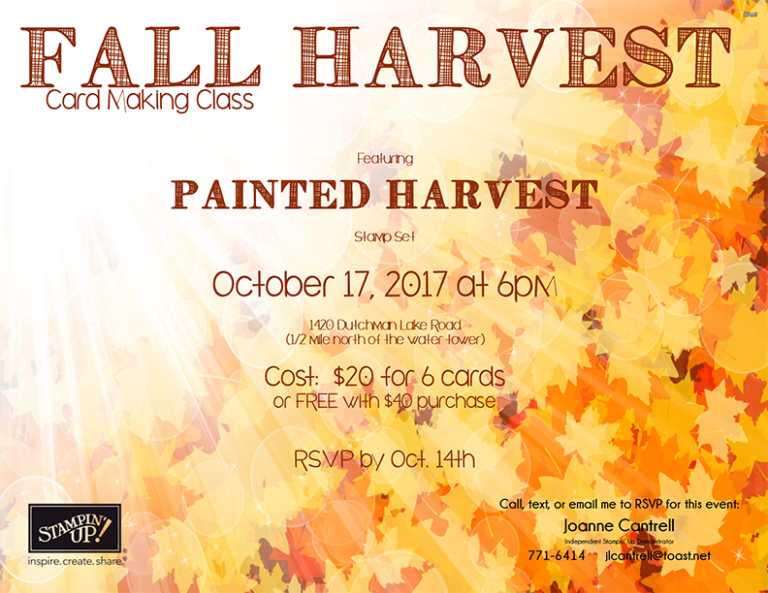
I know, I know… this event was yesterday!
So, why I am I posting it again? Because you missed it!
Of course, not everyone missed it.. but I am pretty sure that YOU were not there. And, I am here to tell you that you missed out on a lot of fun! We always have fun at my events. In fact, if you do not like to laugh, you might as well not even come!
#sorrynotsorry
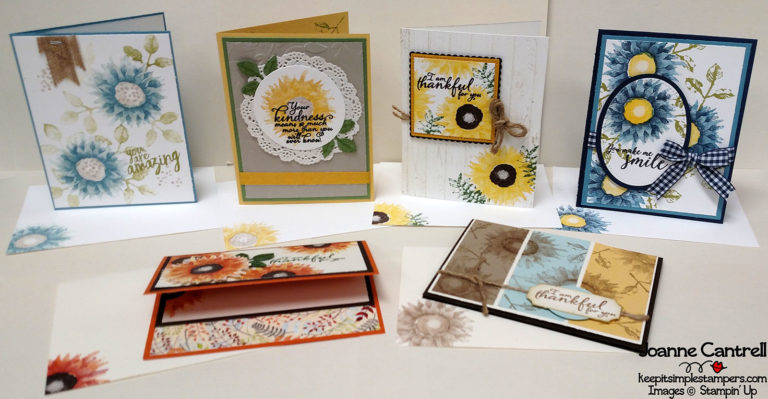
Anyway… what you missed out on was making the following cards. But, so that you don’t get too sad… I have included a little tip with each one to help you recreate on your own!!
What a great lot of cards that were CASE’d from other people! Like I always say.. I CASE the best of them!!!
So, let’s get up and personal with each one!
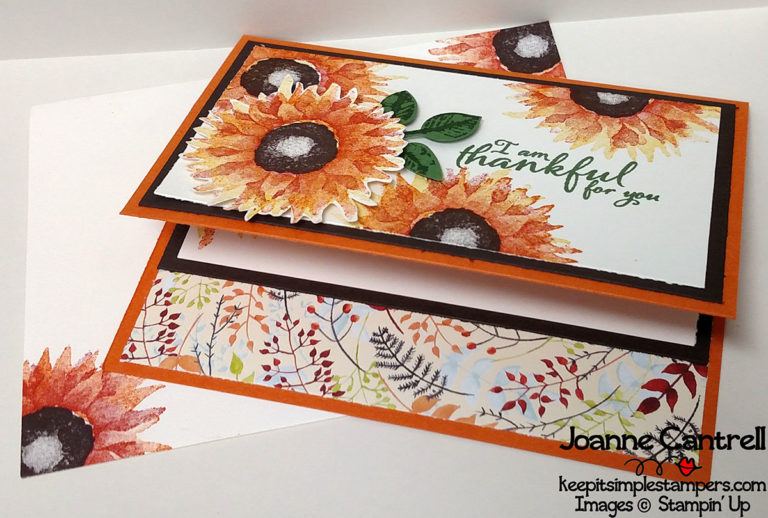
This card is your standard 5-1/4″ x 4-1/4 card base (in Pumpkin Pie)- with one exception… the card front is trimmed 1″. That’s what gives is the unique look. The Early Espresso panels are 5-1/4″ x 3″ and the Very Vanilla panels are 5″ x 2-3/4″. The Painted Autumn paper is 5-1/4″ x 1-1/5″ and was adhered first.so the brown layer will lay over it. The colors used on the flowers are Crushed Curry, Pumpkin Pie, Cajun Craze and Early Espresso…from the bottom up!
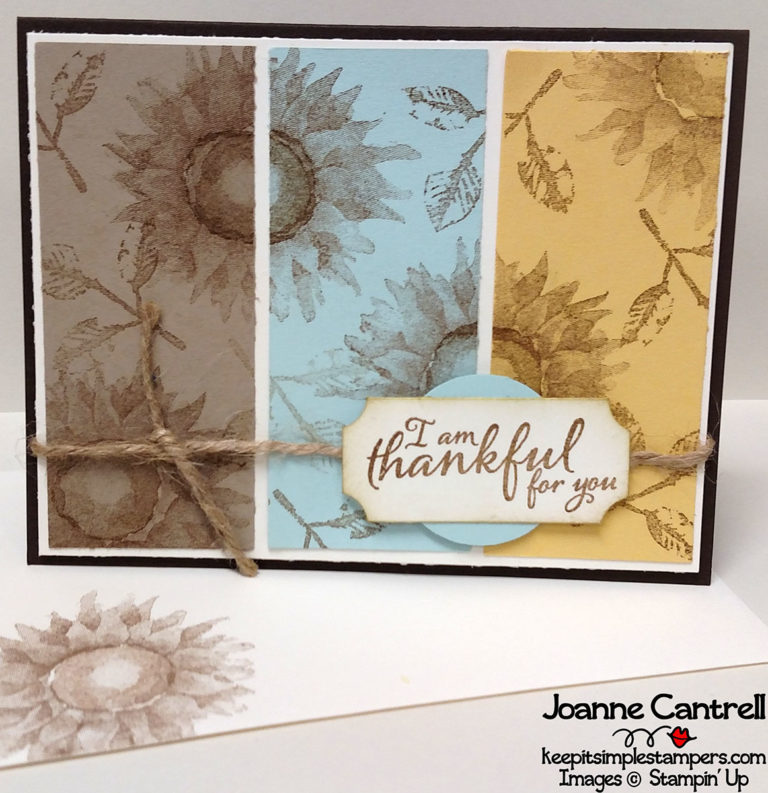
I absolutely love this card and it may be my second favorite from the bunch. Or simple yet so elegant at the same time. So, it’s your basic 5-1/2″ x 4-1/4″ Early Espresso card base with a 5-1/4″ x 4″ Very Vanilla Layer. The three panels are each 1-5/8″ x 3-7/8″ and are in Crumb Cake, Soft Sky, and So Saffron. The inks used were Soft Suede and Crumb Cake. The circle is 1-3/8″ punched from Soft Sky and the tag is 1″ x 2-1/4″ Very Vanilla. I used the 3/8″ circle punch to nip the corners and sponged the edges (I used Crumb Cake, but it looks good with the Soft Suede too!). And, I cheated a bit because I didn’t have the Jute Twine that is in the 2017 Holiday Catalog, I used some other brand that was hiding out in my craft room.

Now, this is one that gave me a bit of trouble. I absolutely love the card that Shannon made, but couldn’t quite figure out how she did it. But, I think I did pretty good. The 5-1/2″ x 4-1/4″ card base is Marina Mist with a 4-1/8″ x 5-3/8″ Whisper White layer. The flowers are made using Soft Sky and Marina Mist with Sahara Sand in the middle and for the dots. The leaves were stamped off using Pear Pizzazz. The sentiment is in full strength Pear Pizzazz. I used the retired Handheld Stapler to attach some burlap ribbon to the top.
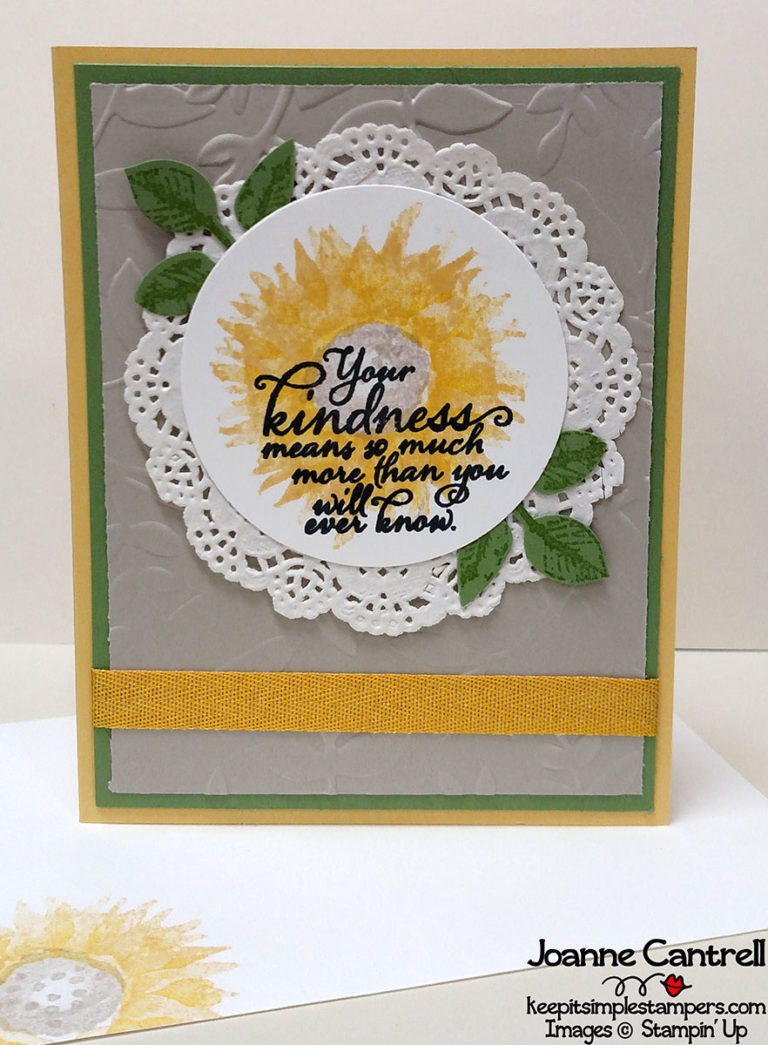
I love the doilies and just don’t use them enough. But, I am learning that they add a special touch that just says POW! This color scheme is So Saffron, Wild Wasabi, and Sahara Sand. The flowers are So Saffron, Crushed Curry, and Sahara Sand. The leaves were stamped in Wild Wasabi on Wild Wasabi then punched using the Leaf Punch. A little Crushed Curry Chevron ribbon nd there you have a great and simple card! And, in my haste to prepare for the class, I had lost the original center circle which was sponged around the edges using Sahara Sand – so you may want to give that a try!
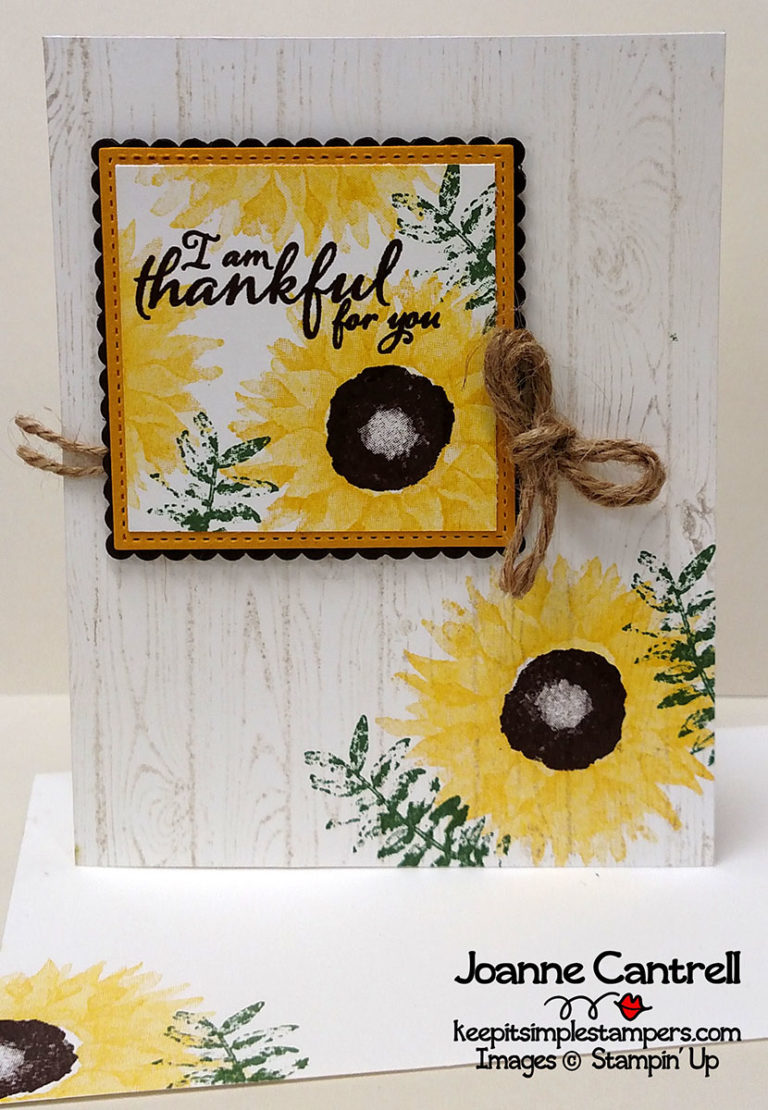
This was another card I had trouble CASE-ing exactly. I wasn’t sure what colors Karen had used because I wasn’t getting the same results. But, here is what I used… Just a plain Whisper White 5-1/2″ x 4-1/4″ card base. I stamped with using Sahara Sand (stamped off) on the Hardwood background stamp. The flowers were created using Daffodil Delight and Crushed Curry with an Early Espresso center. The leaves are Garden Green. For the layering, I used the 2-3/4″ Scallop Square form the Layering Square Framelits – in Early Espresso. The Crushed Curry layer is using the 2-5/8″ Square from the Stitched Shapes Framelits. And, the top layer is 2-3/8″ square cut on my trimmer from Whisper White. I also couldn’t figure out how Karen had tied the Twine because it didn’t seem to have a layer on the card front. Oh well, I simply tied a bow and SNAILed it the to the back of the layers!
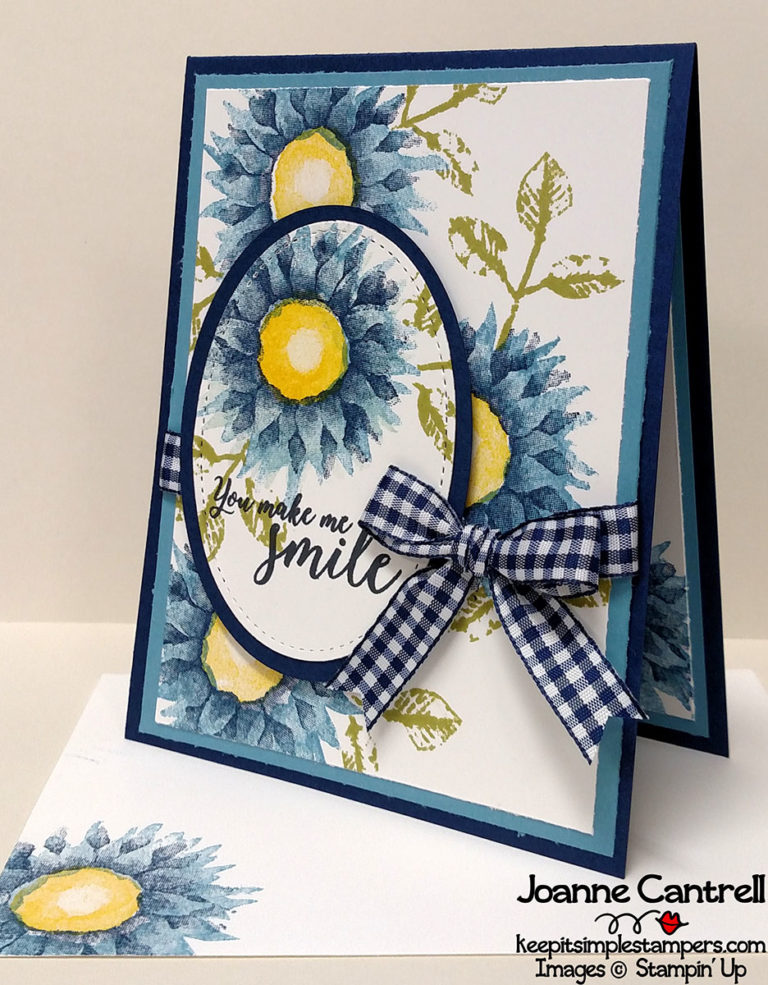
And, you guessed it.. this one is my favorite! Blue is my favorite color and Blue and Yellow is my favorite color combination. And, the Navy Gingham Ribbon… Who doesn’t love that! Here you have a Night of Navy 5-1/2″ x 4-1/4″ card base with a 5-1/4″ x 4″ Marine Mist Layer and a 5″ x 3-3/4″ Whisper White layer. The flowers are stamped in Marine Mist and Night of Navy with a Daffodil; Delight center. The leaves are in Pear Pizzazz. The other layers are largest ovals from the Layering Oval Framelits and the Stitched Shapes Framelits. The sentiment was stamped in Memento.
So… aren’t you sad you didn’t get to come. I will be hosting more classes like this soon. Feel free to stop by one!
Until next time… keep it simple, Stampers!
🙂 Joanne
