Ink & Inspiration Blog Hop – Christmas Time AGAIN!

Welcome to the Ink & Inspiration Blog Hop. You are currently visiting Joanne Cantrell from a tiny little town in Southern Illinois smack dab in the middle of the United States. I hope you enjoy my cards.

Our theme this month Christmas!  I just love Christmas.  But, I cannot get into Christmas until after Thanksgiving.  Which, for those of you who are from elsewhere… Thanksgiving is the best holiday ever!  We gather with family and friends and eat more yummy food than our pants can handle while we thank God for all the blessings He has given us.  But, since today is Thanksgiving, I guess I can get into Christmas now!

Here are the cards I prepared for your viewing pleasure and your creative inspiration…

Simple, easy and elegant… Those are my type of cards!  Well, I guess they should be, I created these! 😂 Let’s take a look at them up close!

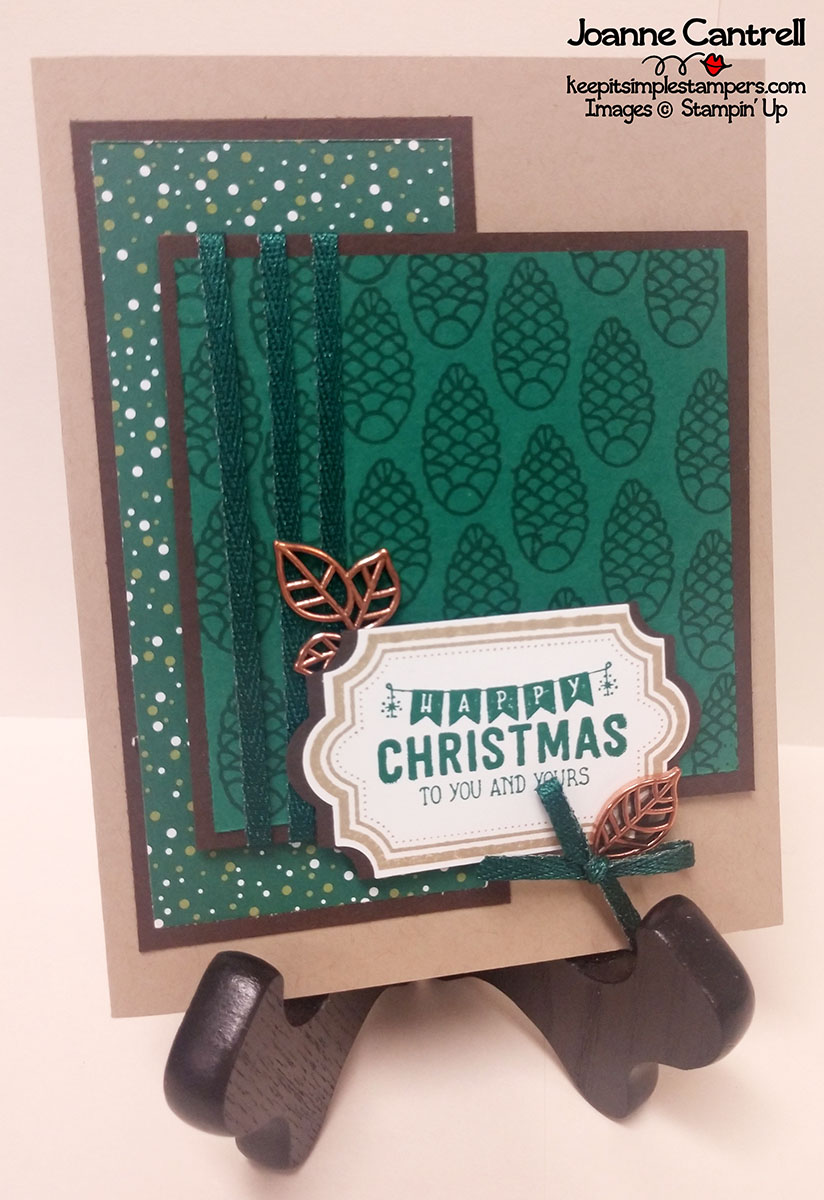
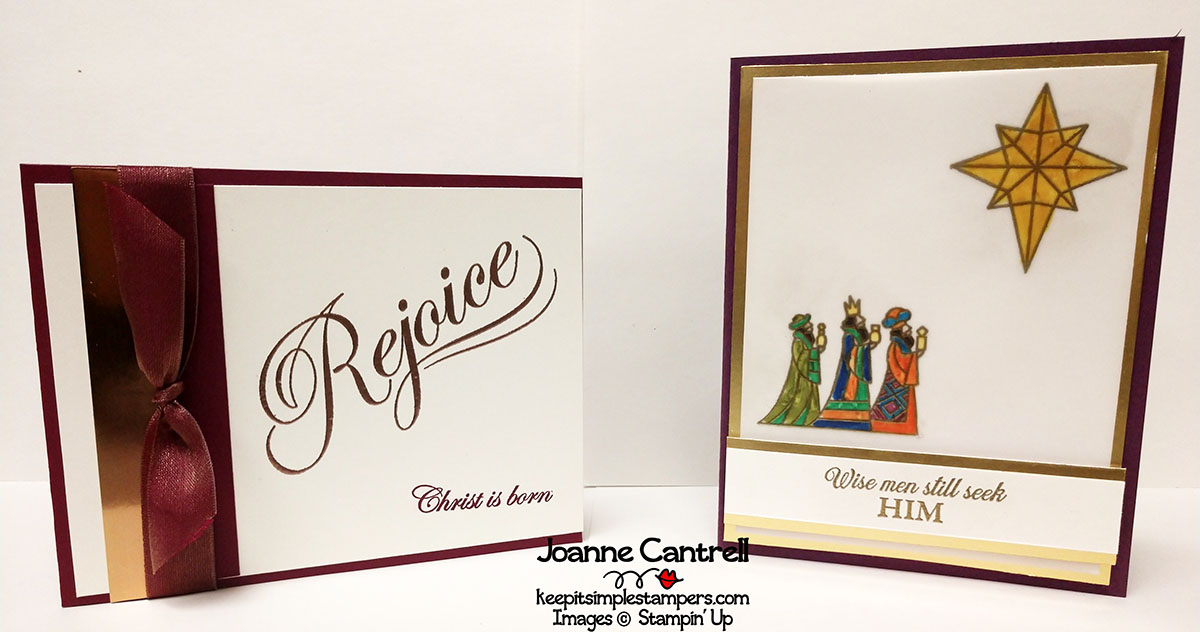
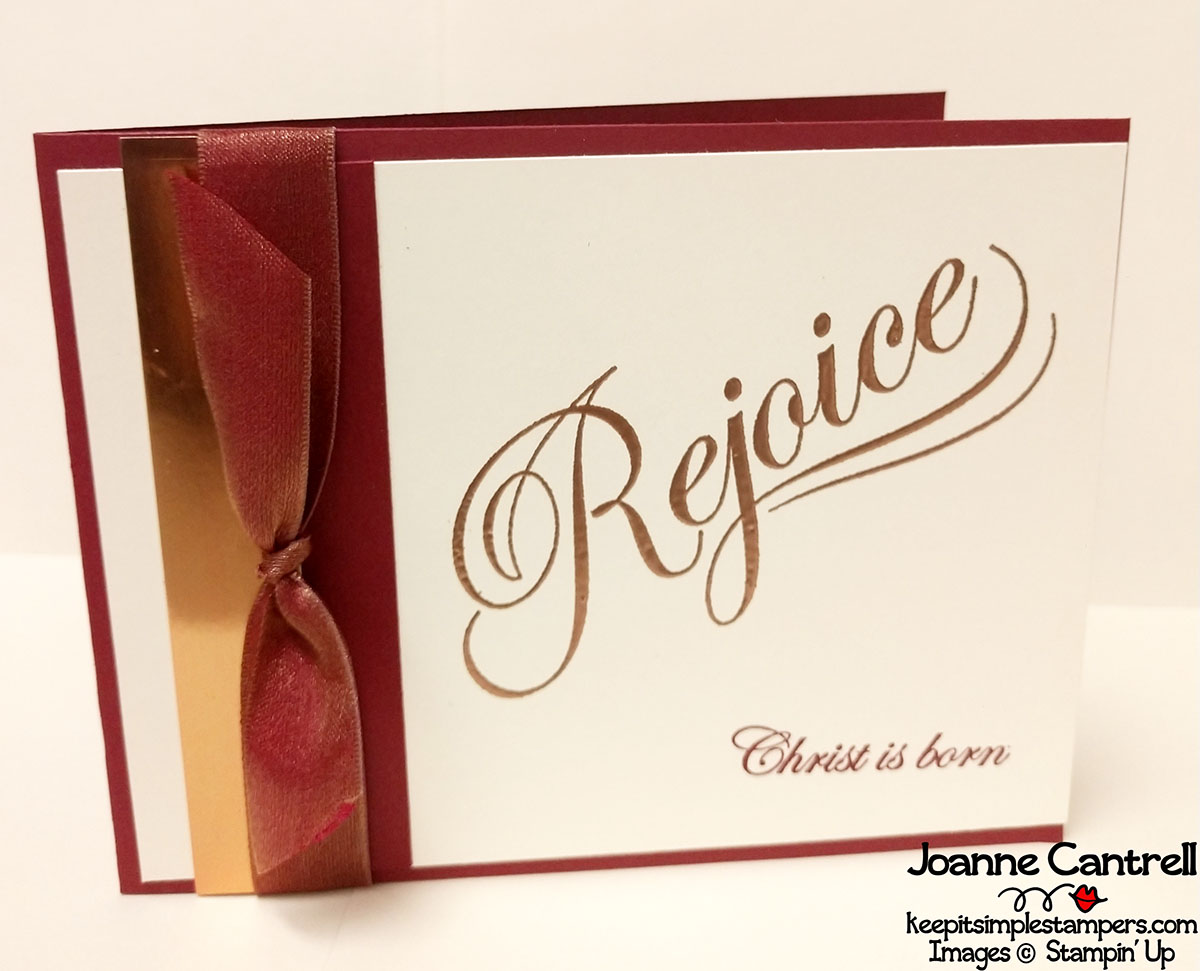
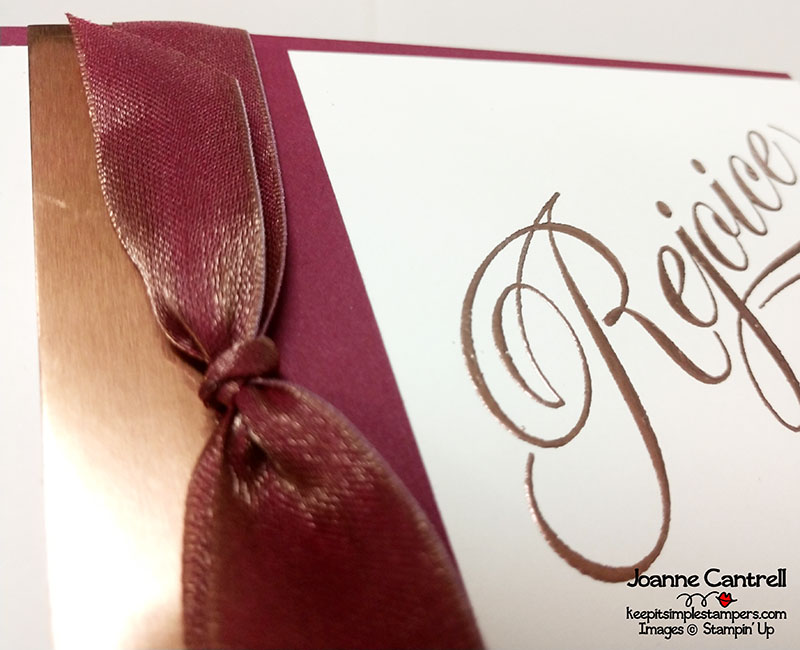
Merry Merlot, Very Vanilla and copper bring this card together nicely.  Don’t you agree?  Simple sentiments from the His Light set makes a bold statement!  This may be one of my favorite cards I have ever done!

I just love the shimmer if the metallic!

And the other card…

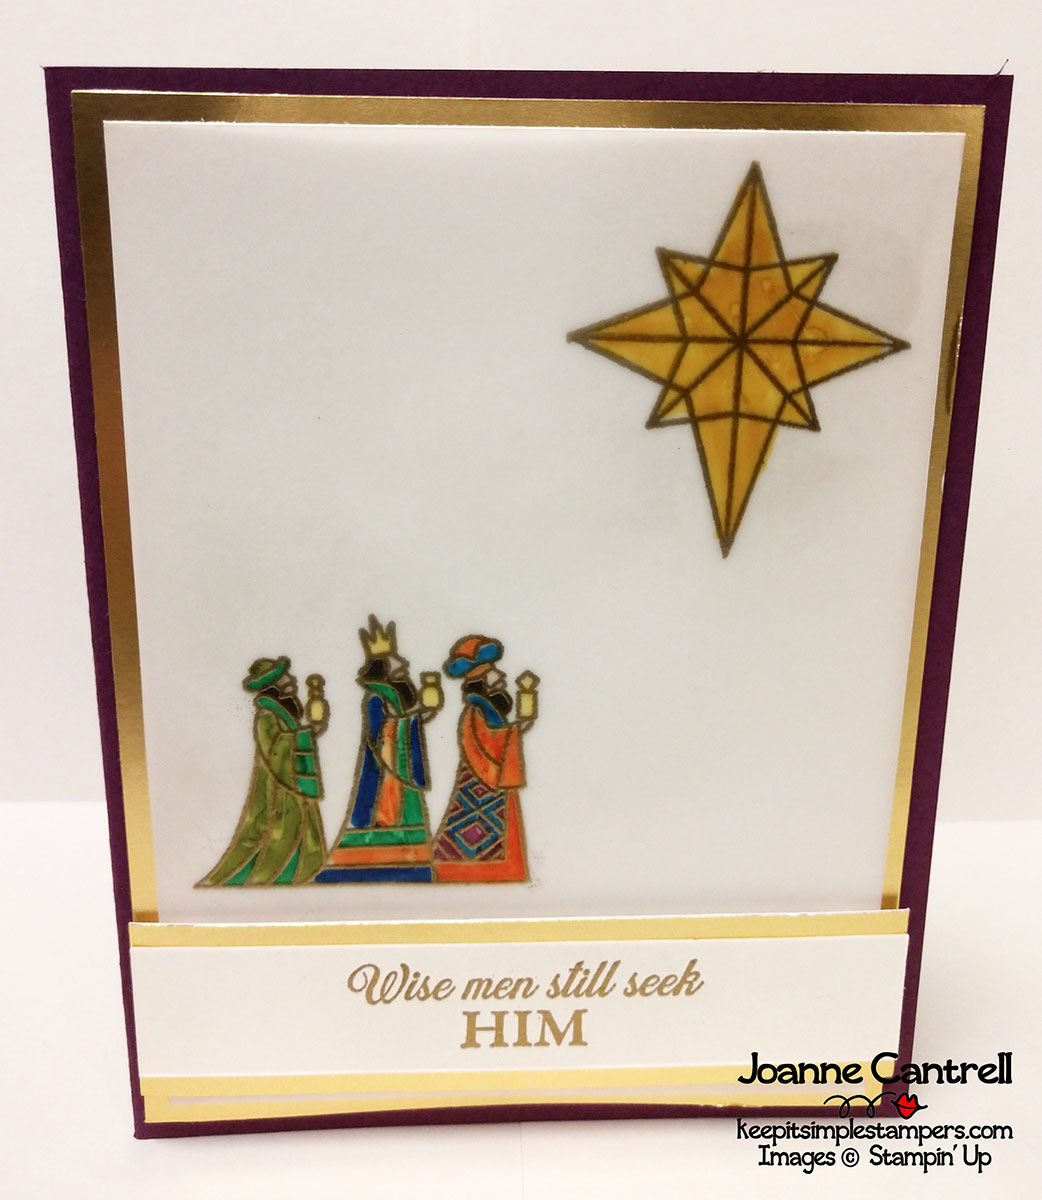
Here I used the same basic color scheme but swapped the copper out for gold.  After all, this set is called Illuminated Christmas, and Illuminated books have gold leafing on them, so I thought it was appropriate!

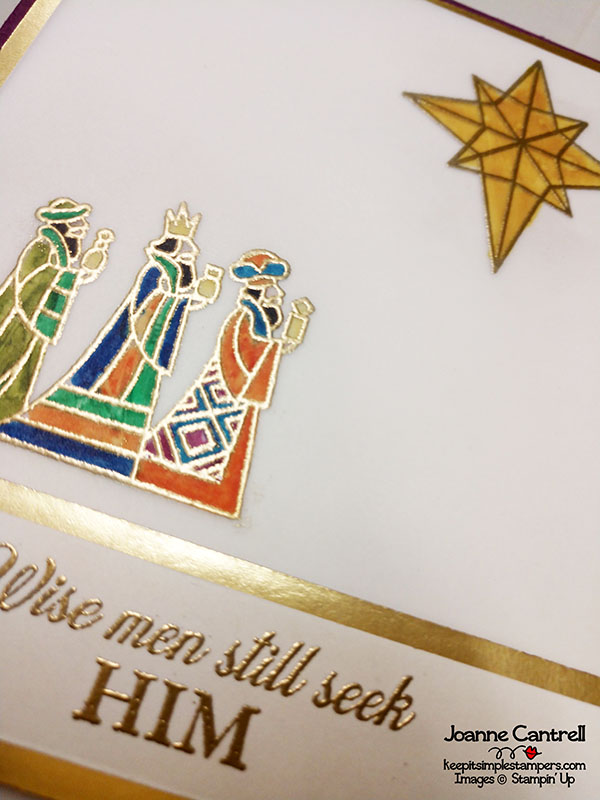
This stainglass look is so easy to achieve.  Really, it is.  I stamped the images on vellum using VersaMark ink and heat embossed with Gold powder.  Then, I flipped it over and used Stampin’ Write Markers to color.  When I flipped it back over, I had stained glass!

Just a note…  You may notice that there is a little streaking in the green wiseman’s robe.  I tried to hide the glue there.  Don’t do that. Not sure what I was thinking because it’s really the only place you can see it.  A little tiny drop of the Fine Tip Glue in each corner of the vellum works just fine and you can’t see it at all!

Well, I hope you the projects you’ve seen here on my blog today have inspired you & brightened your day. You are currently visiting Joanne Cantrell from the USA. Please see the list below & hop through all of the people on the list to see all our projects. You don’t want to miss any!

#IIBH if you’re into hashtags.

Here is the list our other fine bloggers… Now hop along!

Until next time… keep it simple, Stampers!

🙂  Joanne
 

Stamper’s Dozen – Color Challenge

Welcome to this month’s installment of the Stamper’s Dozen Blog Hop.  You are currently visiting Joanne Cantrell in a small town at the very bottom of Illinois smack dab in the middle of the United States!

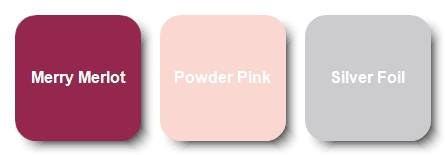
Our theme this month is a color challenge. We had to incorporate Merry Merlot, Powder Pink, and Silver foil into our projects. These types of challenges really stress me out.  But, I think I did it!

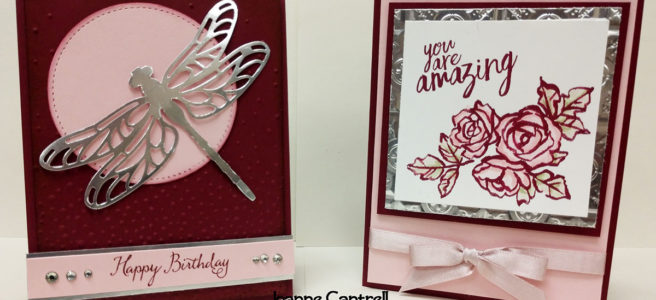
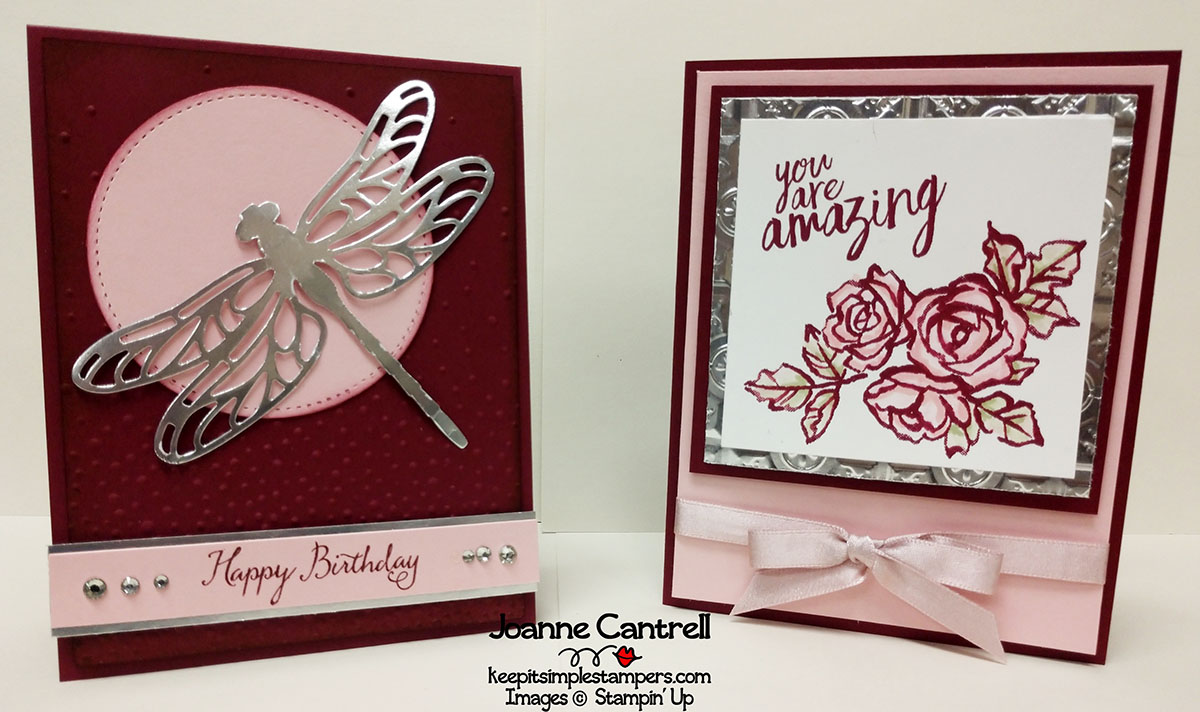
Here are the two cards I came up with..

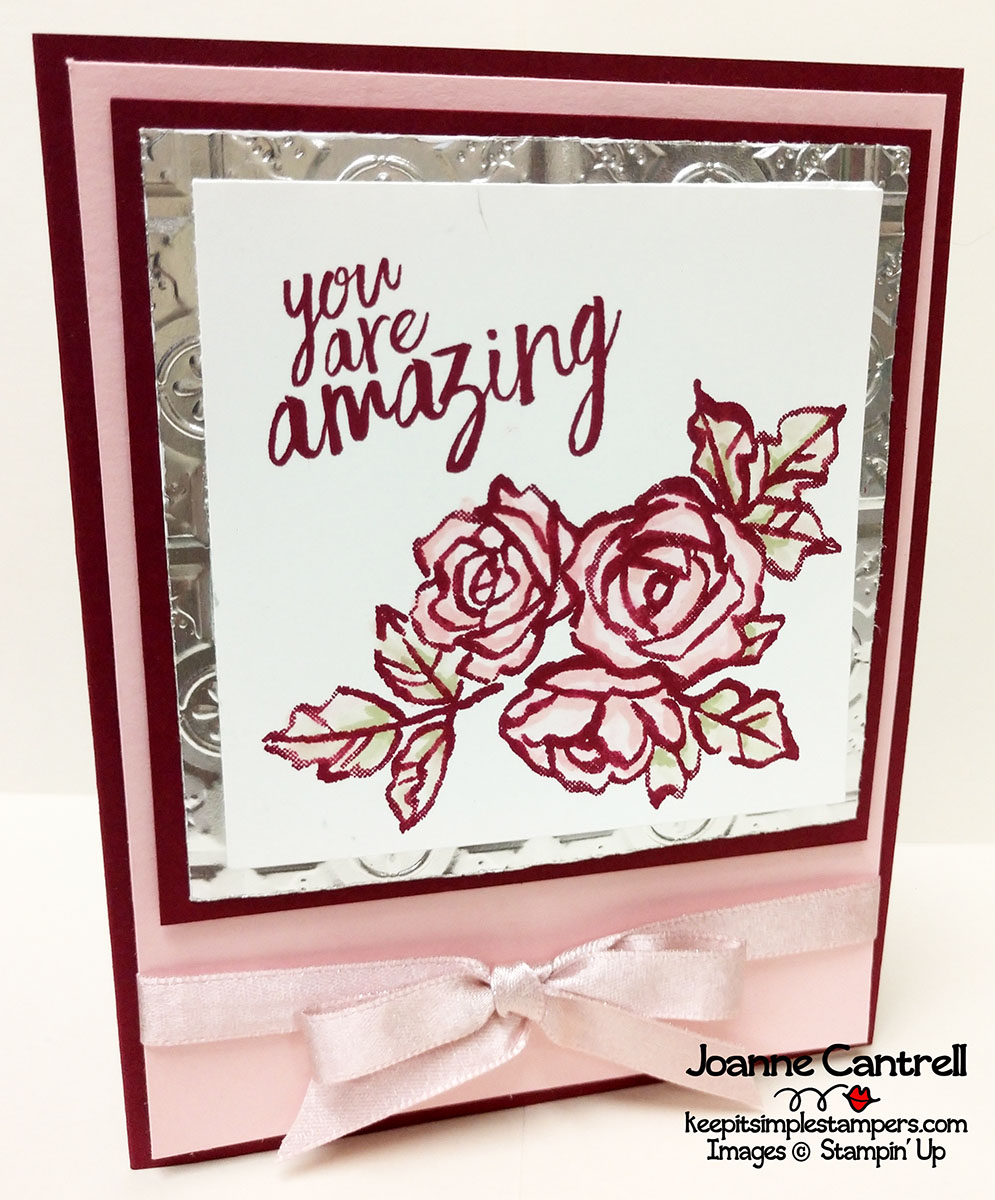
I will start by showing you the one on the right.

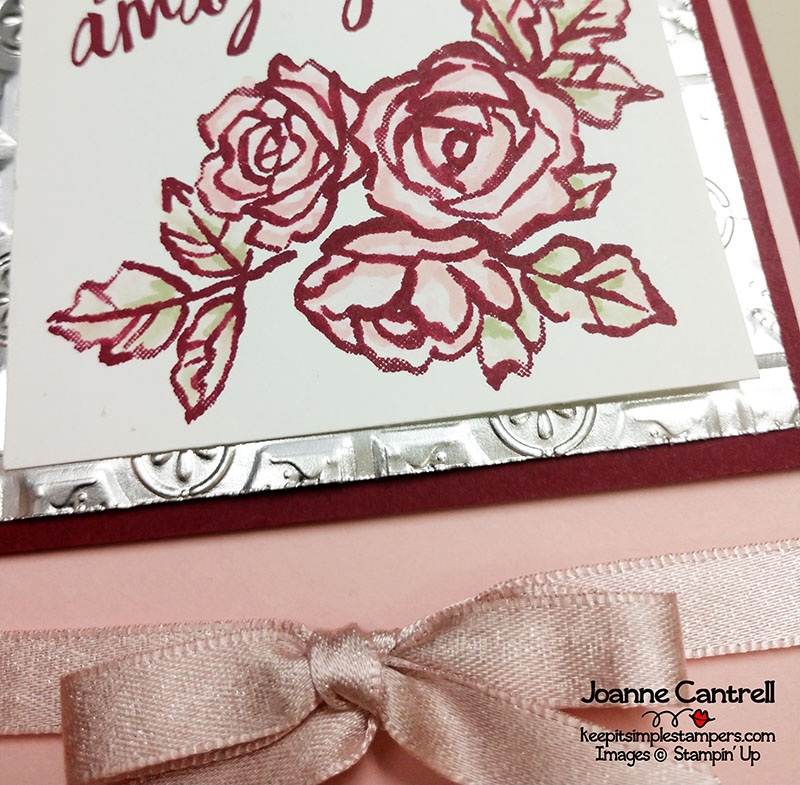
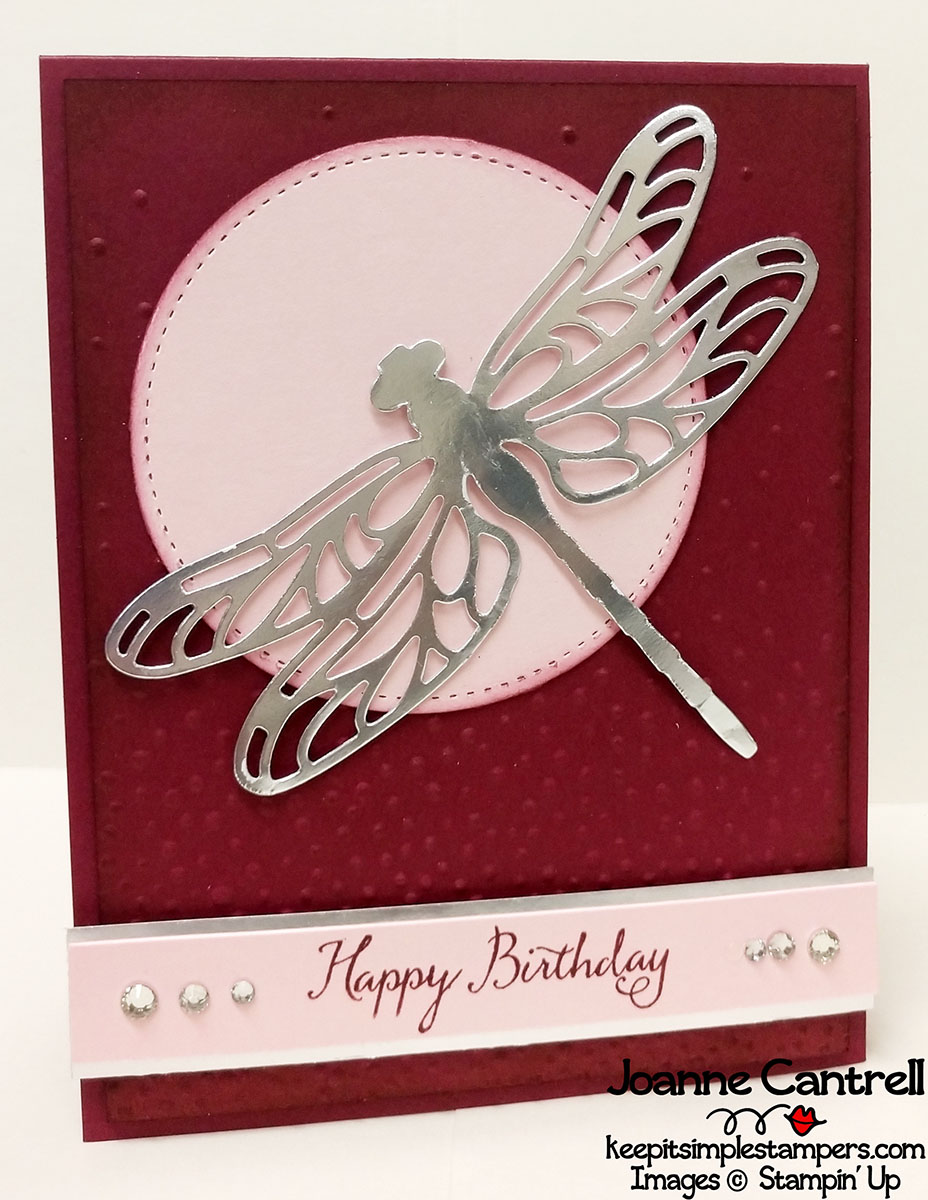
Here I used the Merry Merlot as the base and set that Powder Pink right up against is.  I love the contrast between the two.  I used the new Tin Tile embossing folder to give a little interest to the Silver foil.  The flowers are from Petal Palette stamp set and stamped in Merry Merlot. 

I used a Blender Pen with Powder Pink ink to color the flowers and Pear Pizzazz to color the leaves.  I love how is gives a faux water color look.  Then, I topped it off with the Powder Pink Shimmer Ribbon to help pull it all together.  I added one my of favorite sentiments in Merry Merlot.  It is found in the All Things Thanks stamp set. I know it’s a bit early, but wouldn’t this make a great Mother’s Day card!

I will admit, the above card was one of those ones that I was not happy with I created it.  It felt like I was just stretching to make the colors work for the challenge.  So, I created the one below and loved it instantly.  But, as with most of the cards I create and don’t like, I look at it again a couple days later and absolutely loved it.  I encourage you… when you make a project that you don’t really like – and I know we have all created those… take a step back from it.  Set it aside for a few hours or a couple days even.  Then, when you re visit it, two things will happen… you will see what it is missing or you will fall in love with it. 

Here’s the other card.

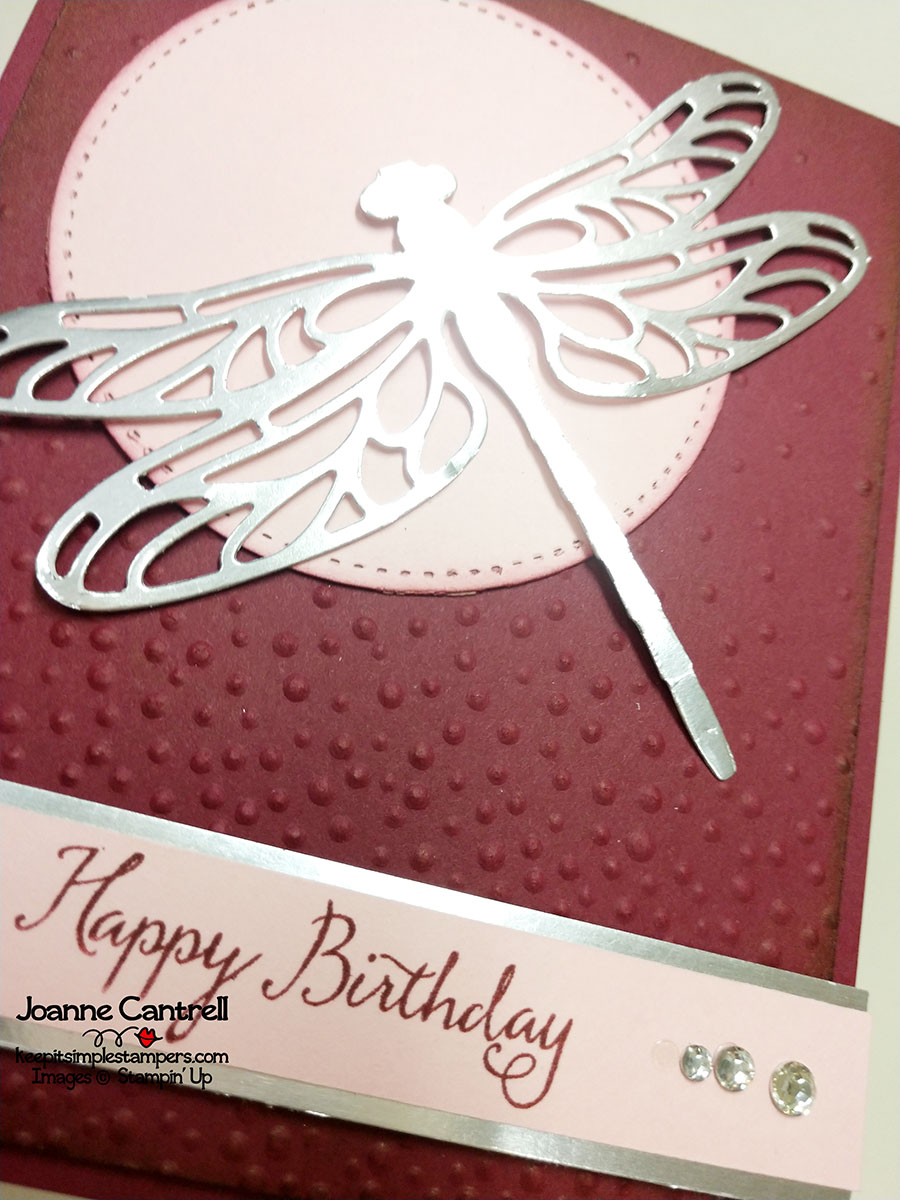
Again, I used Merry Merlot as the base.  For the large layer, I embossed Merry Merlot using the Softly Falling embossing folder and “flicked” the edge using a piece of a Stampin’ Sponge with Merry Merlot ink.  IT gives a little bit of interest to the outline of that layer – so it doesn’t get lost in the card base.  I used the same technique on the large circle cut from the Stitched Shapes framelits set. 

The Silver Foil dragonfly just pops against it, don’t you think!  A strip on Powder Pink layered over a strip of Silver Foil helps make the sentiment pop.  That Happy Birthday is from the Balloon Celebration stamp set and is stamped in Merry Merlot.  And, of course, I had to add a little bling with the Rhinestones!

I hope you have enjoyed my offerings for you today.  Now, it’s time to say goodbye so you can keep on hopping…

Stamper’s Dozen November 2018 Blog Hop

  1. Patty Chenail – Stamping In My Flops
  2. Bonnie O’Neill – Bonnie Stamped
  3. Joanne Cantrell – Keep It Simple, Stampers
  4. Debbie Naylor – Unfrogettable Stamping
  5. Jodi Reinert – Stamp with Jodi
  6. Judy Garza – Creativity Released
  7. Kelly Acheson – A Stamp Above
  8. Carol Payne – Carol Payne Stamps
  9. Sharon Hashimoto Burkert – As the Ink Dries
  10. Laura Milligan – I’d Rather “Bee” Stampin’
  11. Rachel Yurkanin – Stamping with Rachel

Until next time… keep it simple, Stampers!

🙂  Joanne
Hopping with Kylie

Welcome to the first of this group’s blog hops.  I hope you are finding great, inspirational projects as you stop by each of our pages.  

First things first…  You are currently parked at my blog – Keep It Simple, Stampers.  I am Joanne Cantrell from a little tiny town at the very bottom of Illinois, smack dab in the middle of the United States.  I aim to keep my projects simple, but often get carried away because Stampin’ Up! offers such great embellishments!

The group of Stampin’ Up! demonstrators has gathered together to learn a thing or two from Kylie Bertucci and her gang of merry stamping buddies.  It is a place where we can grow and learn to be the best demonstrators we can be for YOU, our beloved customers.

Here is my project that I created for you today.

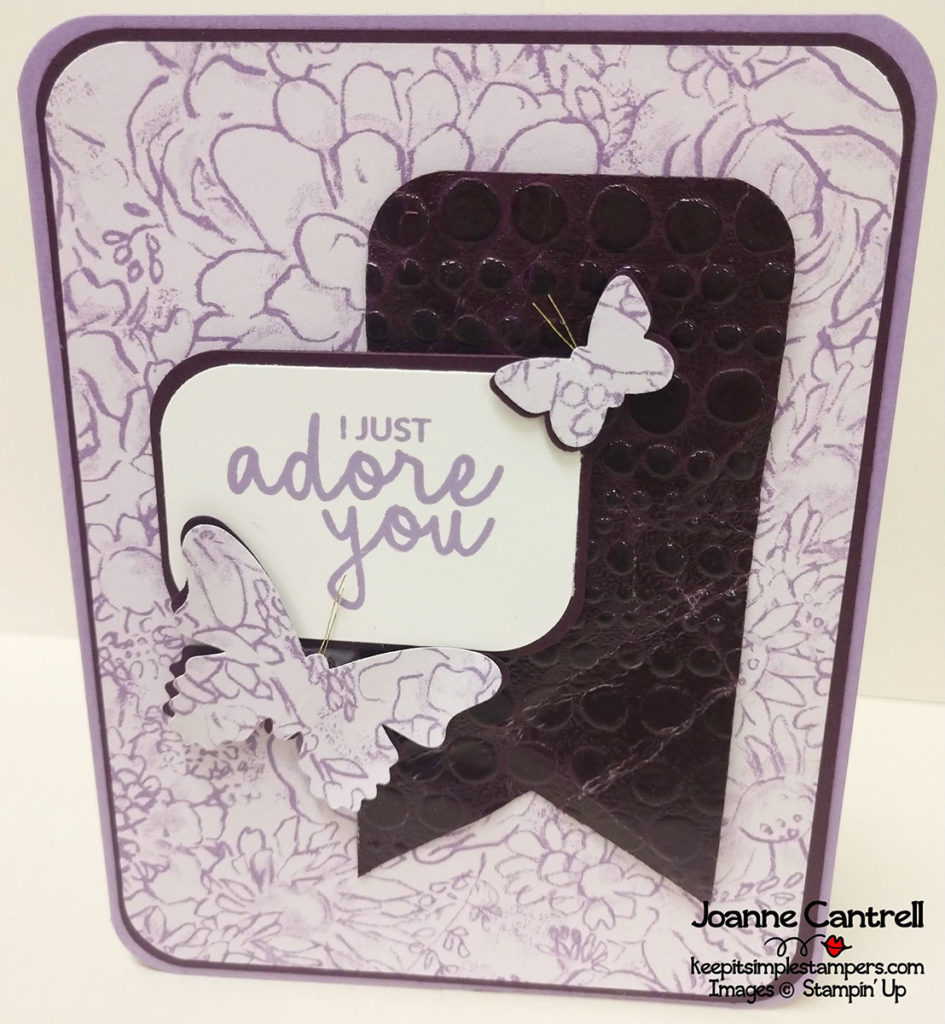
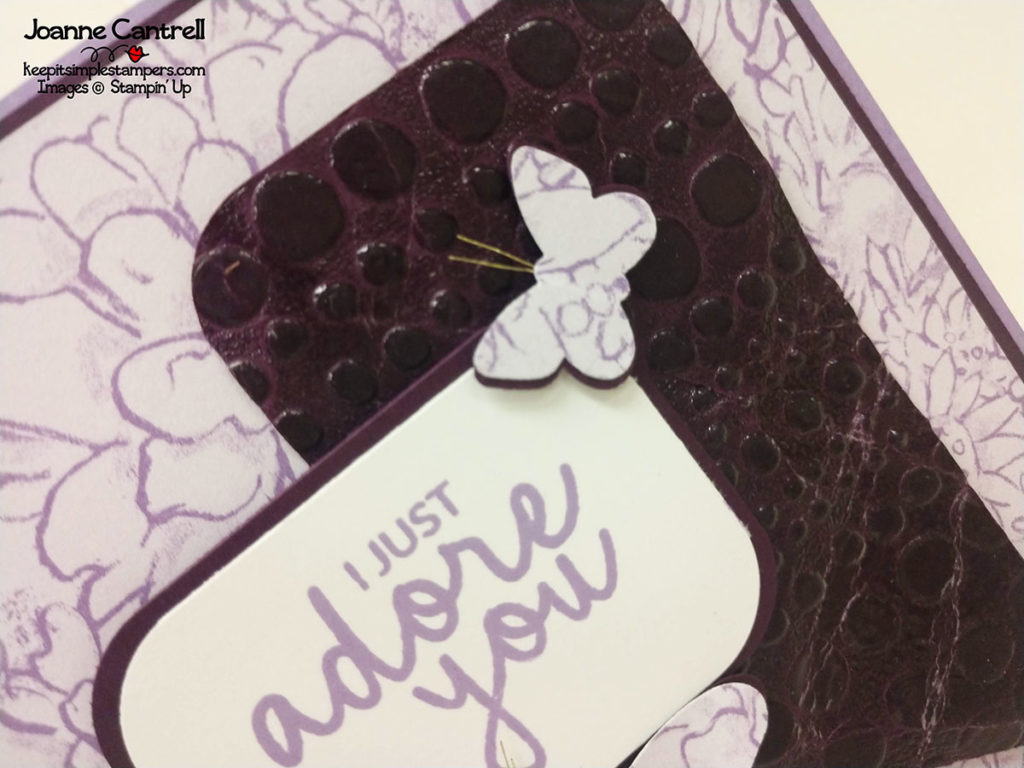
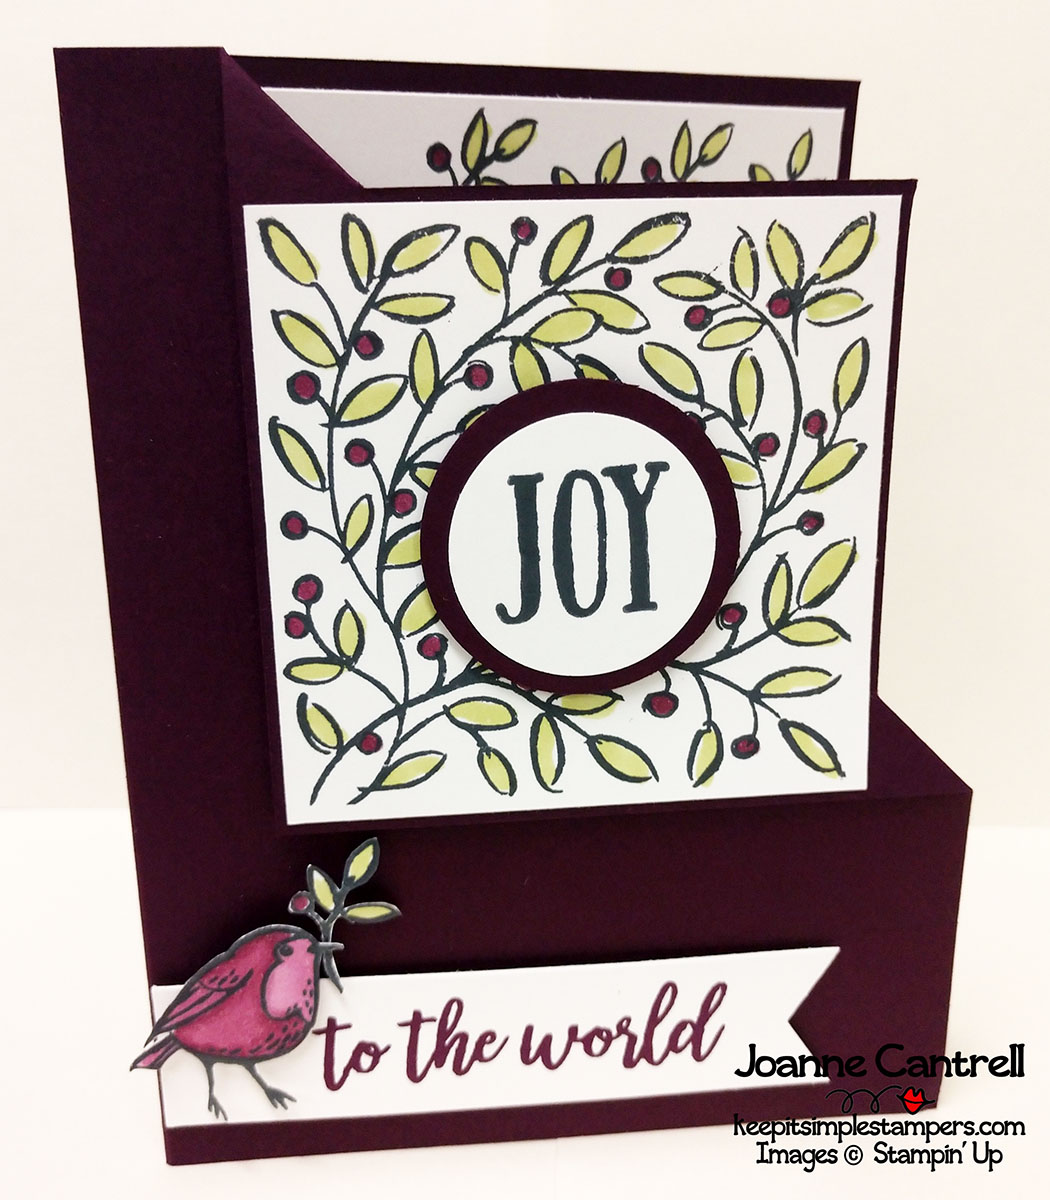
Yes, it’s a gorgeous purple winter holiday card.    Who said Christmas has to always be red and green?  And who said all cards sent in the winter has to be a Christmas card?  And, who said that this sentiment couldn’t be used as a congratulations card as well?  It’s time to think out of the box, people!  

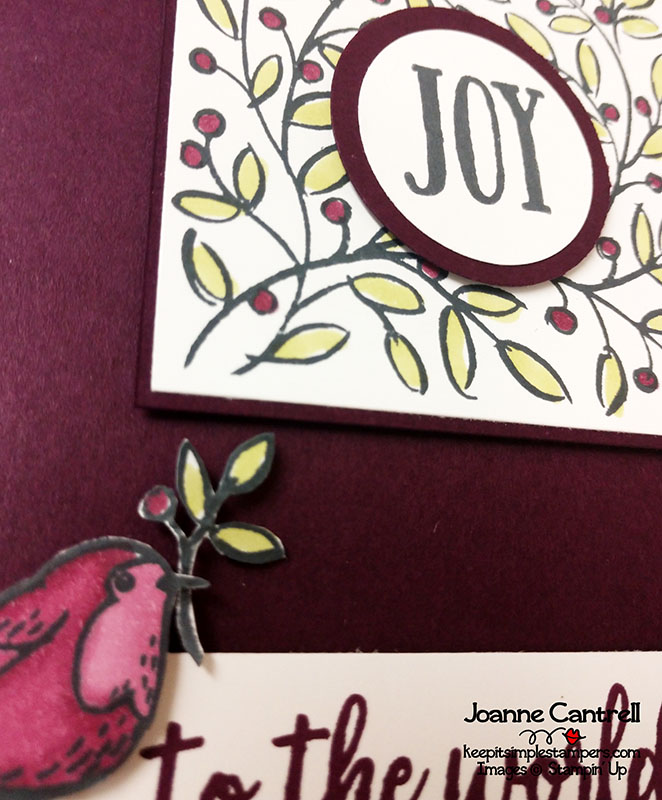
A little about the card.  I used Blackberry Bliss and Whisper White cardstock.  The stamp set is one of my favorites from the Holiday Catalog – Feather & Frost (147771).  I love the bold sentiments and the line art graphics.  Perfect for coloring or not.  I used the Blackberry Bliss Stampin’ Blends – dark & light – to color the bird and the berries.  I used the Light Old Olive Blends for the leaves.

That’s it from me this time around…  Keep hopping along!

Until next time… keep it simple, Stampers!

🙂  Joanne 
Snowflake Showcase Blog Hop

Welcome to the Snowflake Showcase Blog Hop. You are currently visiting Joanne Cantrell in a small town at the very bottom of Illinois smack dab in the middle of the United States!

The blog hop is all about the newest offering coming from Stampin’ Up… The Snowflake Showcase Suite!  

Here is Shannon West to introduce you to this fabulous suite.

Is that not a great suite.  I had a lot of fun playing with it and can’t wait to get it into you hands so you can do the same!

While, I absolutely love the snowflakes, I decided to show you that this really is a year-round suite.  

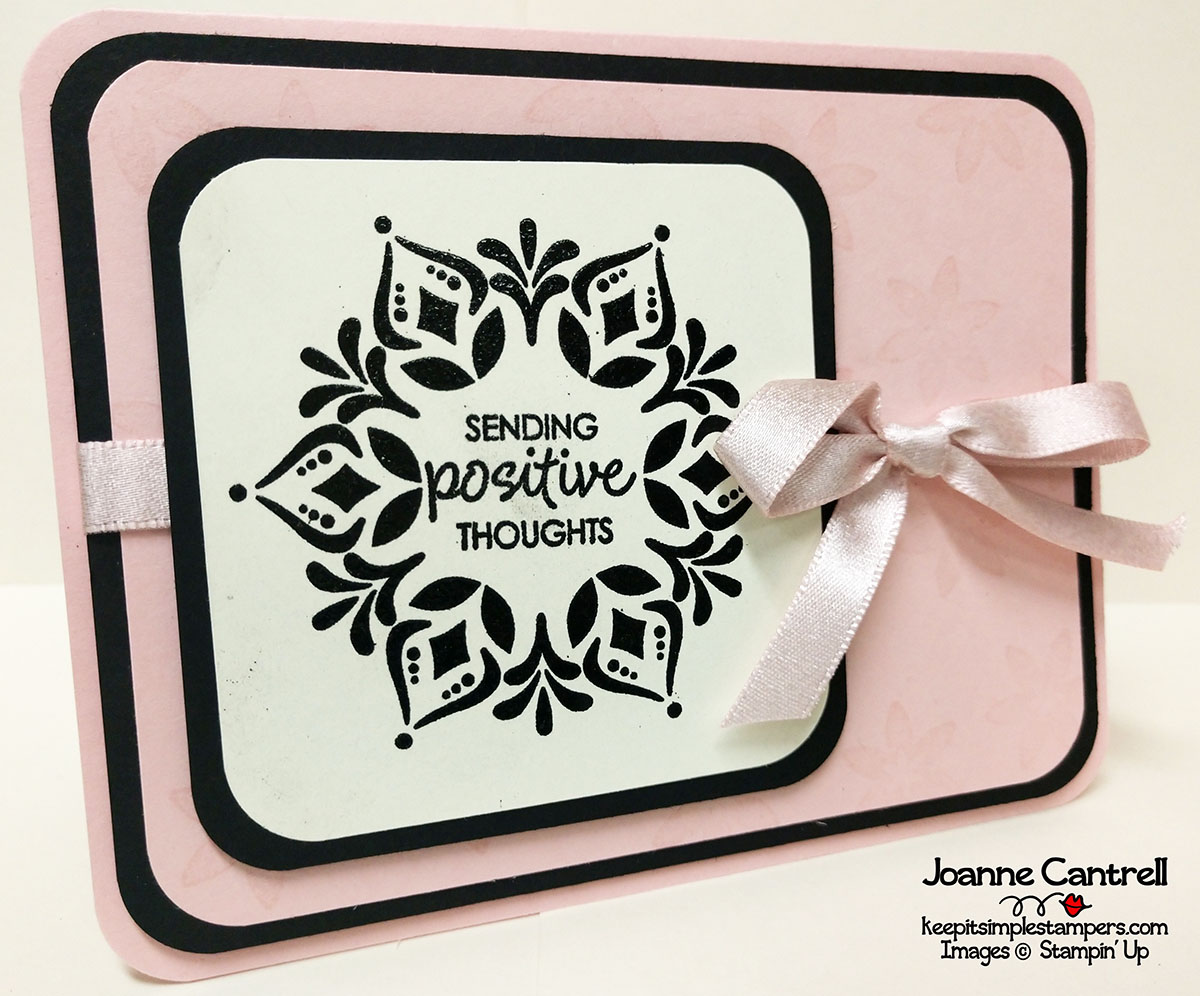
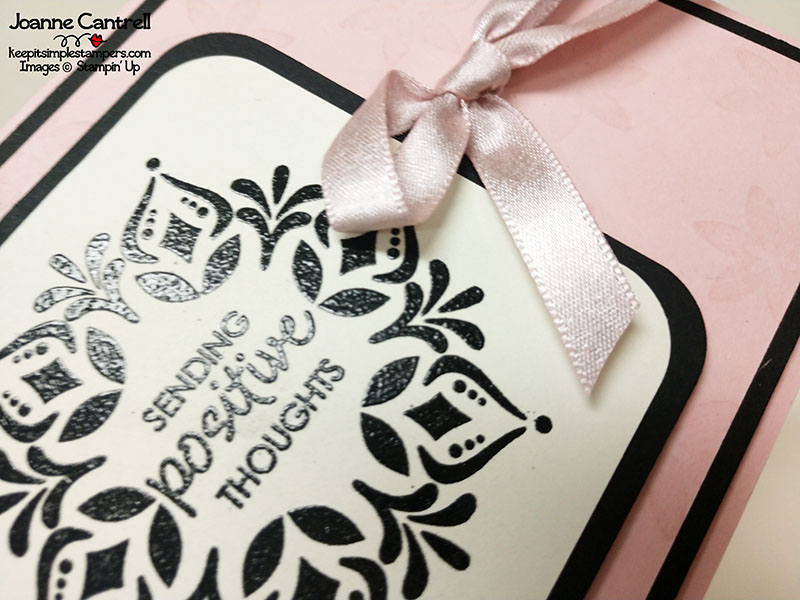
I think Basic Black and Powder Pink is such a classic combination, don’t you?

I used the small flower stamp and VersaMark ink to stamp the background.  Then, I used the VersaMark to stamp the medallion and sentiment and black emossing powder to give texture to the card. I think the Powder Pink Shimmer Ribbon is the perfect touch to give this card the polished posh look.

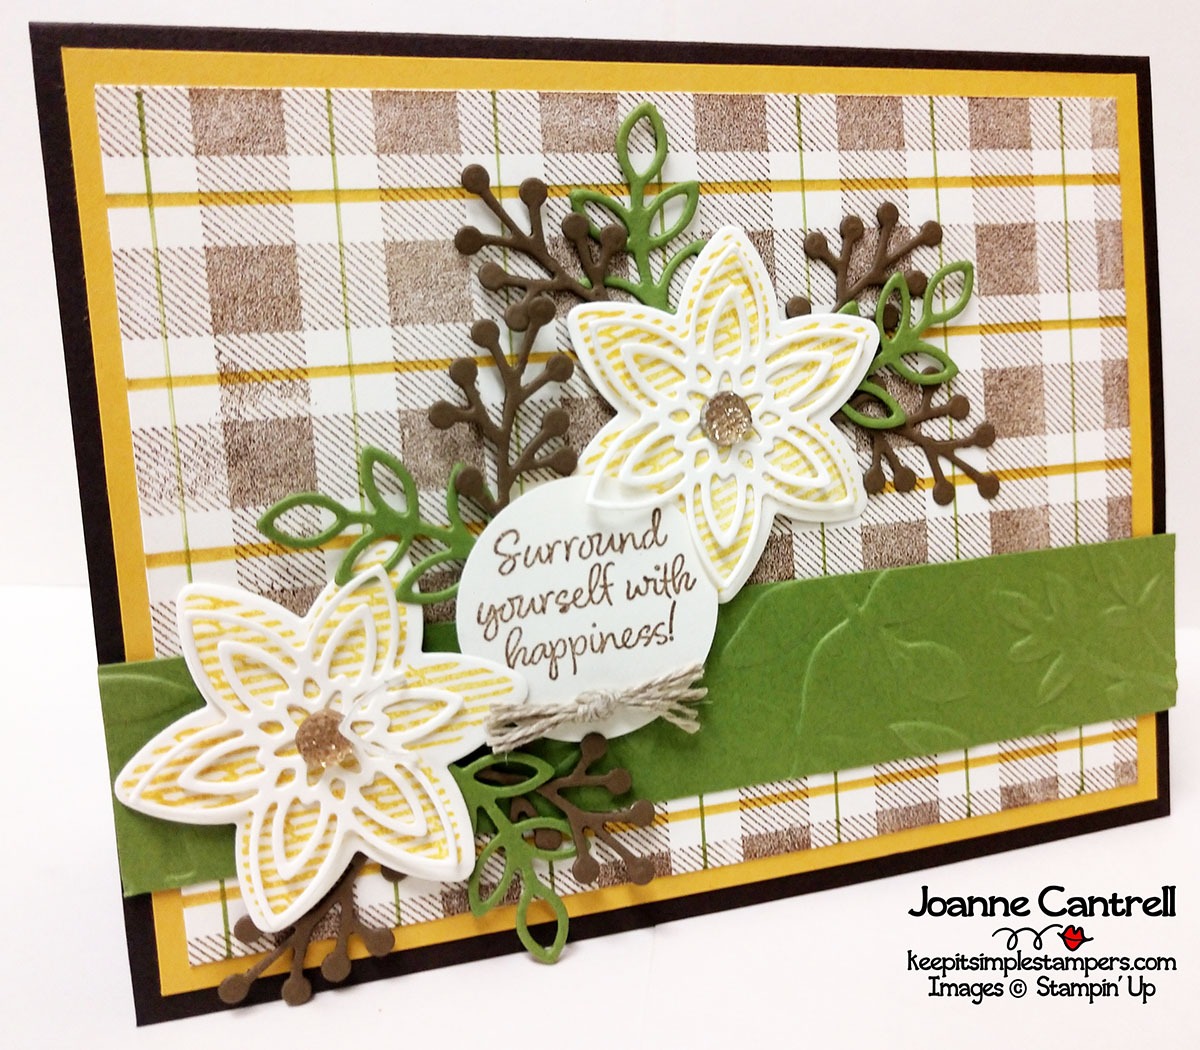
Here is the other non-snowflake Snowflake Suite card for you.

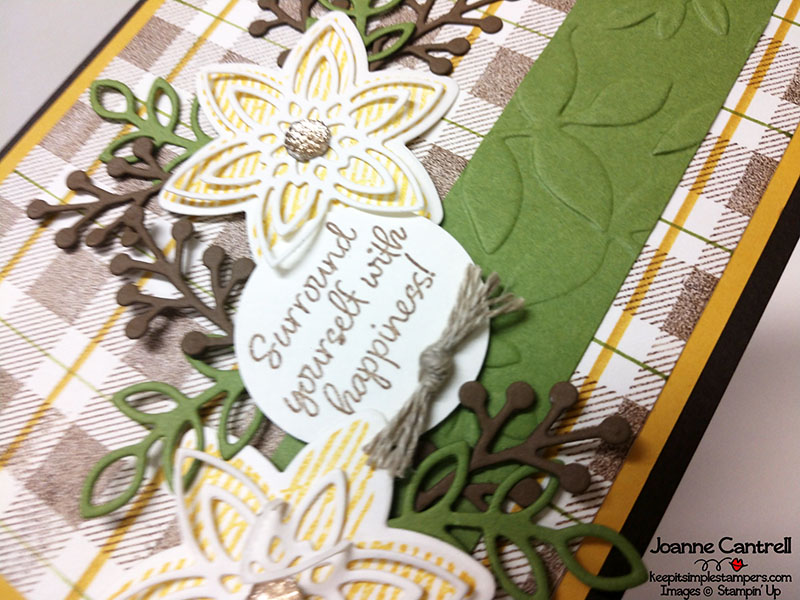
For this card, I used a the Buffalo Check background stamp in Soft Suede on Very Vanilla and added lines using Old Olive and Crushed Curry Stampin’ Write Markers.  I used the Layered Leaves embossing folder on the Old Olive strip.  The foliage is cut from Old Olive and Early Espresso using the coordinating dies. The flowers were stamped in Crushed Curry and cut using the dies.  I just love the delicate layers.  I added a Gold Faceted Gems to the center.  The sentiment is stamped in Early Espresso and puched using a circle punch.  A little Linen Thread bow and you’ve got a cute little card!

That’s all I have to show you today. 

Now, hop along to the next blogger in line!

Until next time.. keep it simple, Stampers!

🙂  Joanne

Ink & Inspiration Blog Hop – Halloween / Fall

Welcome to the Ink & Inspiration Blog Hop. You are currently visiting Joanne Cantrell in a small town at the very bottom of Illinois smack dab in the middle of the United States!

Our theme for the month is Halloween/Fall.  I love fall.  I think next to spring time, it is my favorite time of the year.  Unfortunately this year, it seems we have gone straight from summer to winter.  Legit!  It went form 90 degrees on day to 45 the next!  Geesh, Mother Nature… what’s your deal!

Anyway, I spent one of those cold rainy days up in my little craft room above the garage and created these cards for you!

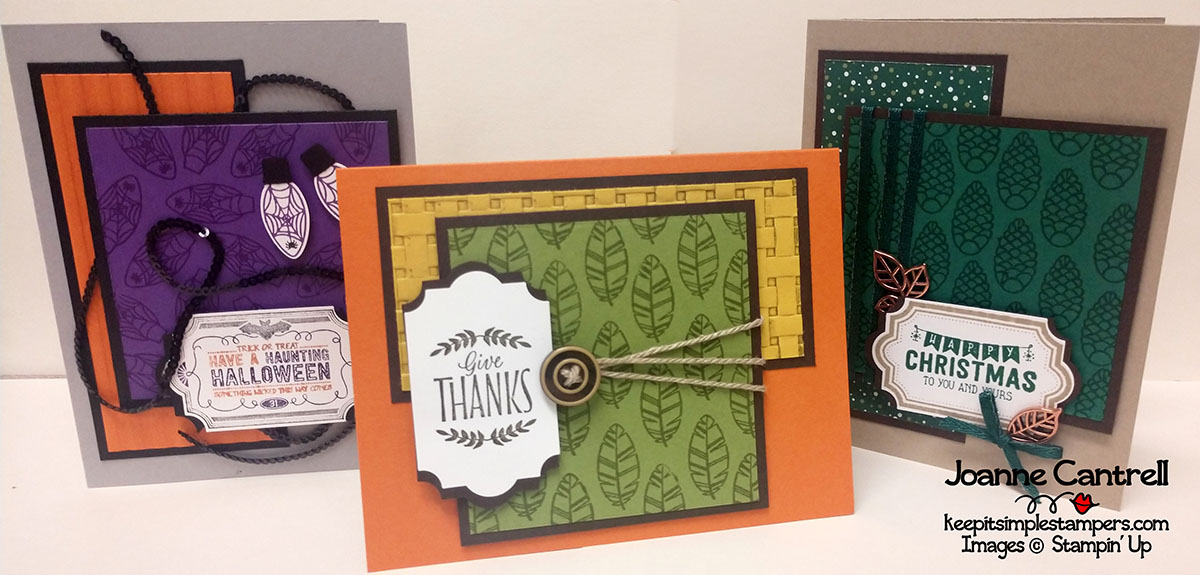
Wait – what’s that?  You noticed I snuck in a Christmas one too?  Well, I never have been one to follow directions!  LOL

So, these cards were made using two stamp sets – Labels to Love (144970/144967) from the Annual Catalog AND Making Every Day Bright (148813) from the Holiday Catalog. These two sets have great sentiments and images for all seasons.

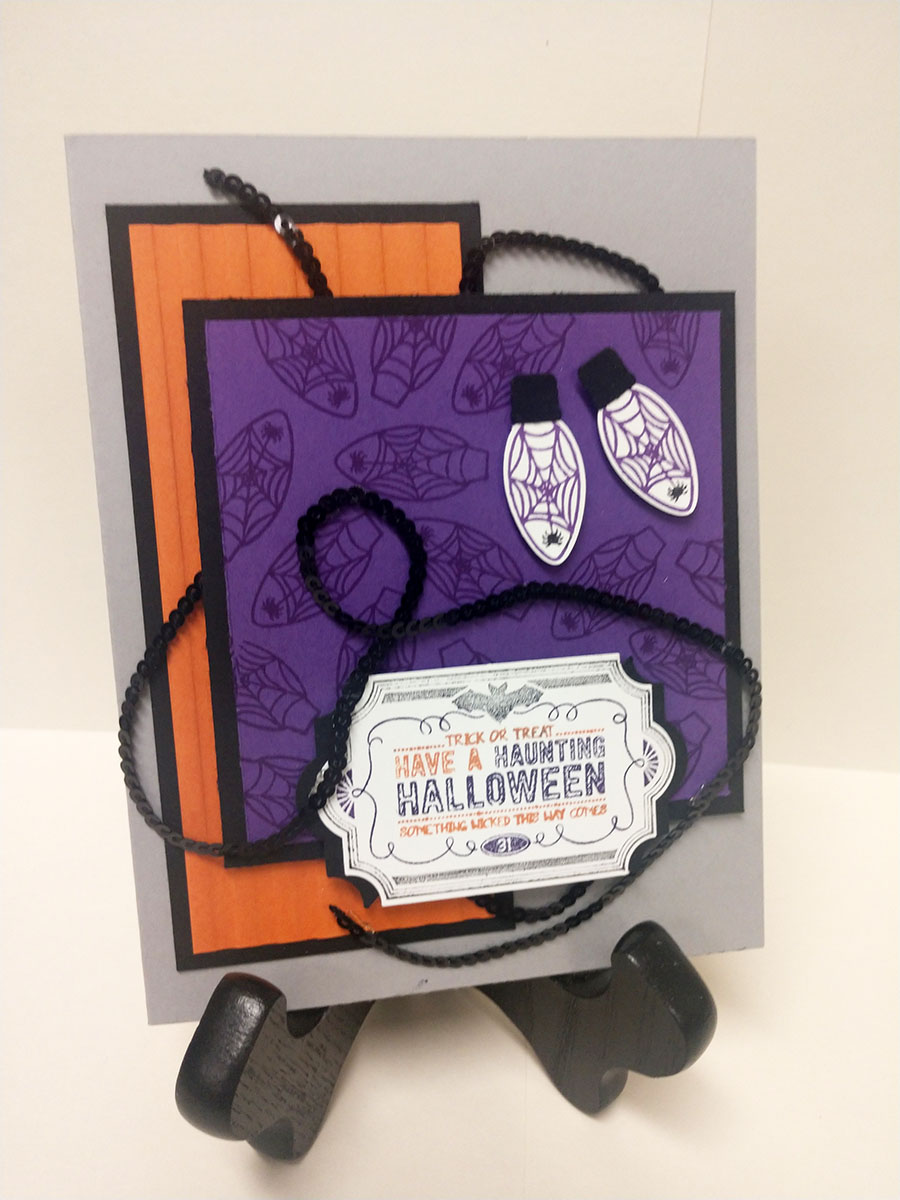
So, here is the Halloween card…

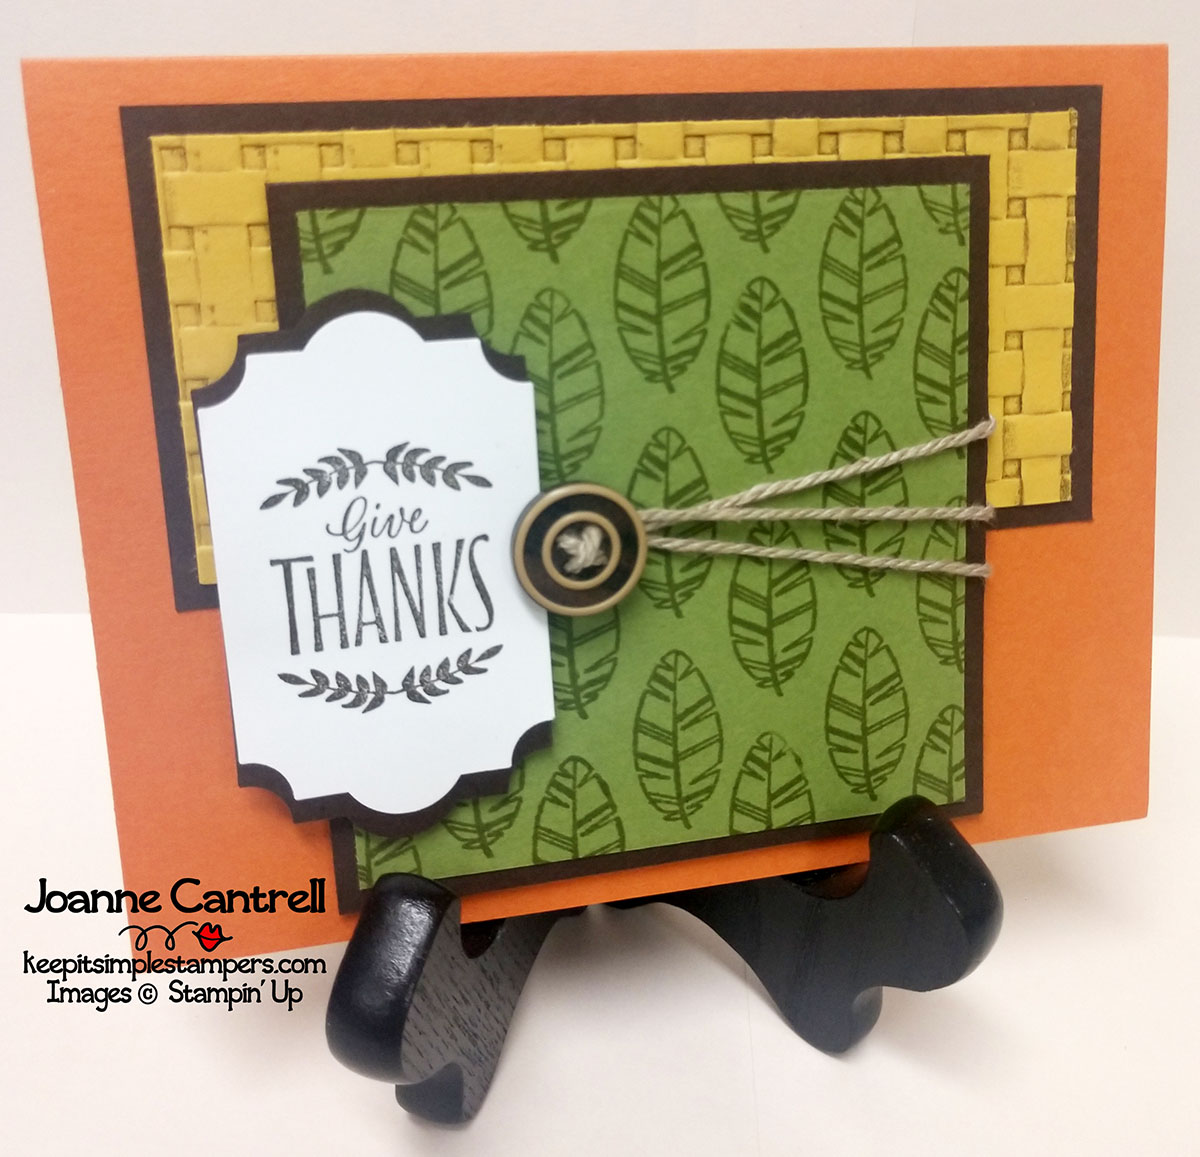
And here is the Fall…

And, finally, here is the Christmas one…

I hope the projects you’ve seen here on my blog today have inspired you & brightened your day. You are currently visiting Joanne Cantrell. Please see the list below & hop through all of the people on the list to see all our projects. You don’t want to miss any!”

#IIBH if you’re into hashtags.

Here is the list our other fine bloggers… Now hop along!

Until next time… keep it simple, Stampers!

🙂  Joanne
The Ultimate PINK Blog Hop

Welcome to our PINK OUT of the interwebs!

As you know, October is Breast Cancer Awareness month.  Honestly, I have no idea how many people, both men and women, that breast cancer has affected. The fact that it affects just one person in and of itself is terrible.  In addition to the patients, whole communities rally together to support the cause every time friends and family are diagnosed.  This is our little way, as Stamper’s, to show our support.

Stampin’ Up has many stamp sets that are just perfect for making cards to give to those whose lives have changed because of a cancer diagnosis.

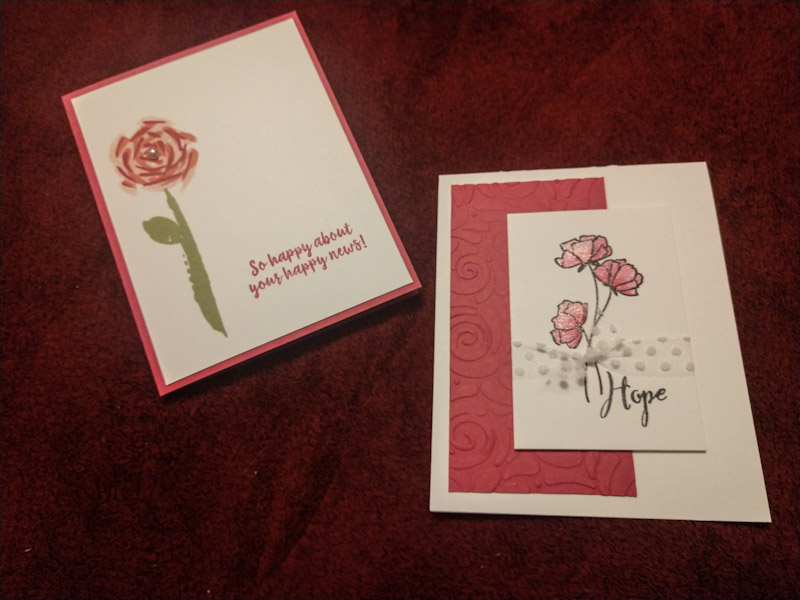
Here is what I have for you today.

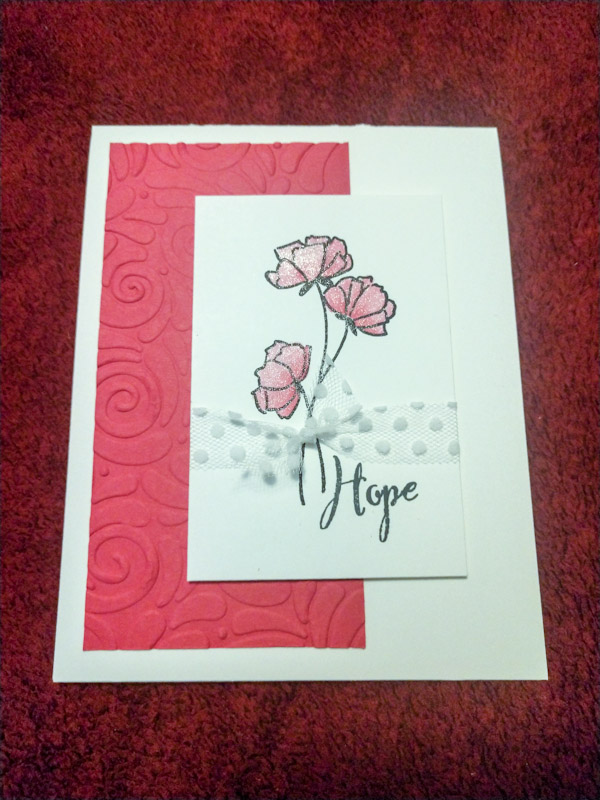
The first card was created using flowers from the Love What You Do stamp set and the word is from it’s companion set Make a Difference. And the embossing was done using the Swirls and Curls folder found in the 2018 Holiday Catalog.

Here it is close up…

I added a knot of Whisper White Polka Dot Tulle Ribbon. And a little of everyone’s favorite Wink of Stella.

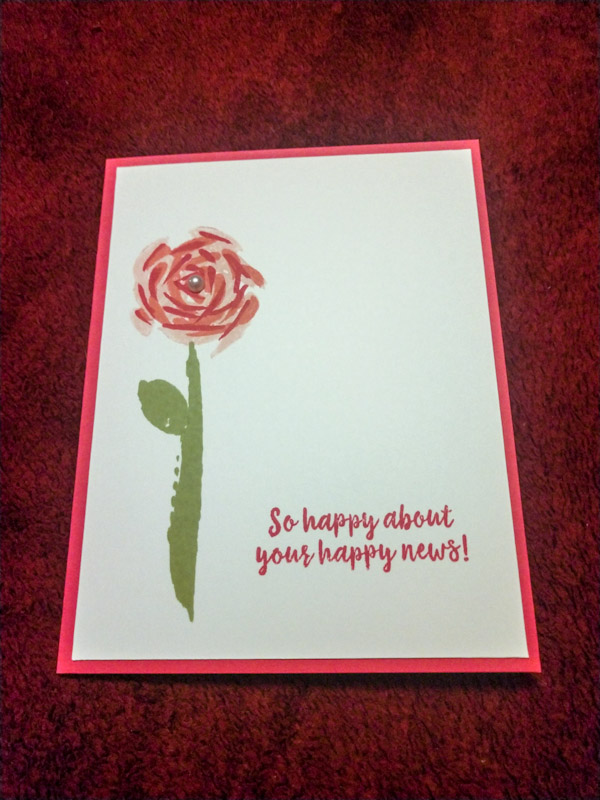
And here is the other card…

This card uses the large flowers and one of the sentiments from the Abstract Impressions.  

So, what do you think about the sentiment I choose? Here is my thinking… Not every trip to the doctor’s ends in terrible news, right.  We need to celebrate the good visits too.  Our family and friends need cards for all visits…

Well, that is all I have for you today!

Until next time… keep it simple, Stampers!

🙂  Joanne
Stamper’s Dozen Blog Hop – Happy Fall, Y’all

Welcome to this month’s installment of the Stamper’s Dozen Blog Hop.  You are currently visiting Joanne Cantrell in a small town at the very bottom of Illinois smack dab in the middle of the United States!

This month, or them is Fall!  I am so glad that the weather had finally turned cooler and the leaves on the trees are starting to change colors.  Fall is finally in the air!  Bye-bye summer!!!

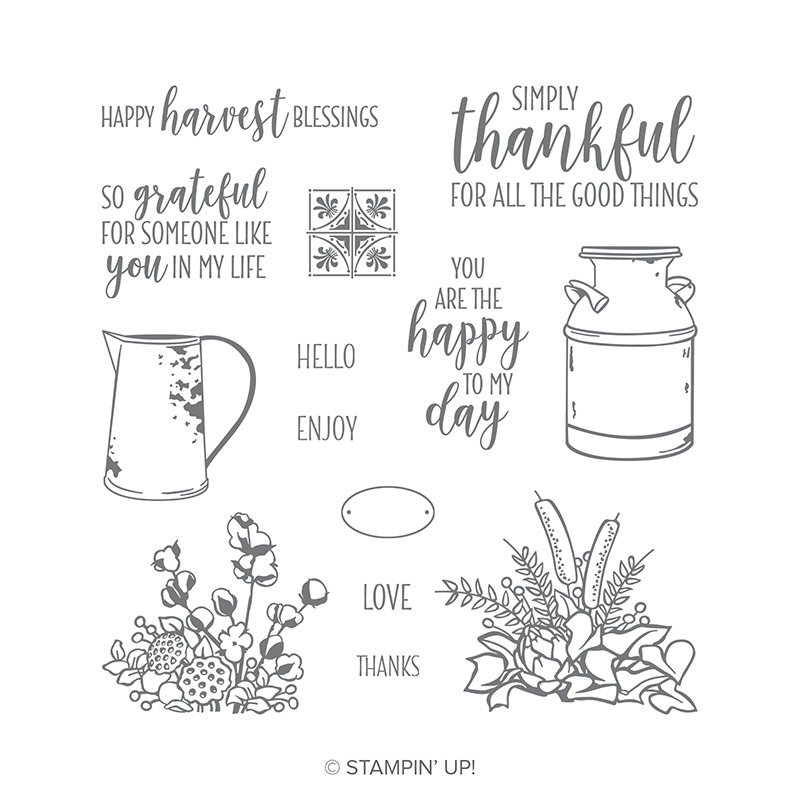
So, for you this time around, I decided to show case one stamp set… COUNTRY HOME (147678). This a very versatile stamp set found is the 2018 Holiday Catalog.


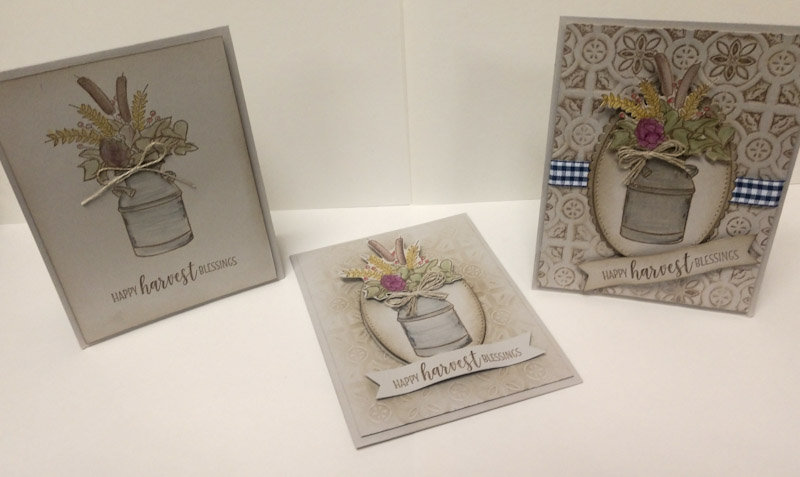
I created three cards using this set.  Each card builds on the previous one.  Now matter your level experience with stamping, you can create a beautiful card.


This card is for the NEW stamper. 


The images are stamped on the later using Soft Suede ink the colored in using the water color pencils.  I smoothed the pencil lines or using a blender pen.  I finished it off with a sentiment in Soft Suede and a Linen Thread bow.

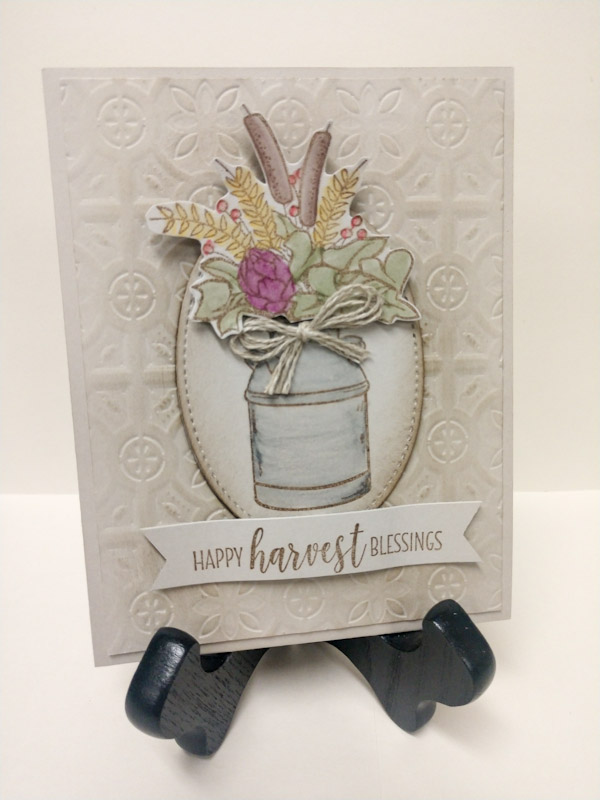
This card is for the CASUAL stamper.  


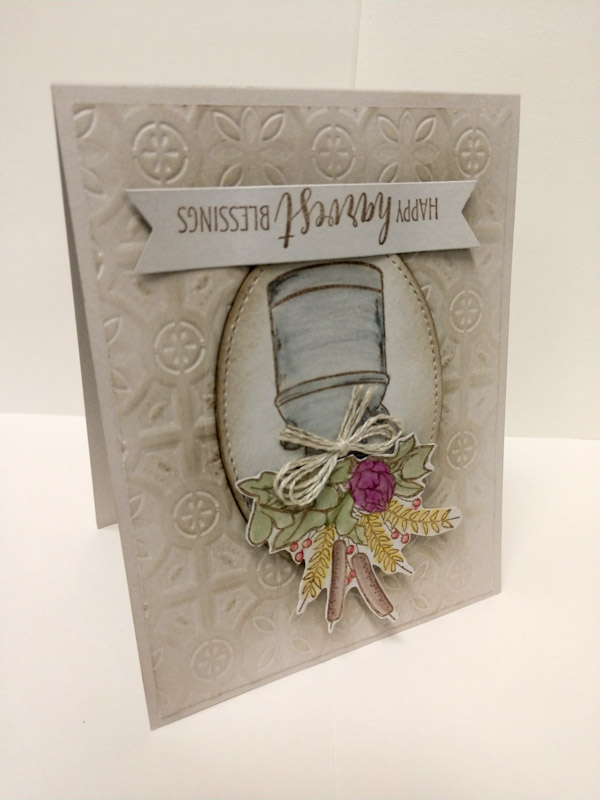
I used a few more techniques and tools.  I first cut an oval from the background layer using the Layering Ovals Framelits (141706).  After I stamped the images on the oval,office I used a sponge to burnish the edges.  Then, I used the Tin Tile Dynamic Textured Impressions Embossing Folder (147906) on the background layer to add texture. I “fussy cut” the floral image which means I stamped onto a scrap piece of Crmb Cake cardstock then used Snips to cut it out after I colored it. And, my Linen Thread bow used more thread.

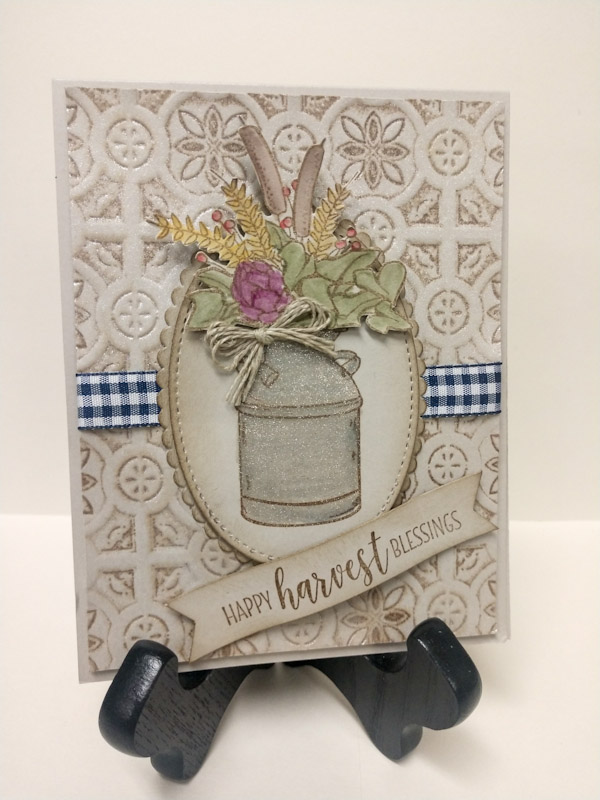
And finally, this card is for the AVID stamper.


It really is the card above, just stepped up a bit.  Belle I used the embossing folder, I ran the Sodt Suede ink pad over the folder.  This gives the color to the embossing which adds depth to the texture.  And, honestly… I never know which side to color, so I do both and see which I like better!  Lol

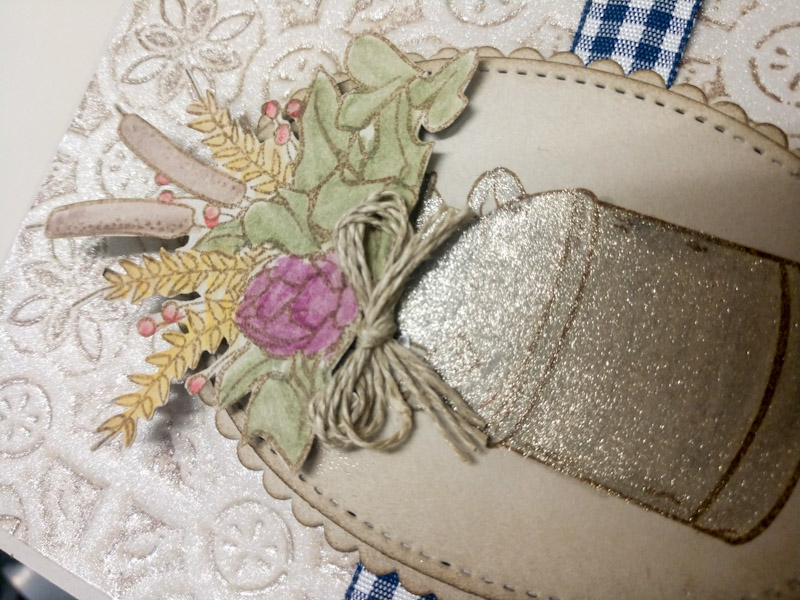
In addition to the added Gingham ribbon and a scalloped oval layer, I used the new Champgne Mist shimmer paint.  I put some in a Spritzer and added rubbing alcohol.  I spritzed the whole embossed layer with it.  Then on the milkcan, I used a small paint brush and painted it on.


Look at the way it just shimmers.  Isn’t it beautiful! 

Oh, on more thing.  If you are a new stamper and think you can never do justice to many of the projects you see in the interwebs…  I’m here to tell you that even us avid, experienced stamper’s still don’t get it right.  I started this project with a vision in my head.  When it didn’t come together for me, I just set it aside and came back to it a few days later.

We also make lots of mistakes along the way!!!

Case in point…


Never saw that one coming, did you?  😂😂

I made a lovely upside card! I can use the heat gun to soften the snail adhesive or simply cut the card base and adhere to a different one.

Well, that’s it for me today…  Hop along now…


Until next time… keep it simple, Stamper’s!

🙂 Joanne

Ink & Inspiration Blog Hop – Technique Savvy

Welcome to this month’s installment of the Ink & Inspiration Blog Hop.  You are currently visiting Joanne Cantrell in a small town at the very bottom of Illinois smack dab in the middle of the United States!

This month it’s all about TECHNIQUES!  I love all kinds of techniques… There are so many to choose from.  I wasn’t sure what you would like to see, so I just picked something that can be used for any occasion.

May I introduce LAYERED STAMPING!  You may know it as triple stamping, but that doesn’t really work if you are only doing two layers now, does it.

So, here are the cards I made using the technique.

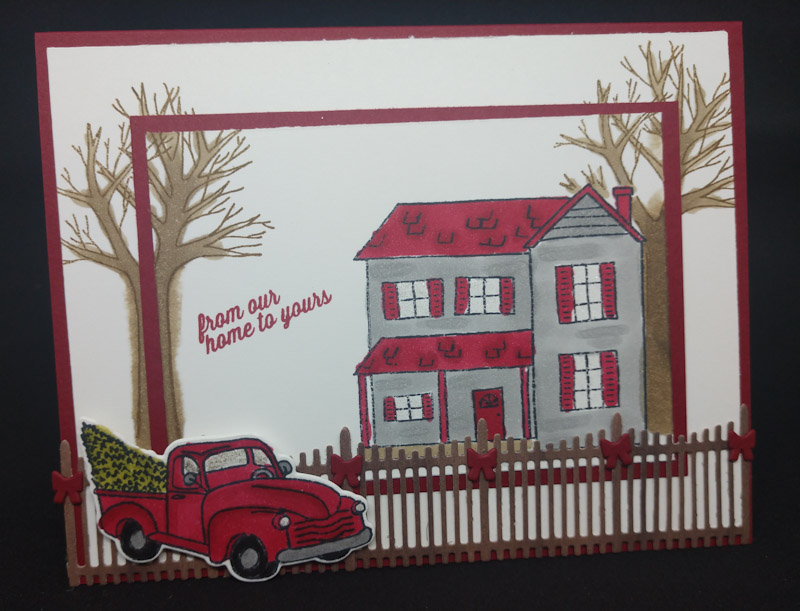
This card uses the Festive Farmhouse suite.  I have two layers.

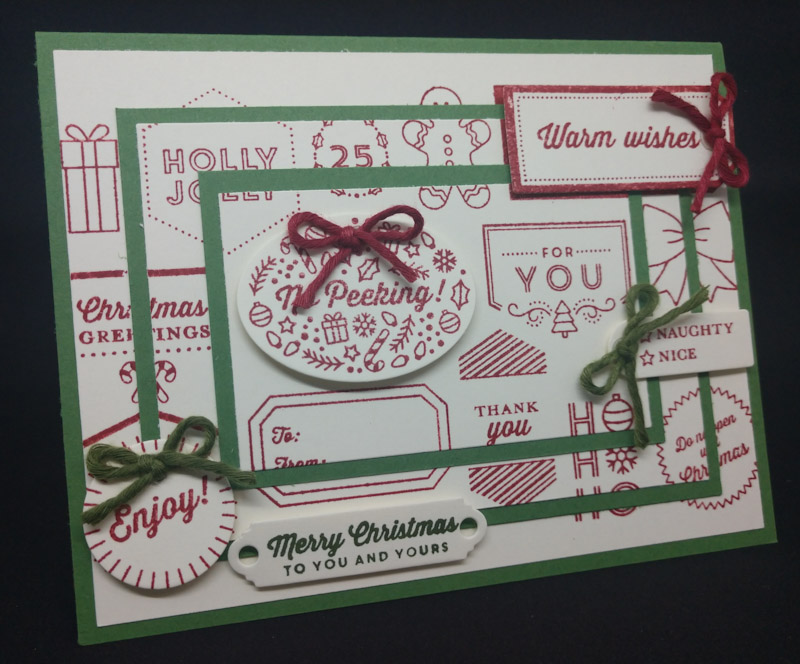
This card uses the Tags & Tidings bundle. The bows are from the cotton twine found in the farm house suite.

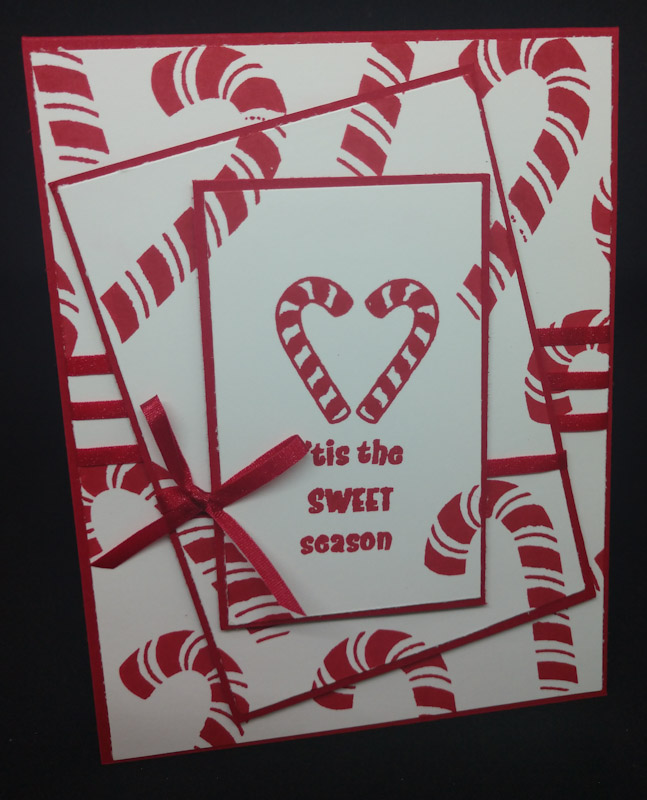
A little candy cane twist using Candy Cane Season.  Same twchiquet, just turn the middle layer.

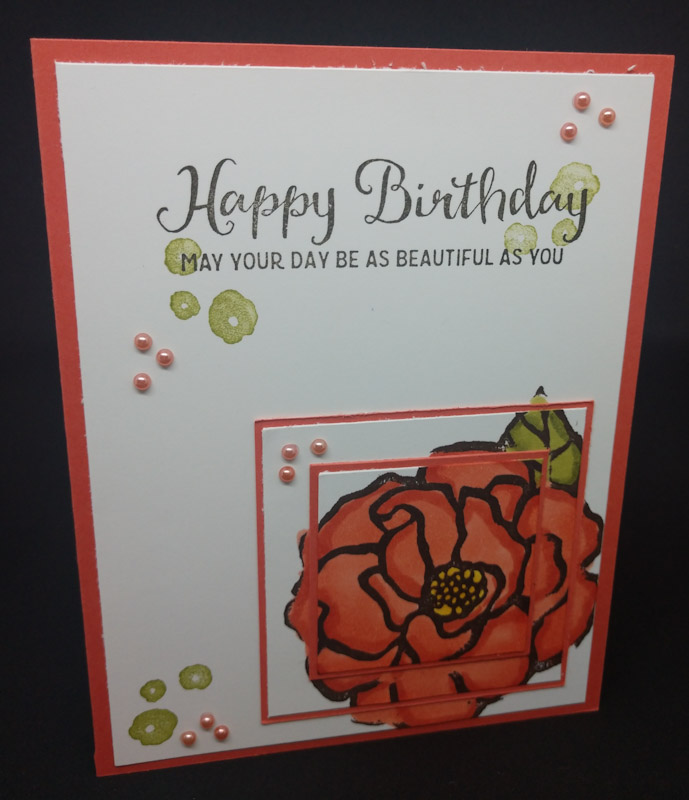
I used Beautiful Day here and just made smaller layers.

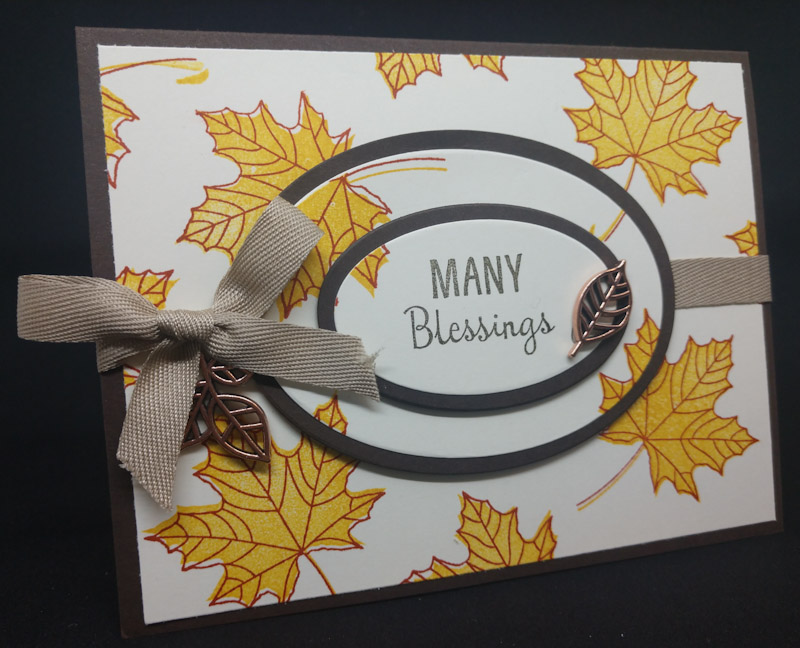
And finally, this card uses the Colorful Season and Many Blessings stamp sets.  The layers were cut using the Layering Oval dies.

So, the basic idea for this technique is cutting multiple layers of graduated sizes with coordinating mats.  The most popular layering is 4″ x 5-1/4″, 3″ x 4-1/4″, 2″ x 3-1/4″ with mats 4-1/4″ x 5-1/2″ (card base), 3-1/4″ x 4-1/2″, 2-1/4″ x 3-1/2.  But those measurements aren’t the only ones to use.  It is only limited by your creativity!

I hope the projects you’ve seen here on my blog today have inspired you & brightened your day. You are currently visiting (your name). Please see the list below & hop through all of the people on the list to see all our projects. You don’t want to miss any!

#IIBH if you’re into hashtags.

Here is the list our other fin bloggers… Now hop along!

Until next time… keep it simple, Stampers!

🙂  Joanne
Stamper’s Dozen Blog Hop – Holiday Catalog – Anything BUT Christmas

Welcome to this month’s installment of the Stamper’s Dozen Blog Hop.  You are currently visiting Joanne Cantrell in a small town at the very bottom of Illinois smack dab in the middle of the United States!

If y’all are like me, you are not at all ready for Christmas.  It’s still hot outside and the leaves have not started really turning colors yet.  If anything thing, it’s second summer!  So, this blog hop is all about the Haoliday Catalog… but NOT Christmas.  

Did you know that there are things in the new Holiday Catalog that do not revolve around Christmas?  It’s true!  You will see a lot of them hopping through these blogs today!  

So, here is what I came up with.. not a red and green in sight!!!  Okay – maybe a little green… but definitely fall – not Christmas!

Sorry I don’t have a lot of photos of it.  I actually made it for a recent swap and didn’t have any left.  I had to ask the organizer to send me a photo of it.  But, I absolutely loved it and will making a bunch of them this fall season.

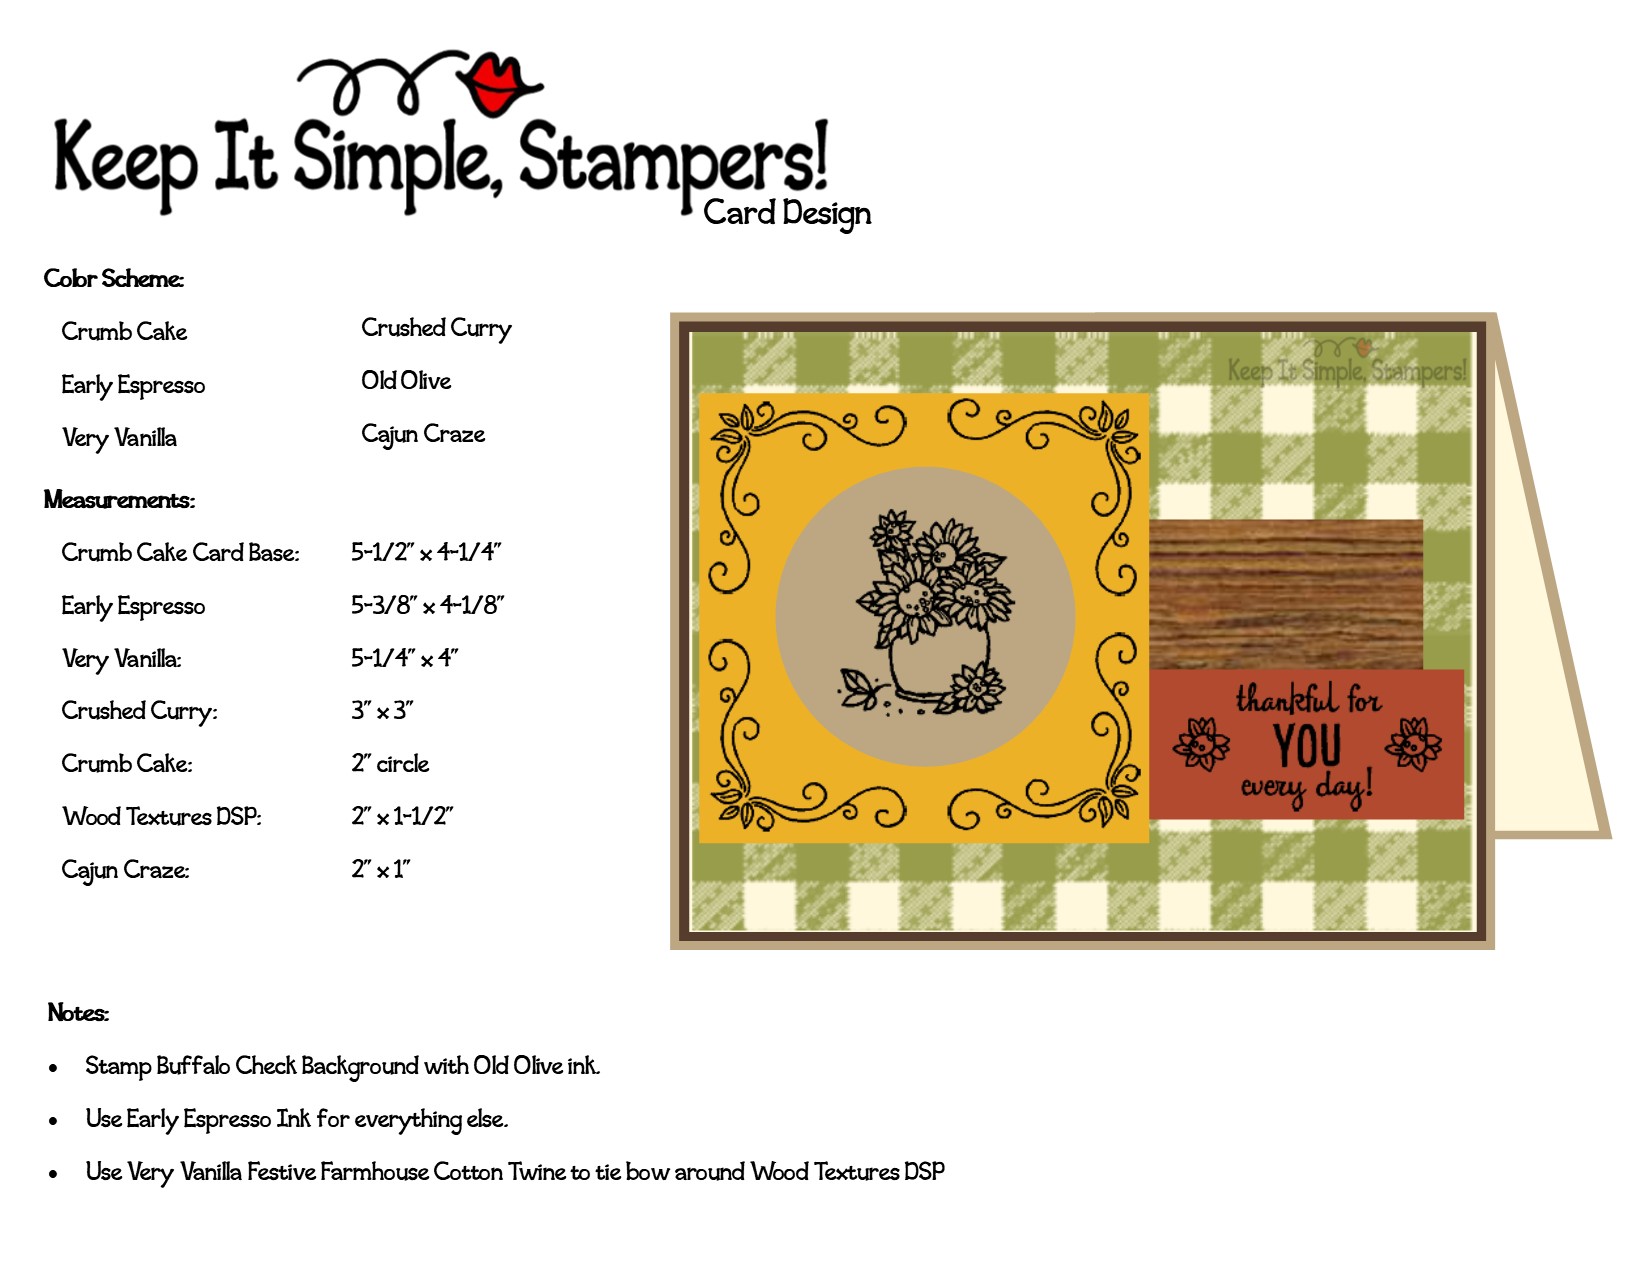
I have included a little bit of a card sketch.  This is how I layout my cards on the computer.  It’s about the second or third step of card design for me.

The first set is usually pick the stamp set and a color scheme.  Then I peruse Pinterest or Split Coast to see designs or sketches that I like.  Then I do my layout.  I use Microsoft Publisher and Photoshop to lay it out digitally.  I usually guess at my measurements… but having a catalog handy makes it easy since most stamp images are true-size in it.   Using the RGB/HEX color codes that Stampin’ Up! makes available helps me see the design in real color.

Well, that’s it for a look into my mind.  You had better run before you get to scared in there!

Well, that’s it for today.  Have fun hopping about my little froggies!!!


Until next time… keep it simple, Stampers!

🙂 Joanne 

Sample the Festive Farmhouse DSP

Happy Sunday!  

For your creating pleasure today, I have created a sampler showcasing new products from the fresh-off-the-boat 2018 Holiday Catalog!  Yay!

When I first saw the catalog, I absolutely fell in love with the Festive Farmhouse Suite.  But then, when I was at Vacation Stamping School a few weeks ago, I saw a precious little sampler that used the Tags & Tidings set.  How could I not CASE that using the Designer Series Paper from the farm house set!

Here is what I came up with…It’s that not just the cutest? 

And it was so simple thanks to the one-step stamp in the Tags & Tidings set.  Its one piece that stamps ALL the tags in one shot.  Then, you use the die cut all the tags at once… Easy-peasy…  I did stamp and cut four different pieces.  Why?  Good question! You see, the Designer Series Paper’ color scheme uses both Whisper White and Very Vanilla as background colors.  Cherry Cobbler and Mossy Meadows are two other colors.  So, I did one of each white and vanilla using both the cherry and Mossy inks.  That way I could mix and match and have a good selection of tags.
I used the Festive Farmhouse Cotton Twine to tie the bows. And the Banner Triple Punch to notch the 2″ x 3-1/16″ banners (which cut them down to 2″ x 3″ with some left over for the contrast top of the tags).  Other tags are topped with a 2″ x 5/8″ piece of DSP.

Here are a few shots of the assembly process.

Laying out the tags to figure out the spacing and backing size.
Placing the bottom layer. Making sure everything lines up with 1/4″ between.
Lining up the top tags.
The first piece if the middle row.
Last check before being happy they are all straight!

The tags were placed on a 9-1/2″ x 6-1/2″ piece of Granite Gray using Dimensionals – the large ones at the top and three mini ones at the points and notch.  Then, I added everything else using Dimensionals and glue dots.This mat was attached to the 9-3/4″ x 6-3/4″ piece of Mossy Meadow using using the sides of the Dimensionals sheets (see the photo below).

Then, I attached this to the 10″ x 7″ piece of Cherry Cobbler using SNAIL, then attached this to a full 11″ x 8-1/2″ piece of Granite Gray.

Well, that is my project for today! 

Until next time… Keep it simple, Stampers!:) Joanne