Merry Little Christmas

Hope you all enjoyed the 2017 Holiday Catalog Product Spotlights that I blogged about last week.  That was great fun.  All the gals came up with unique takes on each of the products.

And, I’ll let you in on a little secret…

I bought the Detailed Gate just for that blog hop and now I absolutely love it!  So, watch for a whole week of projects featuring that die!

Today, I wanted to show you how a simple piece of Designer Series Paper is really all it takes to create an easy yet spectacular card!

When I first glanced through the catalog, I fell in love with the Merry Little Christmas Designer Series Paper (DSP to those in the know!).


These first two designs were inspired by the work of Lori Pinto.

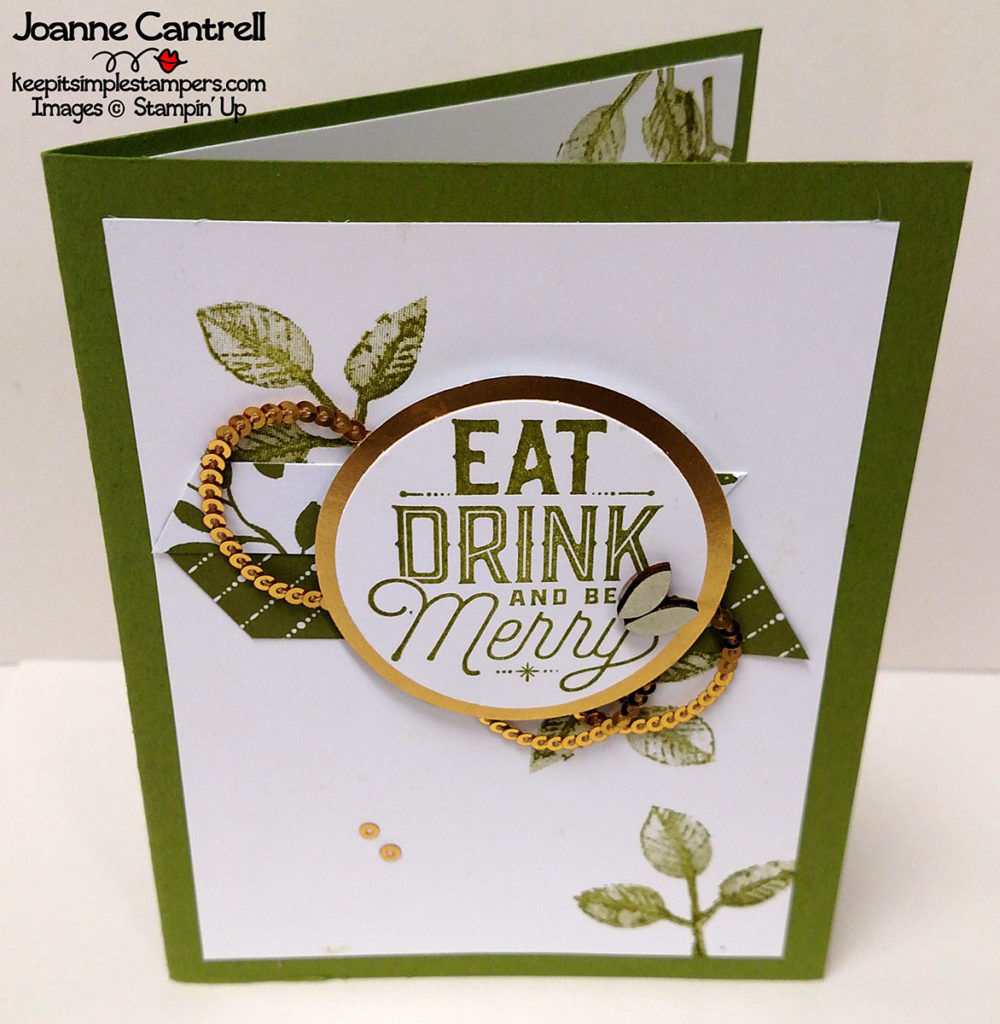
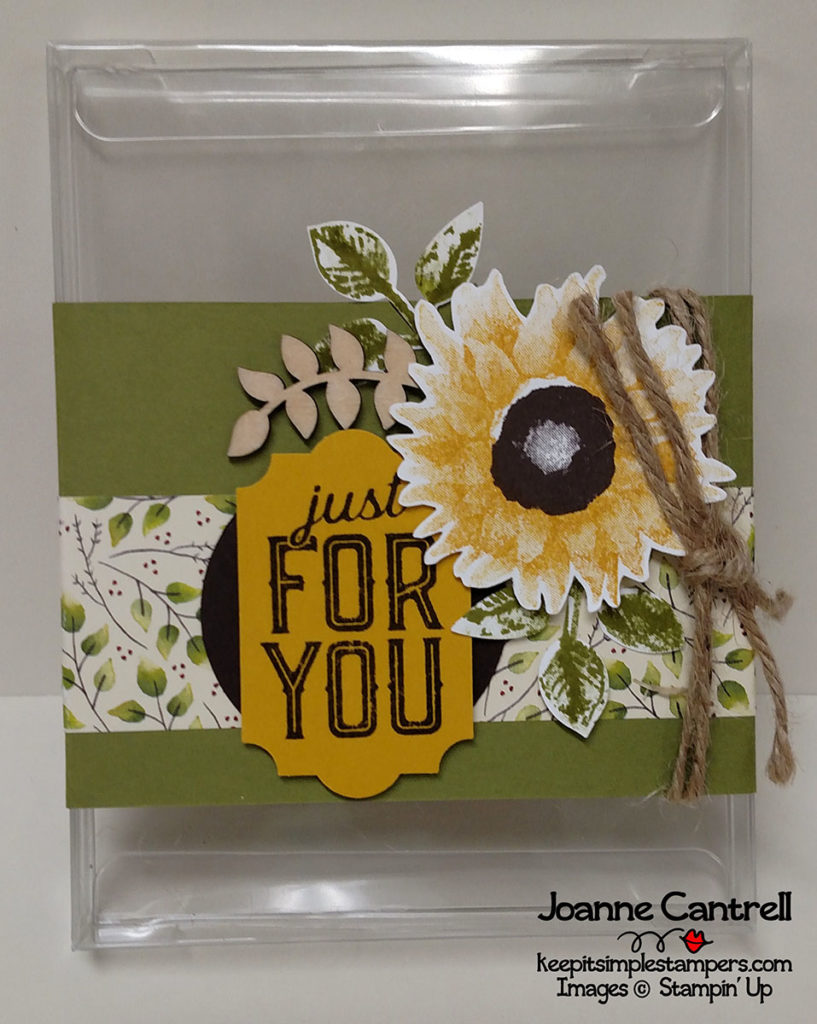
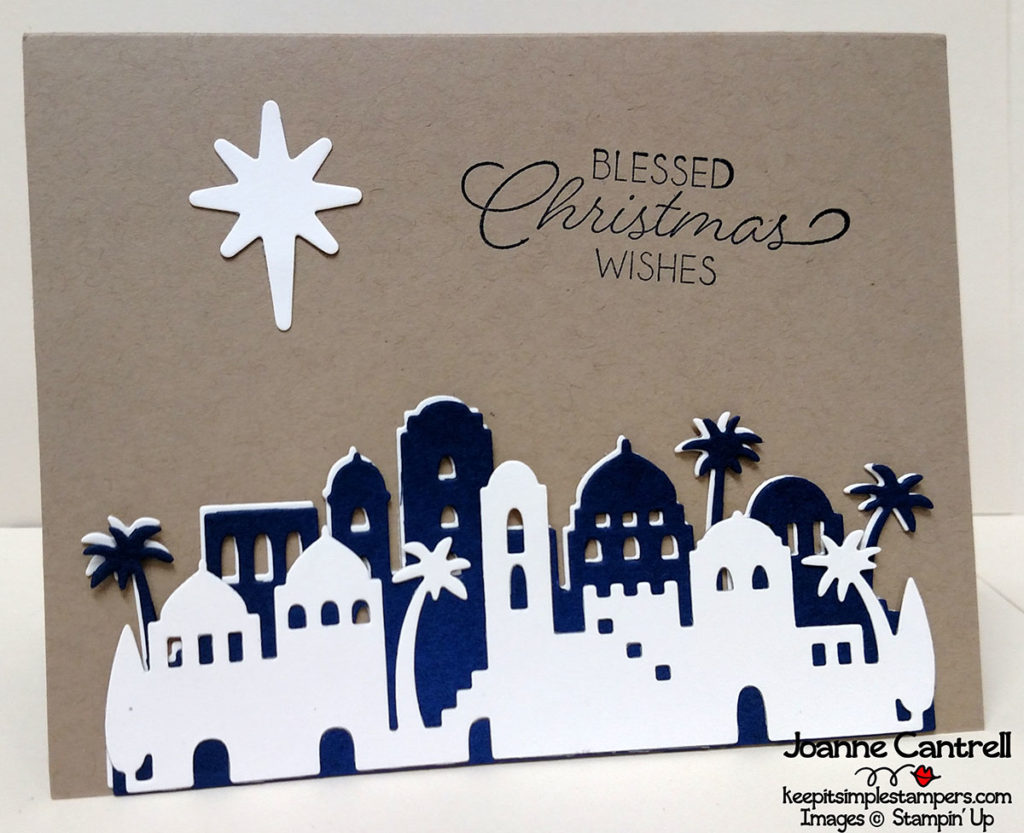
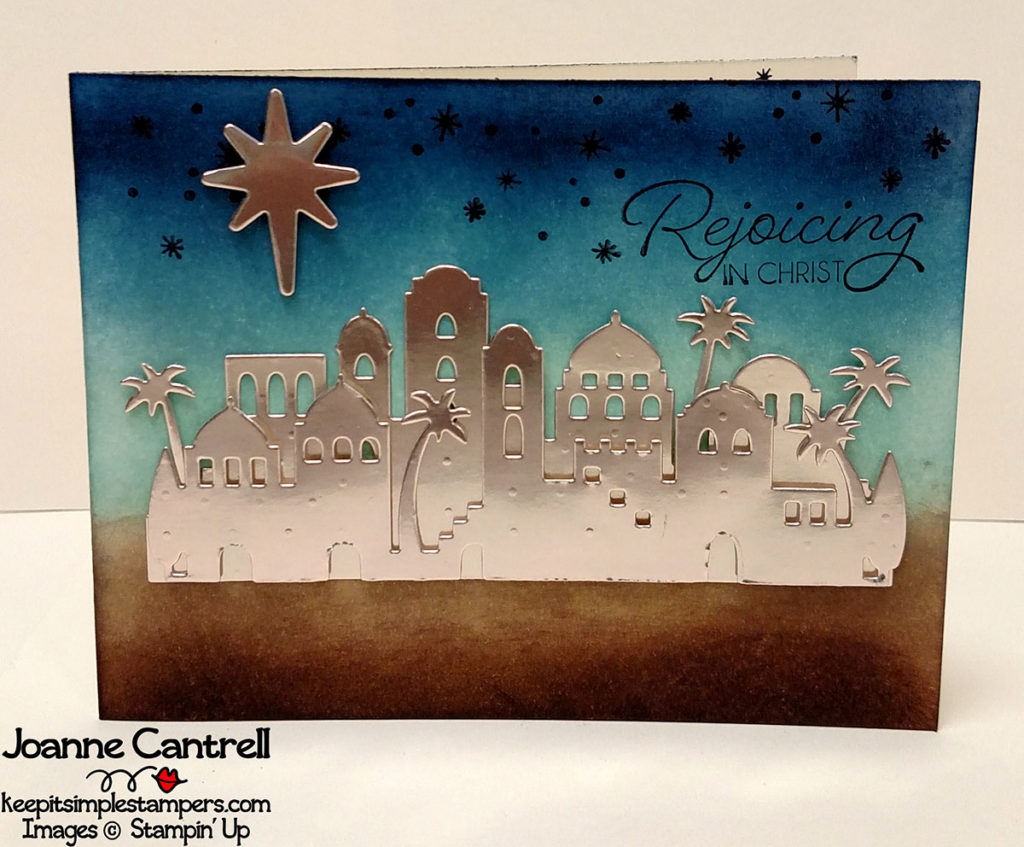
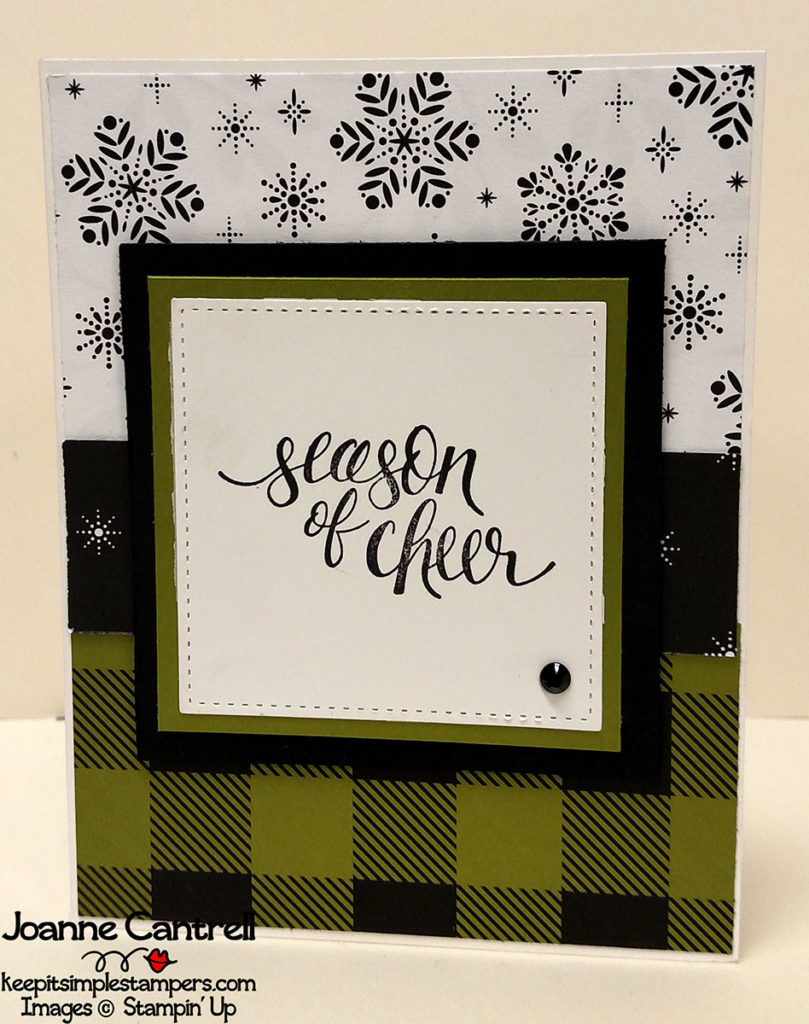
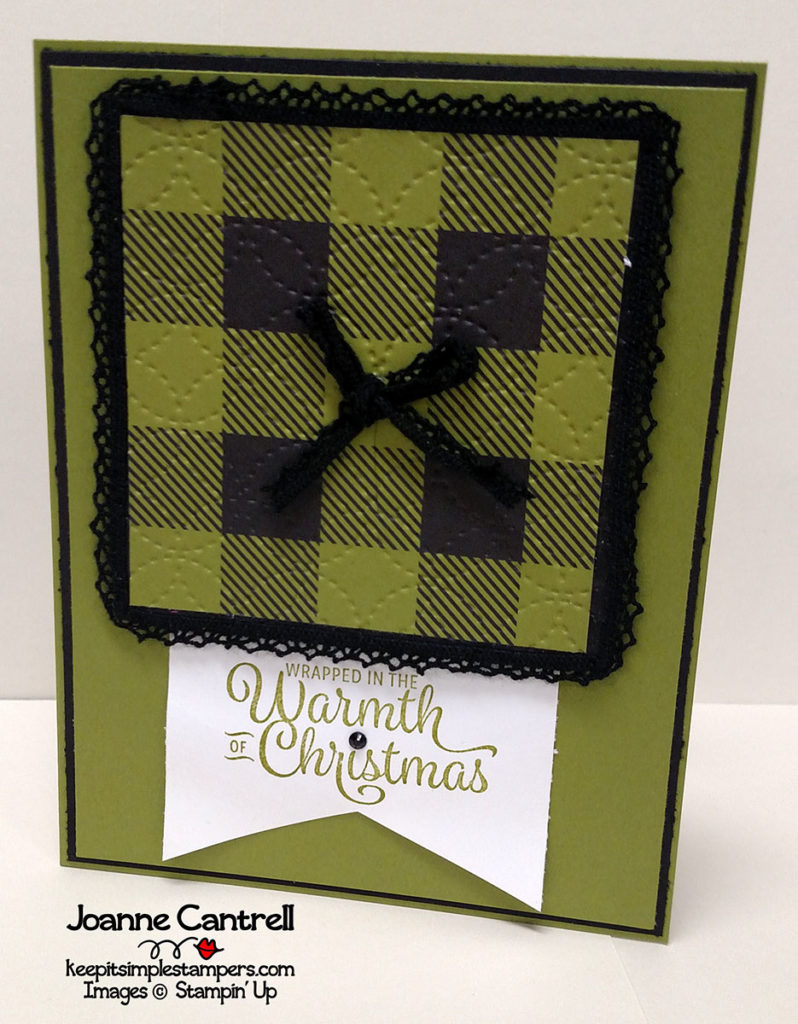
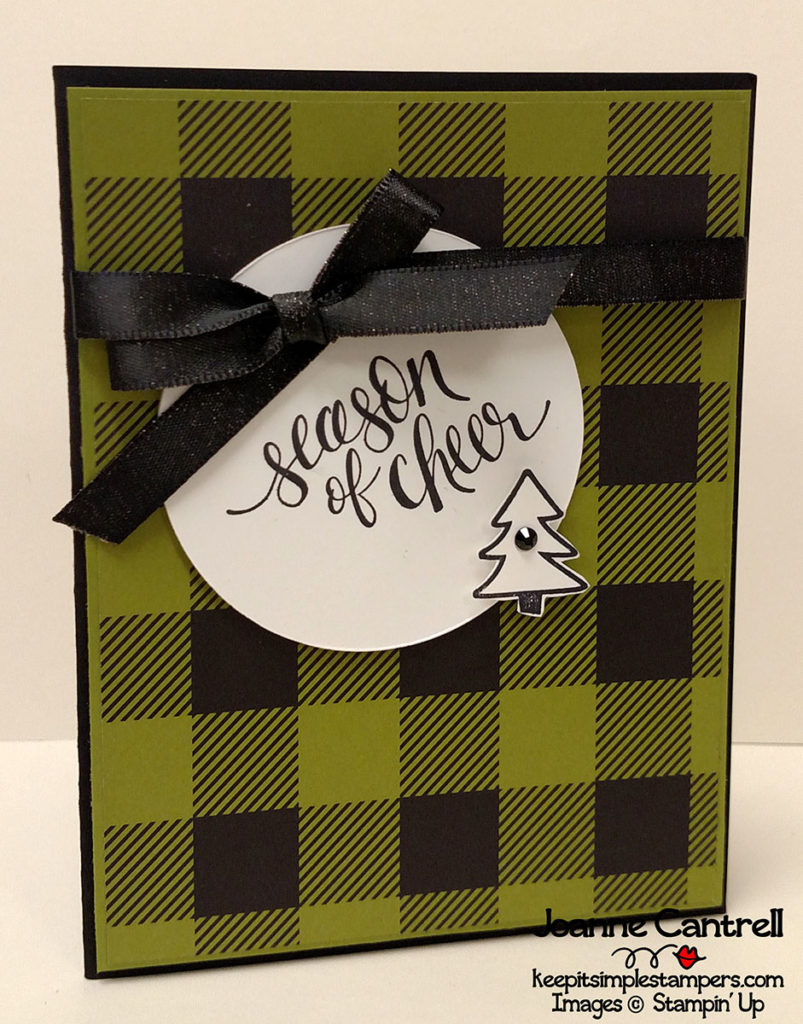
This card  shows three different designs of the paper.  I just love that plaid.  I had to have this paper just because of that plaid!  I created the layers based on the largest square stitched shape.  I then added the sentiment and a little Black Rhinestone for some bling.

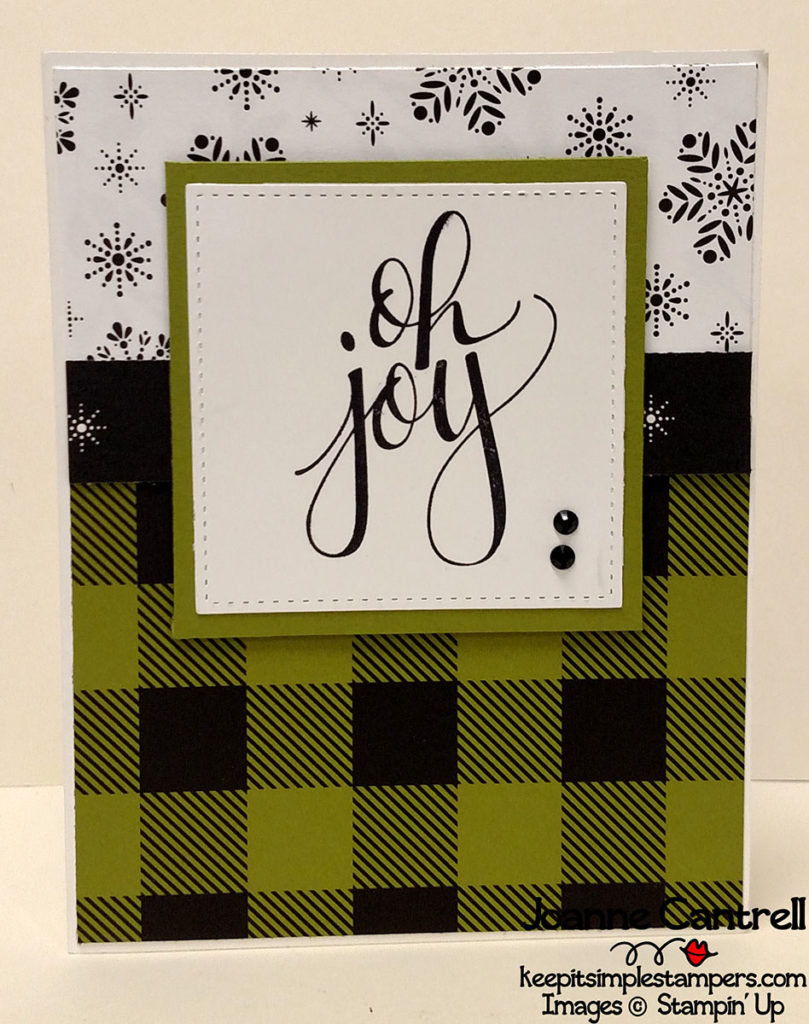
This card is basically the same as the card above.. but so very different.  This is a prime example of “same but different,”  wouldn’t you say!

And, here is the last one for the day…

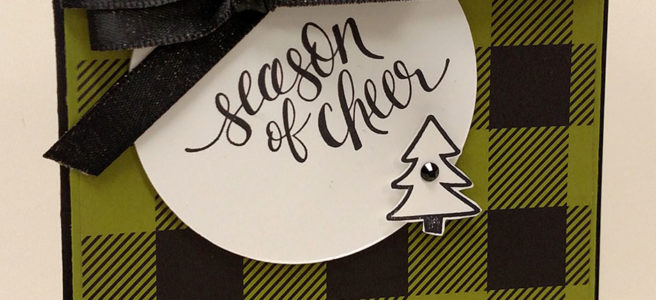
This design was CASE’d from Mary Fish.  She did a treat bag that looked like this.  And, since it’s been awhile, I have done a project sheet for this one 🙂

Proj Sheet – Season of Cheer

You’re welcome!  LOL  Here is a glance at the items used to create this simple card!


Product List


What projects are you thinking of with this Designer Series Paper?  Post them on my facebook page…  the link is on the right hand side —>

Until next time… keep it simple, Stampers!

🙂  Joanne


Stamper’s Dozen Blog Hop – Color Challenge

Welcome to the September installment of the Stamper’s Dozen Blog Hop.  This month, was a color challenge.  That means had to use certain colors in our projects.  The colors were…

So, here is what I came up with!

Now for a close up of each…

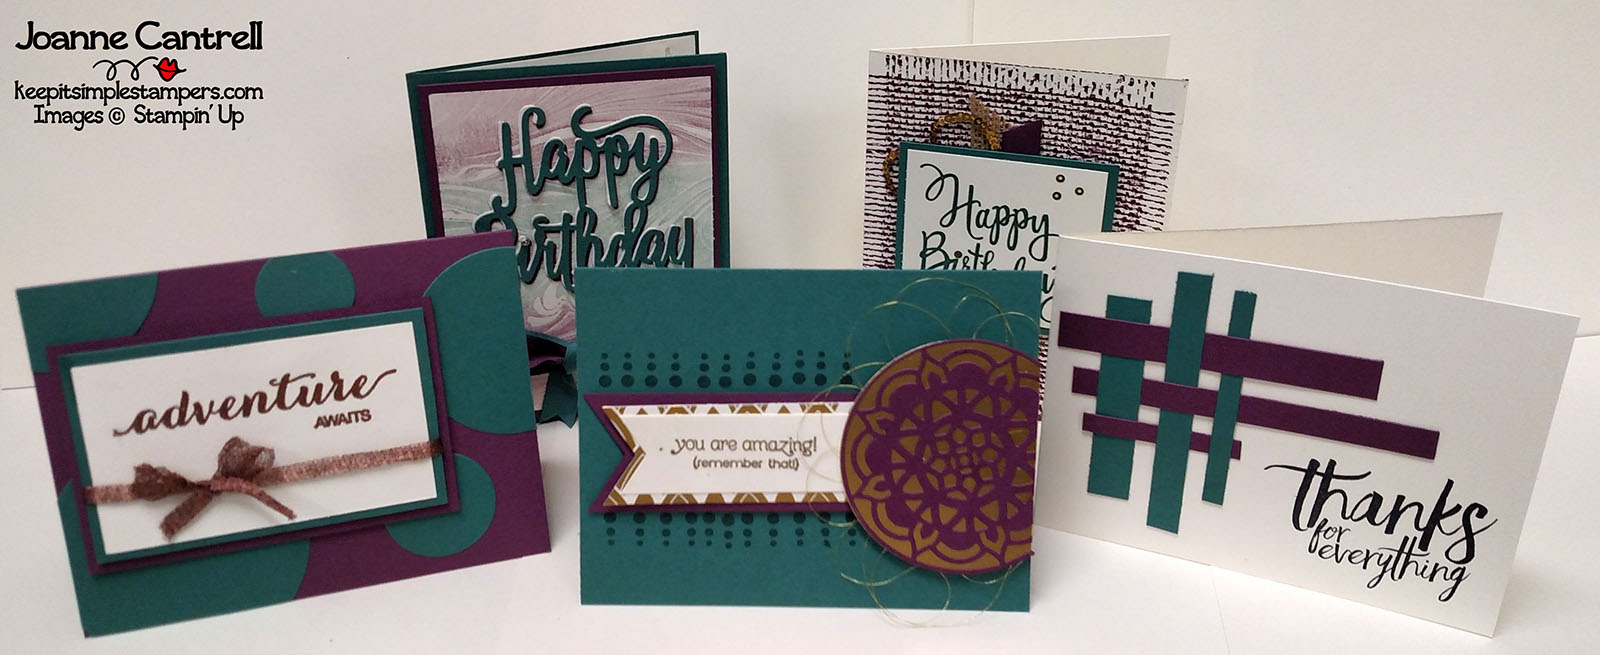
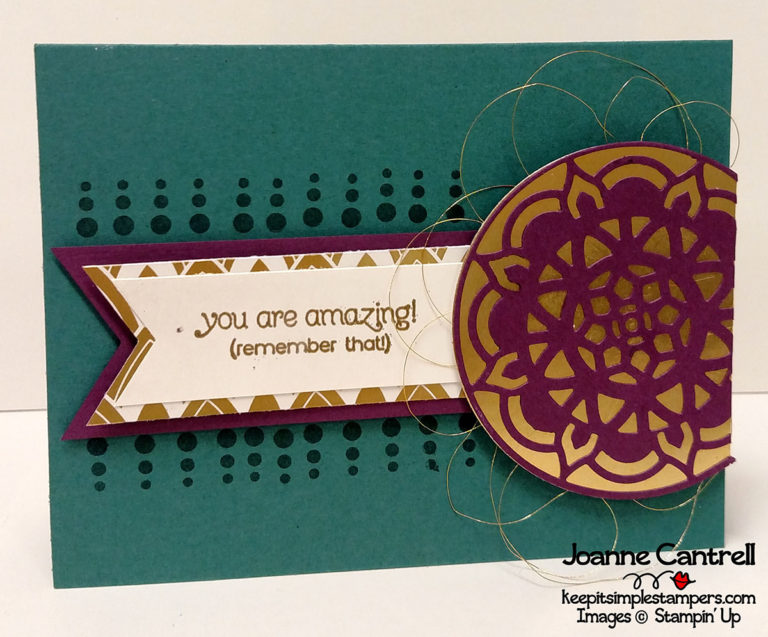
This first card was inspired by the Easter Palace Suite.  I combined a couple of the framelits from the Eastern Medallions Thinlits (143725) to create the medallion and layered it atop a Gold Foil (132622) circle.  I added a touch more gold with a piece of the Easter Palace Specialty Designer Series Paper (144147) as well as some Gold Metallic Thread (138401).  The sentiment comes from the Feathery Friends HOSTESS set (144032/144037).

I used a bit of gold on this next card too!

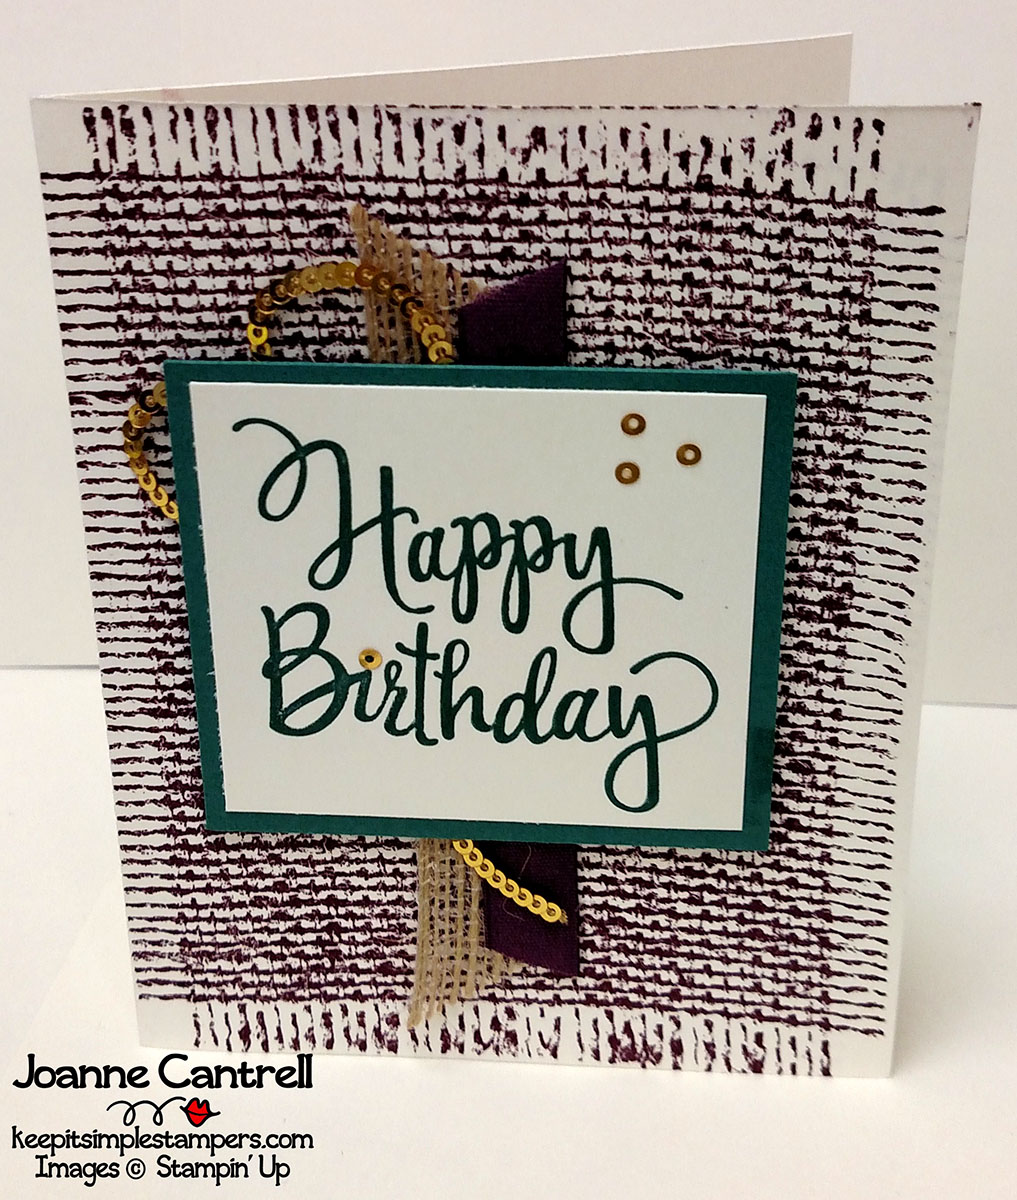
I used the Burlap stamp (143979/143982) to create the background in Fresh Fig.  I added a bit of Burlap Ribbon (141487), Fresh Fig Finely Woven Ribbon (144132) and Gold Mini Sequin Trim (144128) to add a bit of interest.  The sentiment is the Stylized Birthday stamp (141828).

But, don’t worry… It doesn’t take much at all to create a fabulous card with these colors!

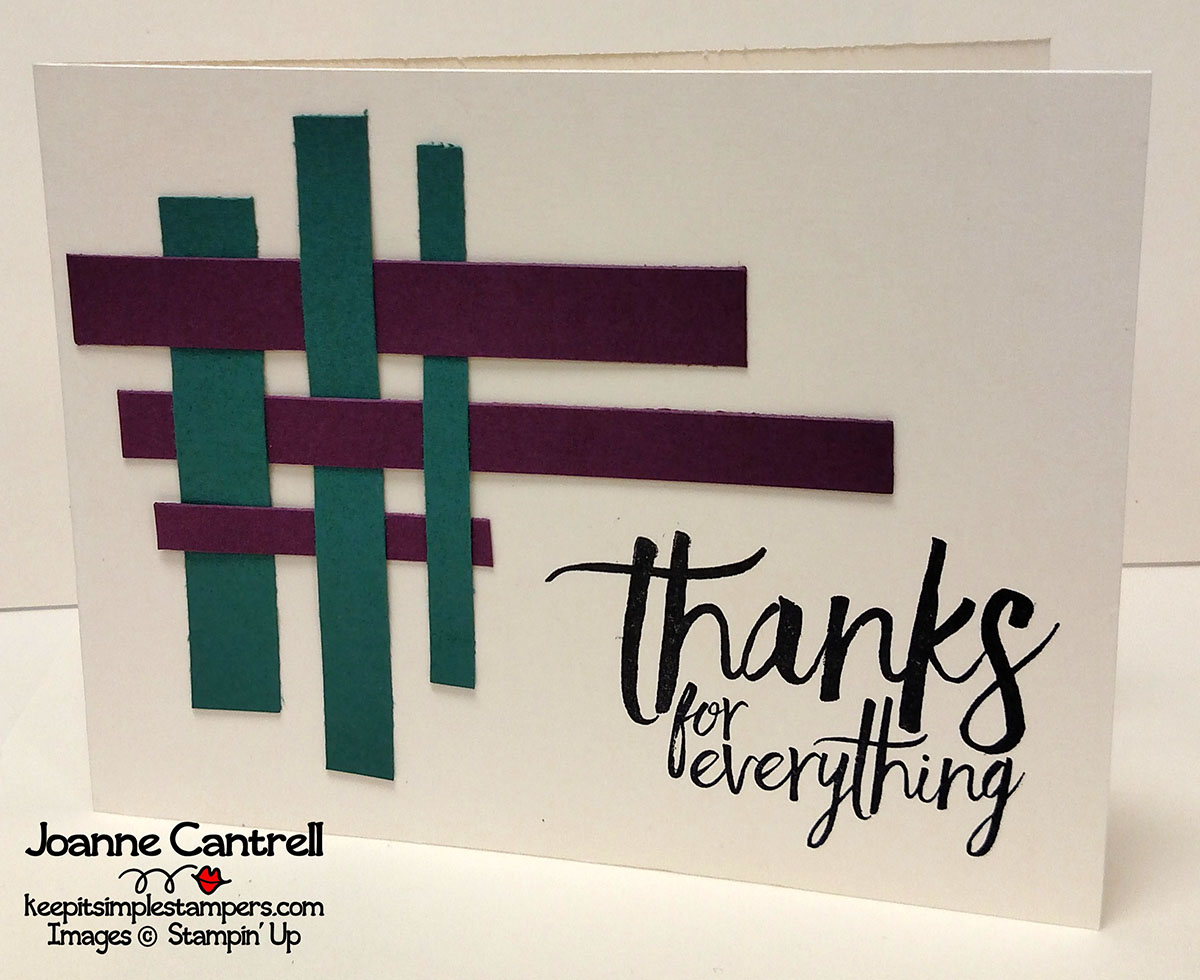
I used some scraps left over from other projects on the card above.  I simply wove them together a bit.  The sentiment here came from the All Things Thanks set (143089/143097).  This is the perfect set for all sorts of thank yous!

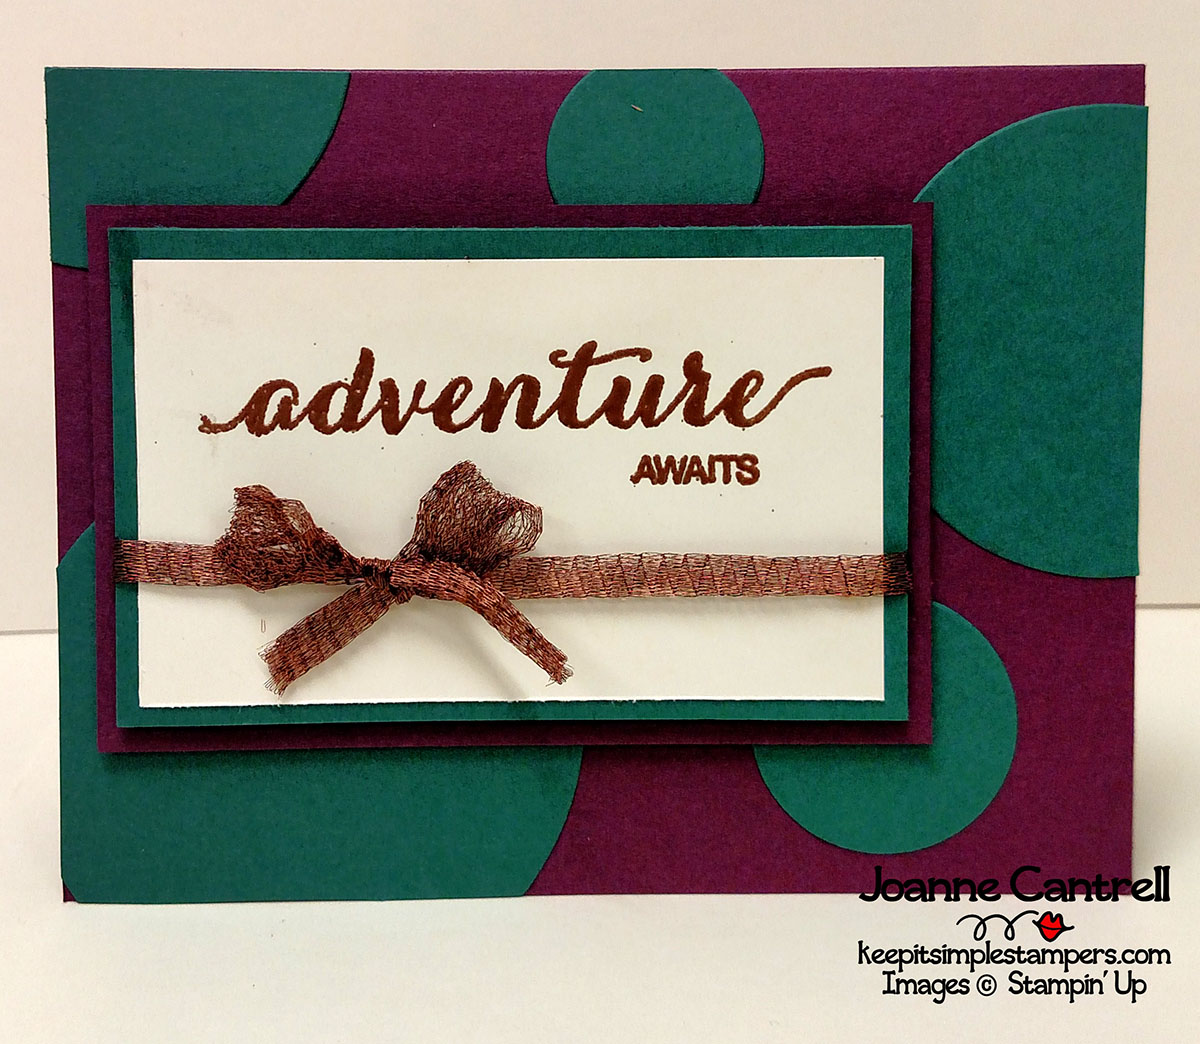
Gold isn’t the only metallic that goes well with this color scheme.  Copper is also a great choice!  On the card above, I just cut a few circles in Tranquil Tide and layered on top of a Fresh Fig card base.  The sentiment is from the Dare to Dream Hostess set (143769) and has been embossed in copper and a bit of Copper Trim (144179) was used to make a pretty little bow!

And, finally…

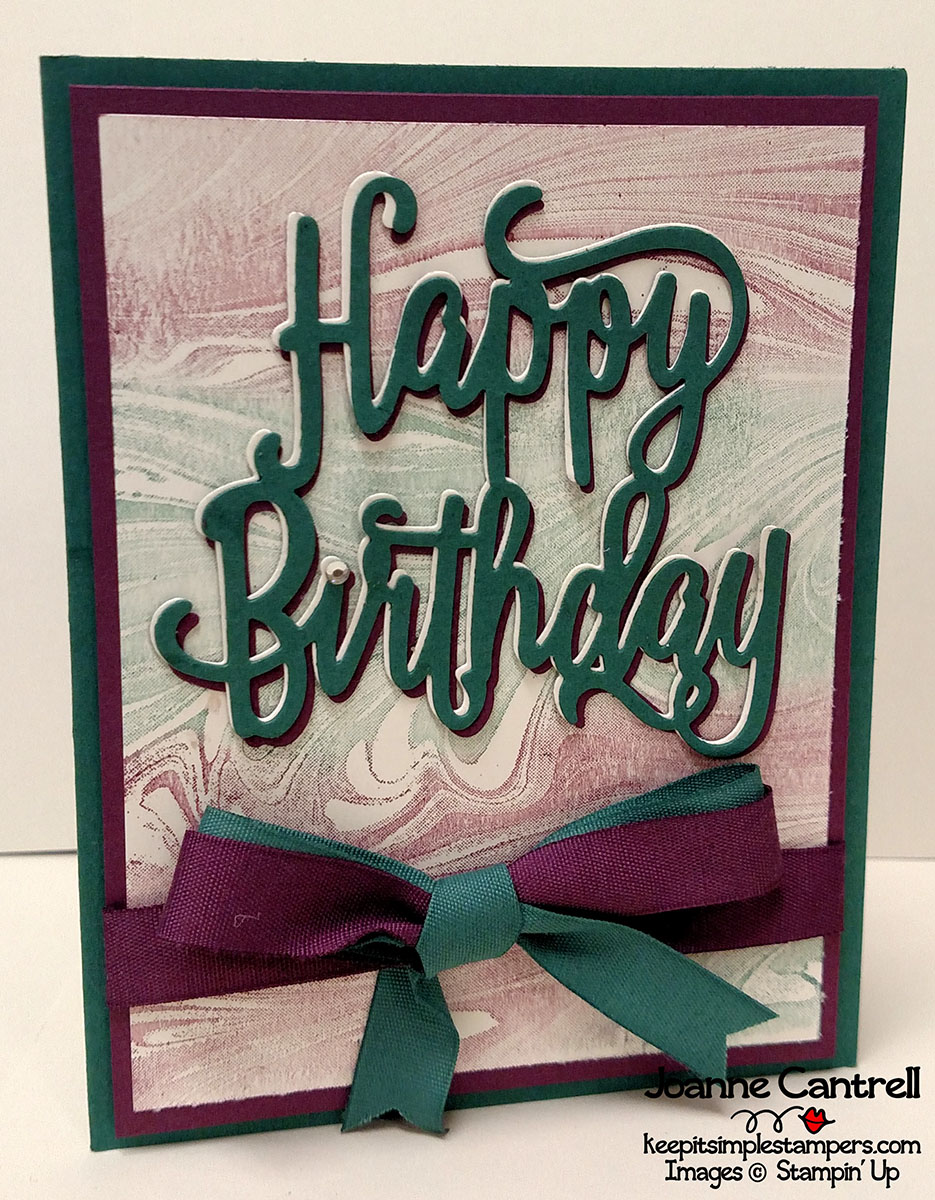
On this last card, I used by sponge daubers to apply Fresh Fig and Tranquil Tide to the Marbled (143755/144772) background stamp then stamped it ont to Very Vanilla.  I added layers of the Happy Birthday Thinlits (143700) for the sentiment and used a bit of the Finely Woven Ribbon in Fredh Fig and Tranquil Tide to add a bit of interest.  And, of course, I always dot the “i” from the thinlit with a Rhinstone!

So,

I hope you enjoyed what you saw here.  Now, hop along to see what Patty Chenail has created!

or take a hop back to check out Debbie Naylor’s creations!

Until next time… keep it simple, Stampers!

🙂  Joanne

Product Spotlight: Pick a Pumpkin Bundle

Are you as sad as I am?

This is our last installment in our special 2017 Holiday Catalog Product Spotlight Blog Hop!  But, don’t worry.. just come back and visit us all for new ideas every day!  And, be sure to check us out on Pinterest and Facebook too.  You can find my links on the right-hand side!

So, today’s hop is all about the PICK A PUMPKIN BUNDLE (146024/146025).  This bundle includes the Pick a Pumpkin Stamp Set (144989/144993) and the Patterned Pumpkins Thinlits Dies (144670).

Here is what I have to share with y’all today!

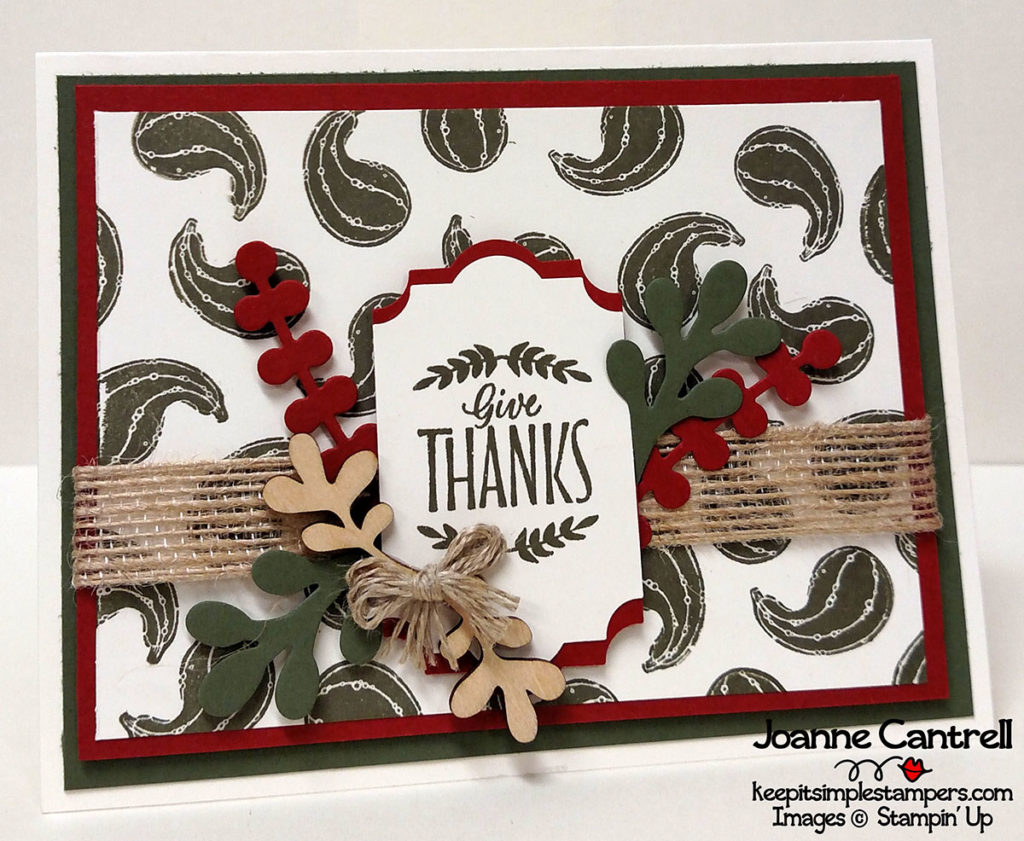
For this card, I used the gourd stamp and created a mock-paisley background in Always Artichoke.  My layers also include Cajun Craze and Very Vanilla.  I used the Thinlits to cut out some of the foliage.  Added a little of the Touches of Nature Elements (144216) along with some Burlap Ribbon (141487) and Linen Twine (104199).  The sentiment is from Labels to Love (144970/144967) and punched out with the new Everyday Label Punch (144668).  To add a bit of interest, I cut another label out of the Cajun Craze, cut it in half and adhered to top and bottom of the sentiment.

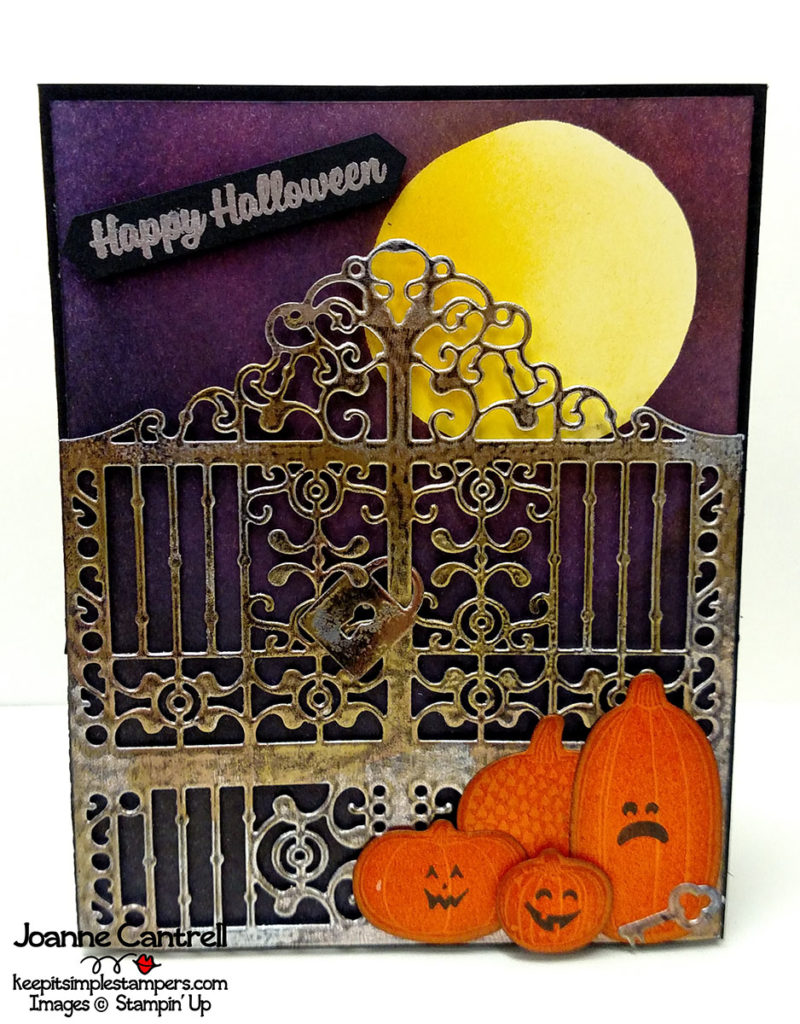
This card features the jack-o-lantern faces on the pretty little pumpkin stamps.  I stamped them Pumpkin Pie ink on Pumpkin Pie cardstock.  The faces are Basic Black ink.  Then, I added some shading around the edges with a sponge and the black ink.  They are standing guard in front of the gate.. .but will lend you the key if you ask nice!  The gate is cut from Silver Foil using the Detailed Gate Thinlits Dies (144669).  I then used the “tarnished metal” technique to add age to it.  The background was sponging Crushed Curry, Perfect Plum, Elegant Eggplant, Rich Razzleberry, and Basic Black onto white Cardstock.  I created the mask for the moon by punching a 2″ circle from a post-it note.  I was inspired by the Great Pumpkin.. so you will see this design again…

But… wait… there’s more.  I discovered something when I was picking up some of the foliage I had cut for the first card…

You can use it to make a wreath!

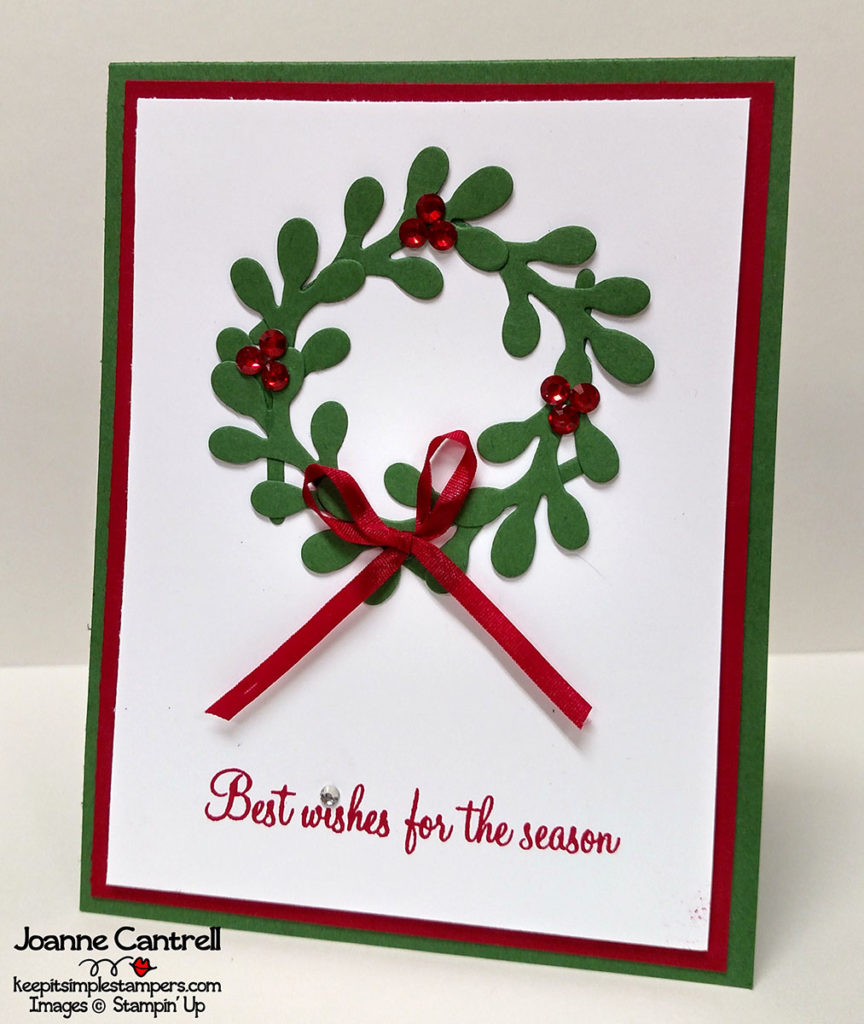
I added some red Rhinestones (just plain ones I colored with a red sharpie!) and a bit of the new Real Ribbon 1/8″ Solid Ribbon (144631).  The sentiment is from the Holly Berry Happiness (142061) which carried over form the 2016 Holiday Catalog.

But, you can use it for more than just a wreath… Look at what else those branches make…

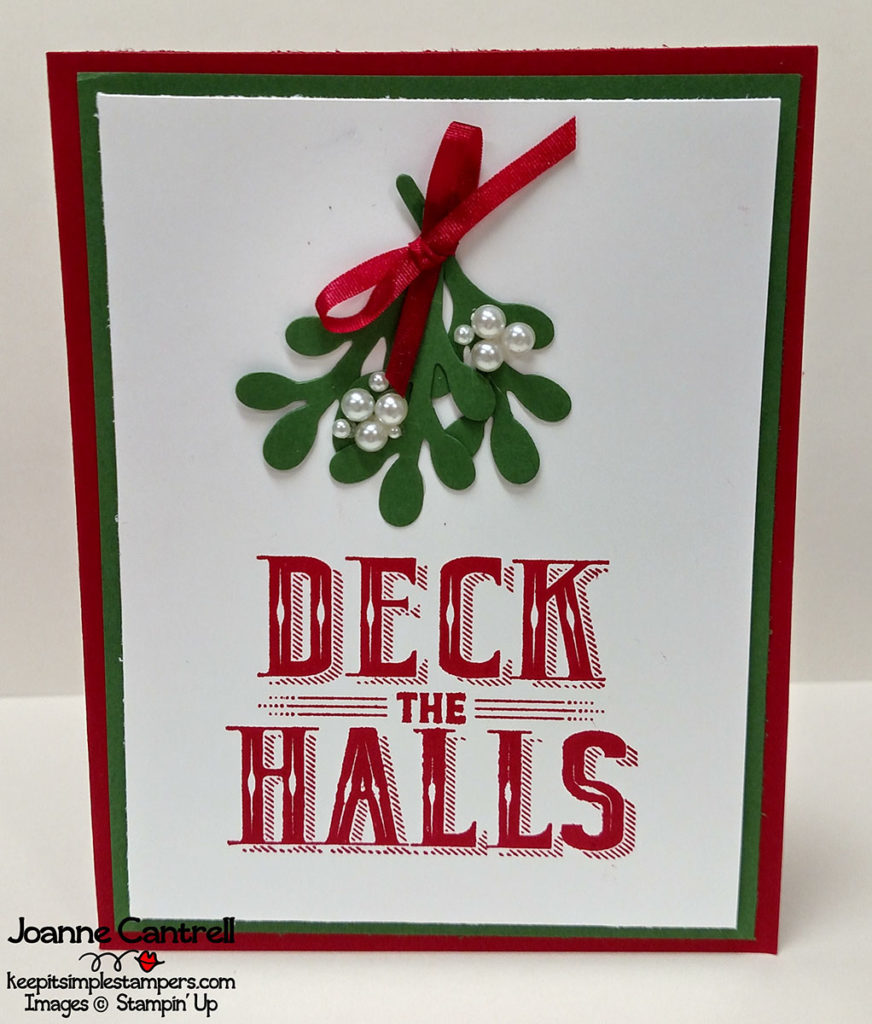
Mistletoe!  Yep, folks… that’s right!  Didn’t see that one coming, did you? LOL

I just glued three of the branch tips together with Tombow glue… added the same ribbon from above and some of the Pearl Basic Jewels (144219).  The sentiment is from the Carols of Christmas Stamp Set (144801/144804).

So, don’t write this set off as just a Fall set… there are plenty more uses beyond.  I can’t wait to see what you come up with!!!

Now, hop on over to Valérie Perlin or hop back to Janet Wakeland!

Until next time, keep it simple, Stampers!

🙂  Joanne

Product Spotlight: Test Tubes

Today is the 4th installment in our 5-day 2017 Holiday Catalog Product Spotlight.  Have you seen anything yet that you just loved? I sure have.  I will be CASE-ing a bunch of them!  There are some very talented Stampers here!

So today, We are here to talk TEST TUBES!

When I told my husband I needed some candy for test tubes, he was very puzzled.  He thought I was doing something with my daughter for her science class.  He just has no clue that TEST TUBES aren’t just for science anymore.  They are a great way to give a treat!  What you can do with them is really only limited to what you can fit inside them.

Here are a few of the things I came up …

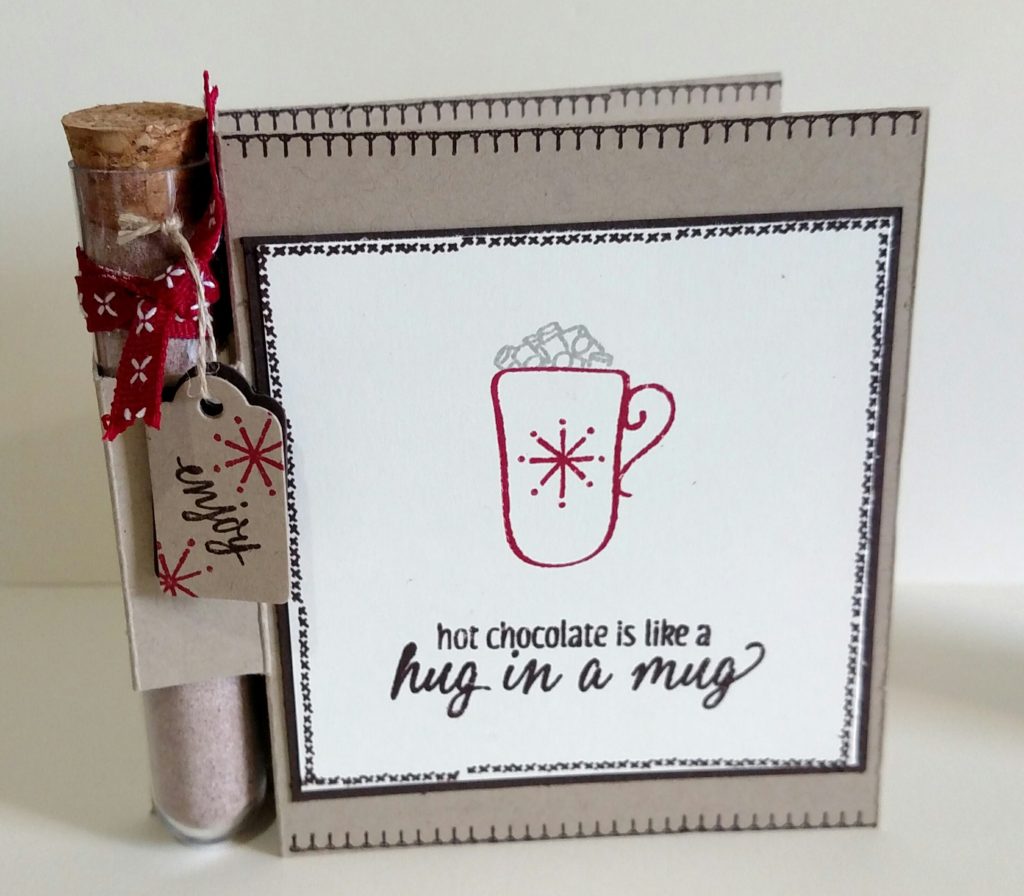
This is your typical hot chocolate packet simply dumped into one of the test tubes.  I created a card for it using the Hug in a Mug Stamp Set (144933).  I cut the little tag using the Wood Crate Framelits (143730).

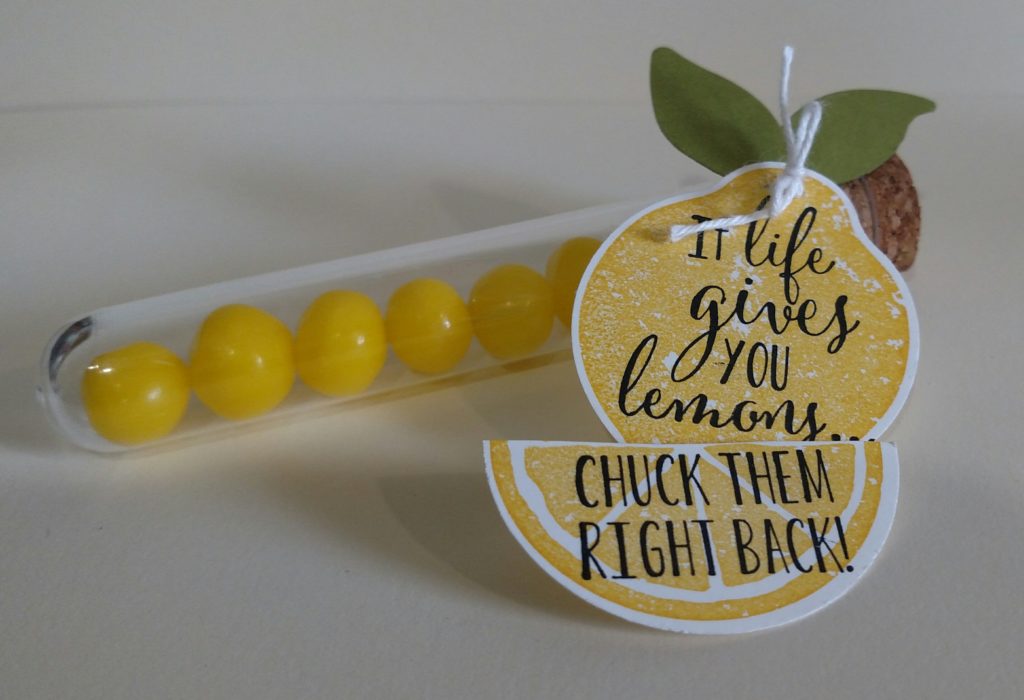
Lemon Heads candy fits nicely into the tube for someone that you want to give a little sour too.  I used the Lemon Zest Bundle (145359/145360) to make the tag.  This bundle includes the Lemon Zest Stamp Set (143805/143808) and the Lemon Build Punch (143712).

But, you can put more than just candy inside these little test tubes…

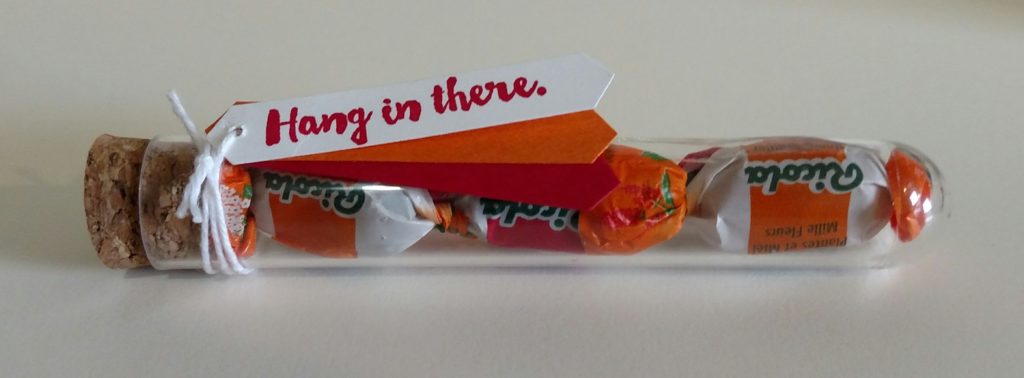
If it fits… it can be a treat!  Here are a couple cough drops and a little tag for a friend who has a cold.  The tag is from the Here For You stamp set (141541/142164) and cut out with the Classic Label Punch (141491).

And for the last one…

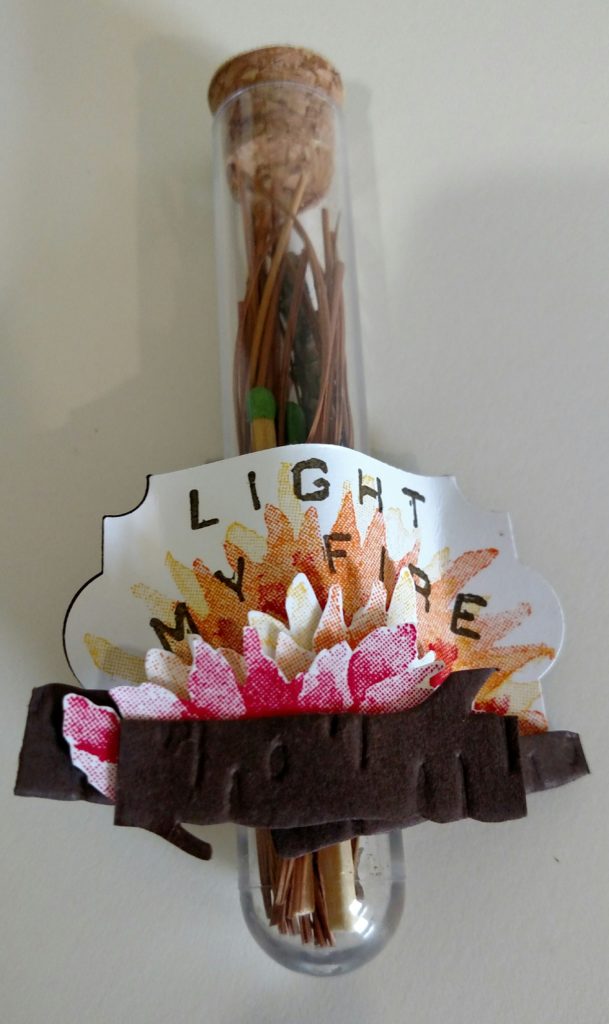
A little fire starting kit.  I grabs some pine needles and twigs off the ground outside my craft room to put in the test tube then slipped in a couple matches.  On the top of the cork, I glues a small circle of sand paper so you can light the match.  The fire on the tag was created using the Painted Harvest (144783)flowers in Crushed Curry, Pumpkin Pie and Real Red.  The logs were embossed using the Woodland Textured Impression Embossing Folder (139673) then fussy cut.  The wording was created using the Little Labeler Alphabet Stamp Set (141936).  And, I used the new Everyday Label Punch (144668) to make the stand.  I cut two pieces and glued the tips together then slipped the tube in between after it dried.

Hope you enjoyed what you see here!

Now, hop on over to Jennifer Van Wart or hop back to Janet Wakeland!

Until next time, keep it simple, Stampers!

🙂  Joanne

Product Spotlight: Cat Punch

Thank you for stopping by on day three of our 2017 Holiday Catalog Product Spotlight Blog Hop. Today, I present to you… the CAT PUNCH!

While this Cat Punch (144666) is grouped with the Halloween products in the back of the catalog, have no fear… he has more than just spookiness going for him. I can’t wait to see what the other bloggers have created with him. I have no idea why I keep calling it a him… but, I do.

Here are my projects…

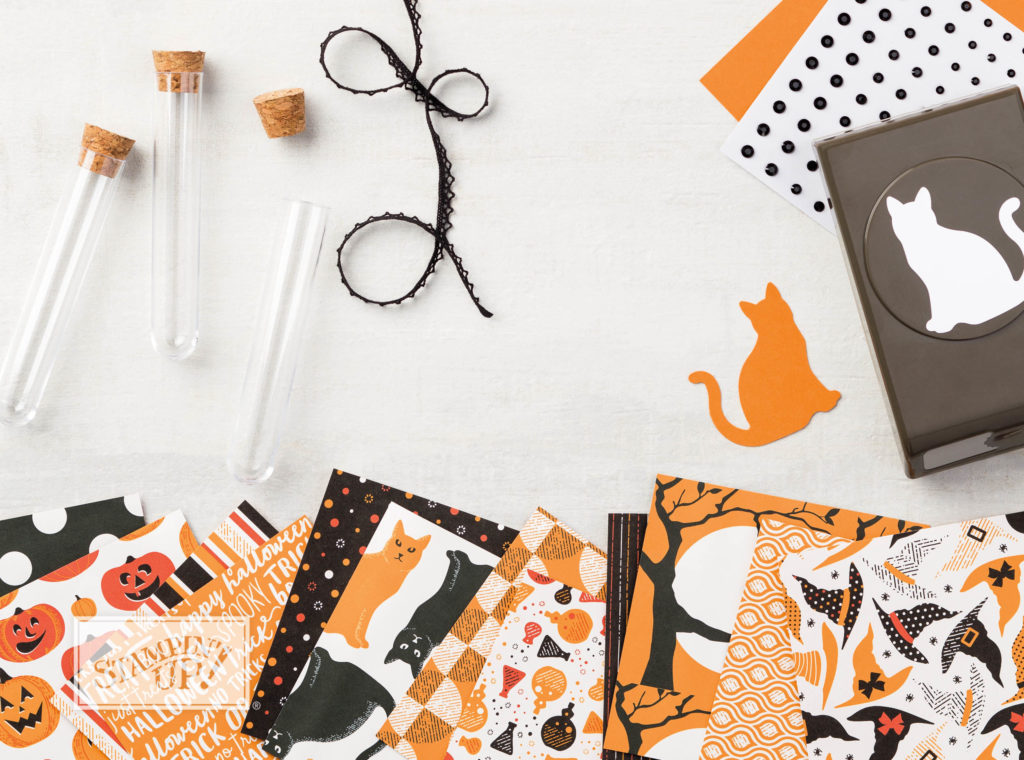
Of course, I had to start with a Halloween one. The punch coordinates perfectly with the Spooky Night Designer Series Paper (144610). The paper comes with a sheet that is covered with cats. These were just the little partial cats at the bottom of the page.

Nothing like a simple black cat howling at a harvest moon!  Quick, simple, and easy!  Really!!!

Now, lets look at a couple that aren’t for Halloween…

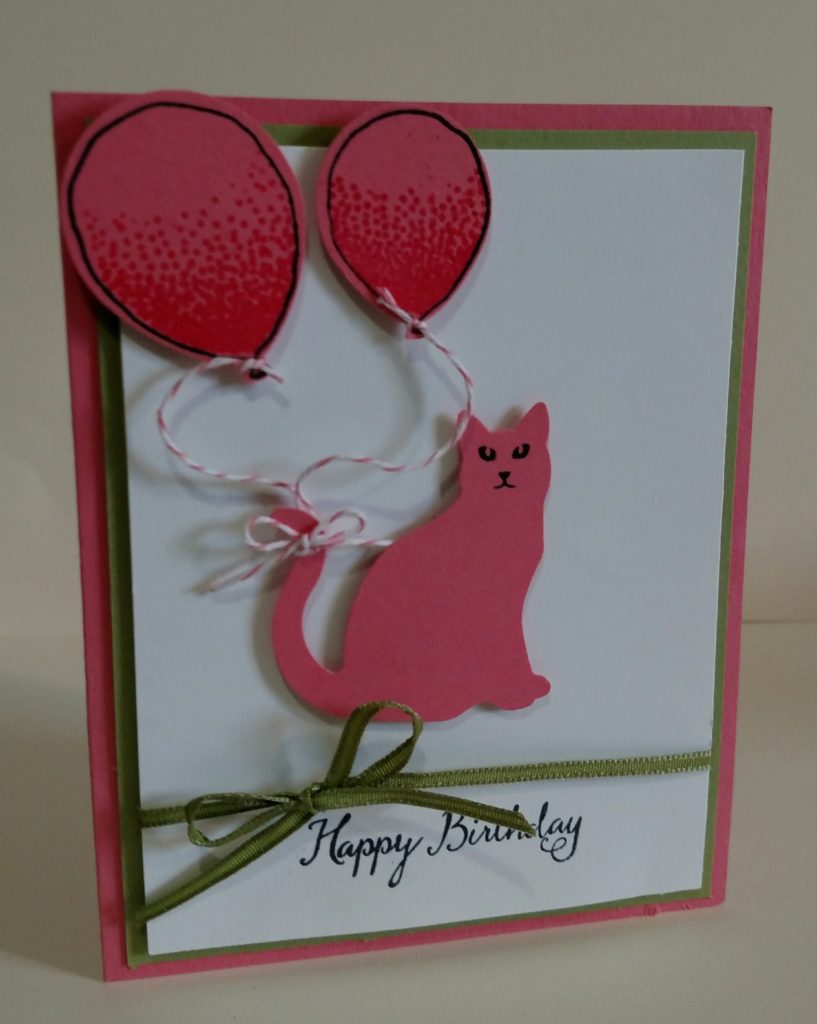
How about a Catty Birthday card for your favorite cat lover?

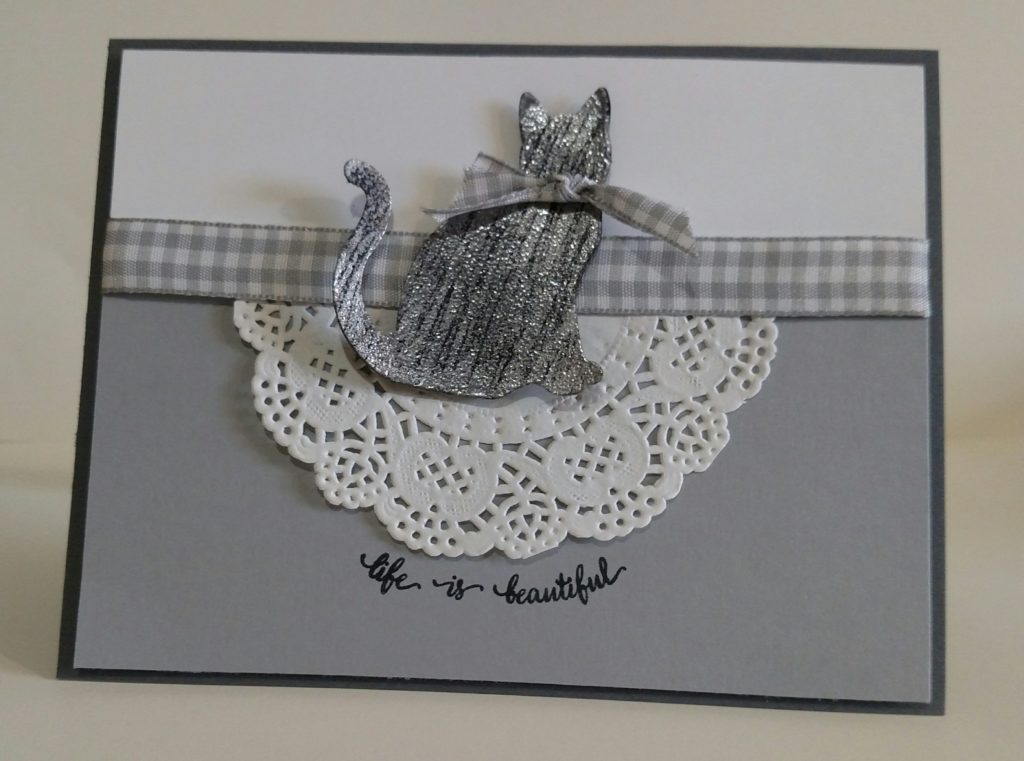
Here is a black cat that I covered with VersaMark and covered with Silver Embossing powder.  I used a piercing tool to scratch off some of the powder before I used the heat tool to set it.

Well, that’s all I have for you today… hop on, my little bunny!

Hop on over to Jennifer Van Wart or hop back to Janet Wakeland

Until next time, keep it simple, Stampers!

🙂  Joanne

Product Spotlight: Vintage Crochet Trim

Welcome to the second installment of the Holiday Catalog Product Spotlight.  Today, we will feature the Vintage Crochet Trim (144611).

This trim can be found on page 53 in the Holiday Catalog which is all the way towards the back with the Halloween stuff.   But, that doesn’t mean it’s just for Halloween!

So, the first thing I think of when I think about Crochet Trim is that is it the perfect edging to a blanket.  So, I would be remiss if I didn’t make a little blanket…

I ran a bit of snail around the edge of a square of Basic Black cardstock, then I adhered the trim around it.  I added a square of the beautiful  Merry Little Christmas Designer Series Paper (144621) and ran it through the Big Shot in the new Quilt Top Textured Impression Embossing Folder (144687).  I added the perfect little sentiment from Snowflakes Sentiments (144817/144820).

My next project also features a new Designer Series Paper.

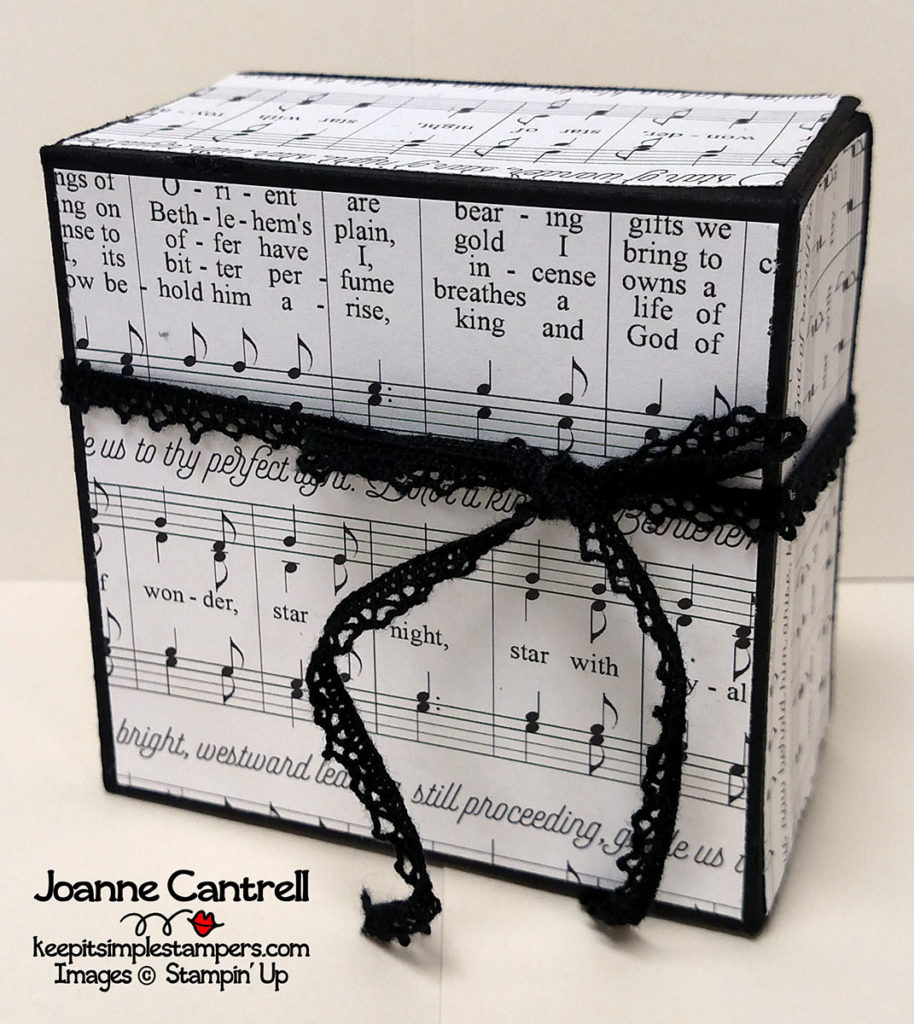
This one is called Merry Music Specialty Designer Series Paper (144623).  I just created a simple box and used the Crochet Trim to finish it off with a simple bow.  I suppose a tag could be made for it, but this will be used as a simple box to hold a special treat for a friend!

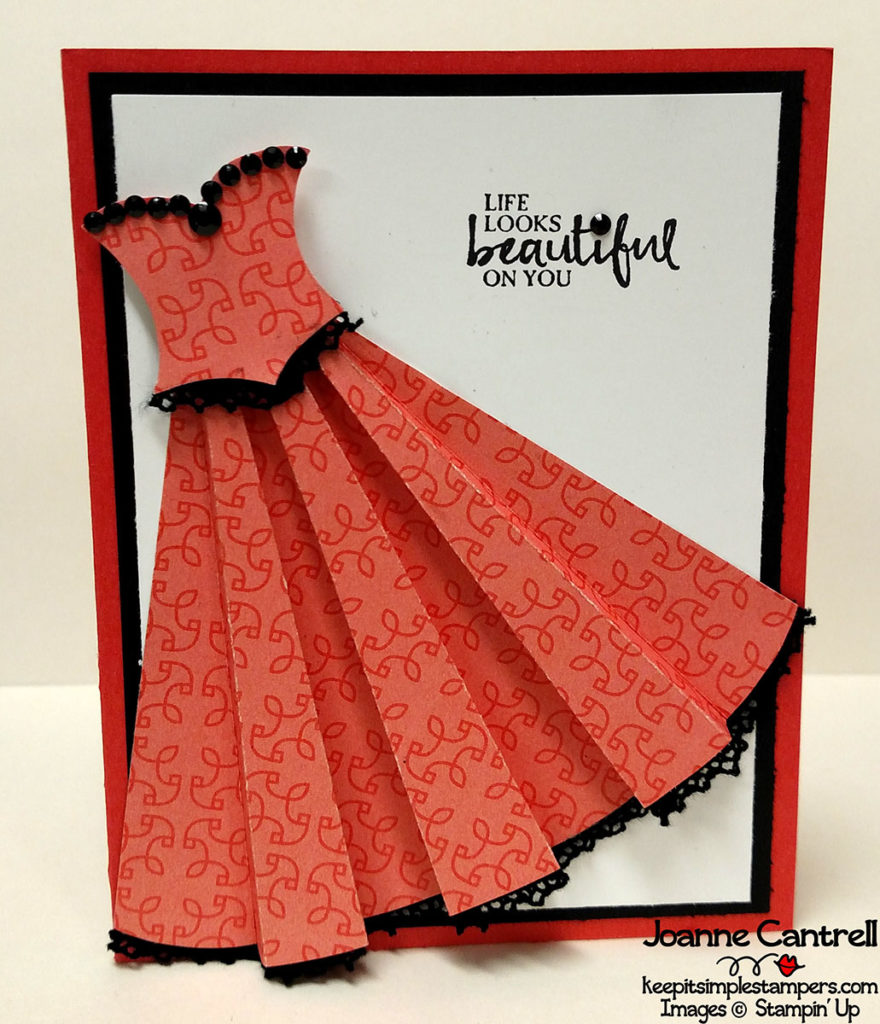
So… Crochet Trim…???  Where else is trim used?  On clothing, of course!

For this card, I created a dress out of the Petal Garden Designer Series Paper Stack (144168) and trimmed it with the Vintage Crochet Trim.  I added some of the new Black Rhinestones (144639) for a little bling.  The sentiment comes from the Beautiful You stamp set (143004/143637)

You can find a printable project sheet with the template for the dress at

https://keepitsimplestampers.com/all-dressed-up/

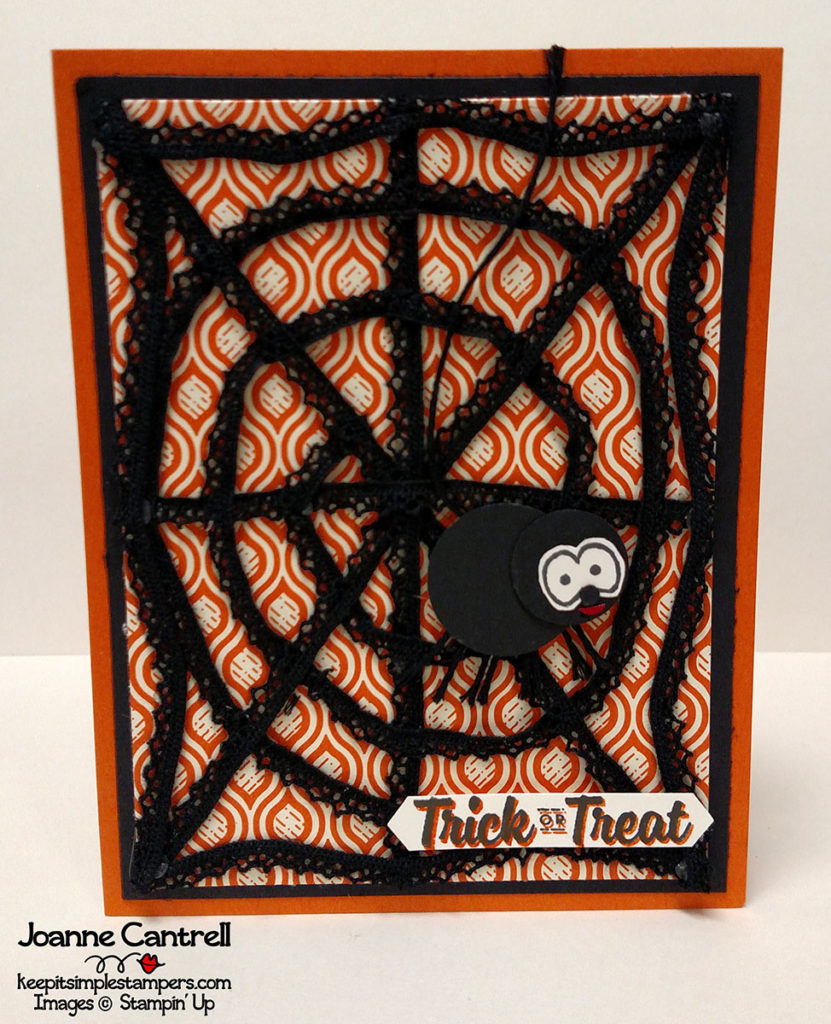
And… I would be remiss if I didn’t create at least one Halloween card with this trim, wouldn’t I.

I used it to create a spider web!  I double stamped the sentiment found in the Spooky Cat Stamp Set (144749).  I used the eyes from that set for the spider and simply punched two circles for the body and added some black twine for the legs and web he is dangling from.

Well, that’s all I’ve got for this one!  How will you get creative with the trim?

Now, hop on over to Sara Rayner or hop back to Teri Wells

Until next time, keep it simple, Stampers!

🙂  Joanne

Product Spotlight: Painted Harvest

Welcome to the Holiday Catalog Product Spotlight Blog Hop!  I am excited to have hopping through these pages to see the versatility of the products available in the 2017 Holiday Catalog.   This Blog Hop features bloggers from all over the world.

The first product we would like to direct your attention to is the PAINTED HARVEST Photopolymer Stamp Set (144783).  It is really a quite spectacular stamp set that has more uses than you would think upon first glance.

Here is what I have crafted using this set.
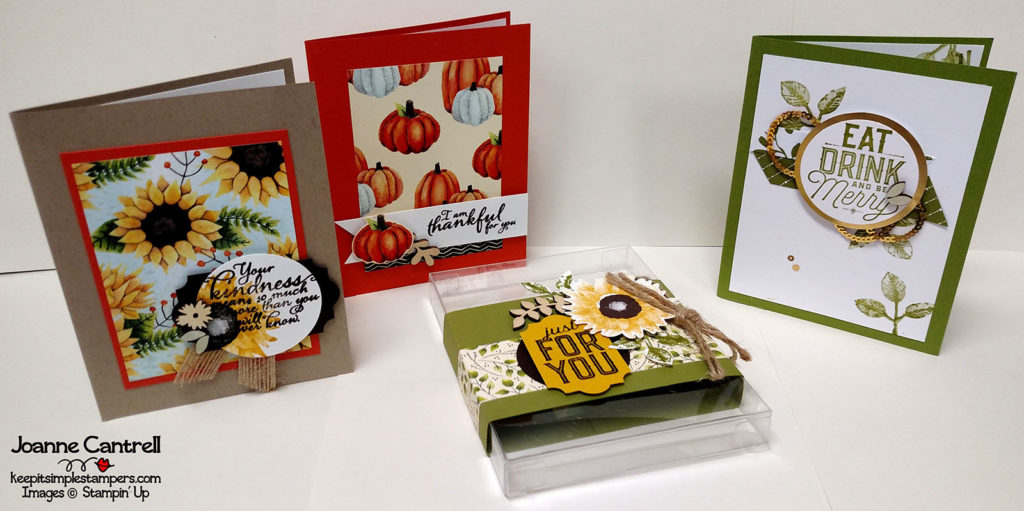
I honestly cannot tell you who created this set.  It was a “make-n-take” that we did at a recent demonstrator event.  Don’t you just love that acetate box!  It can hold 5 embellished cards and envelopes.

Here is an close up of each of the cards as well as the box.  The sentiments come from Painted Harvest as well as Merry Little Labels.  They also show off that beautiful designer series paper!

This next card was designed by Carol Payne.  It was part of our “shoebox swap” we did at our last team meeting.  It’s one of the great things about being part of a team of demonstrators.  Stampin’ together is such fun!
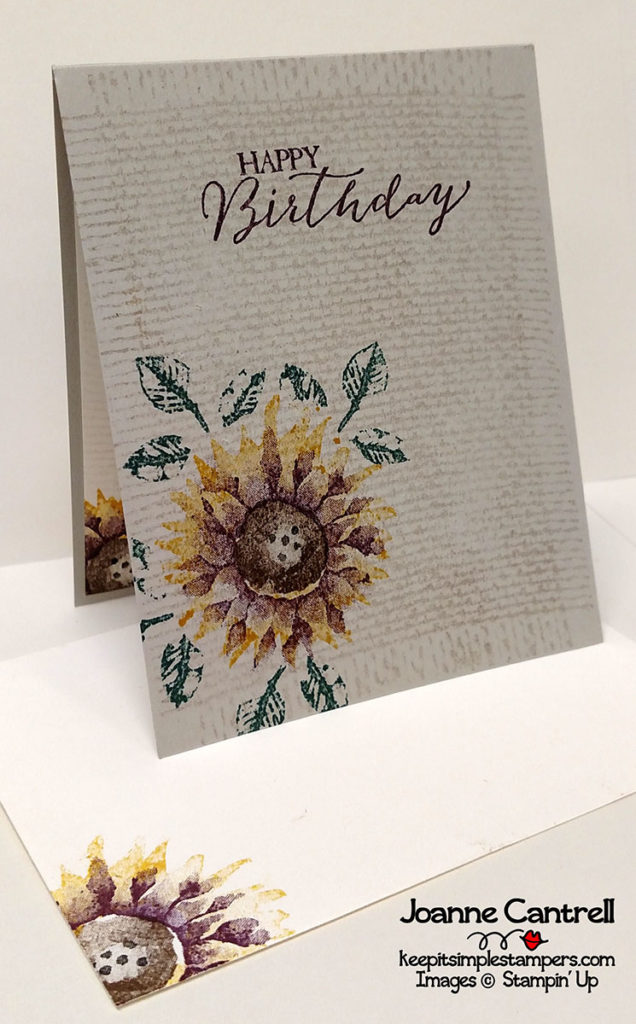
What is simple about this card is that there is not punching or cutting.  It is just some masking and stamping.

And, here’s this one…
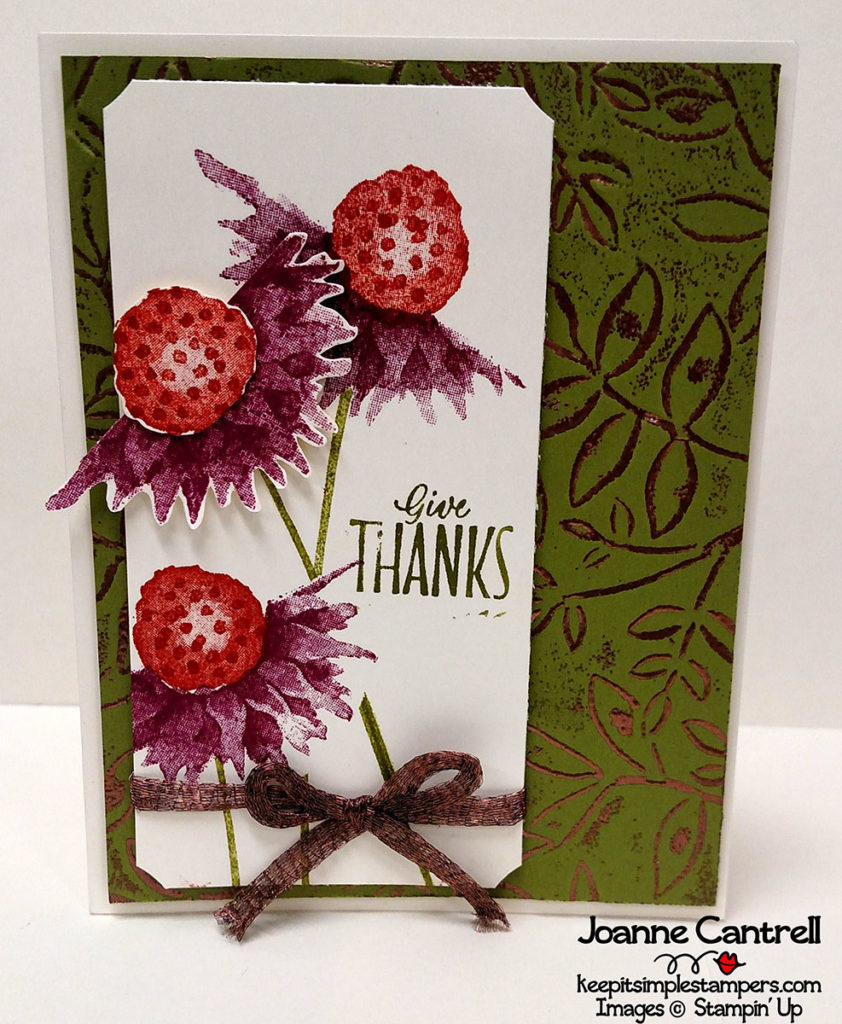
For this card, I used some post-it notes to mask off Very Vanilla paper so that only half of the flower would be stamped and voila… cone flowers!  I did not stamp off any of the center (cone) but made sure to put the pointy side up…

The background was double embossed.  First, I put some VersMark ink on the Layered Leaves Dynamic Textured Impression Embossing Folder (143704) and ran it thru the Big Shot.  I then used copper embossing powder and set it with the heat tool.  It adds a bit of rustic fun!
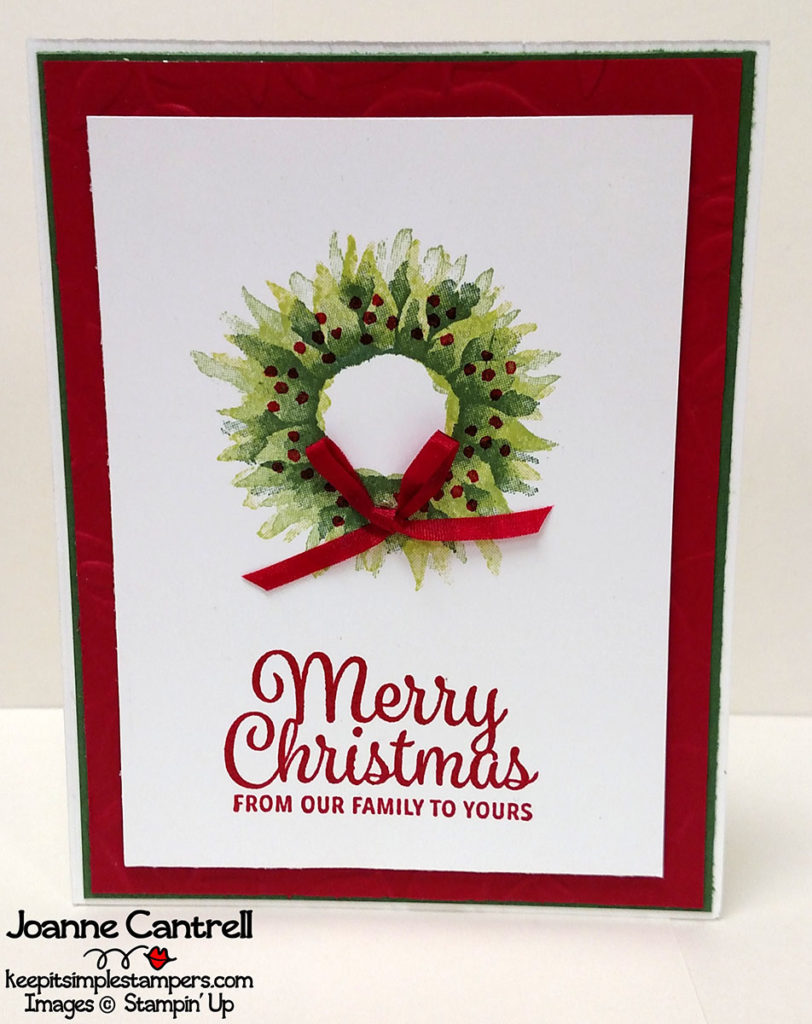
Did you ever think that flower could make a gorgeous wreath?  I layered different greens to create this effect.  On the large flower, I used Lemon Lime Twist then Wild Wasabi.  Then, I used Garden green to stamp the smaller flower. I used the dots image and stamped in Real Red… Then I quickly put clear embossing powder and set it to create a little shine to the berries.  I did the same with the sentiment that came from the Snowflake Sentiment stamp set (144817/144820).

And finally…
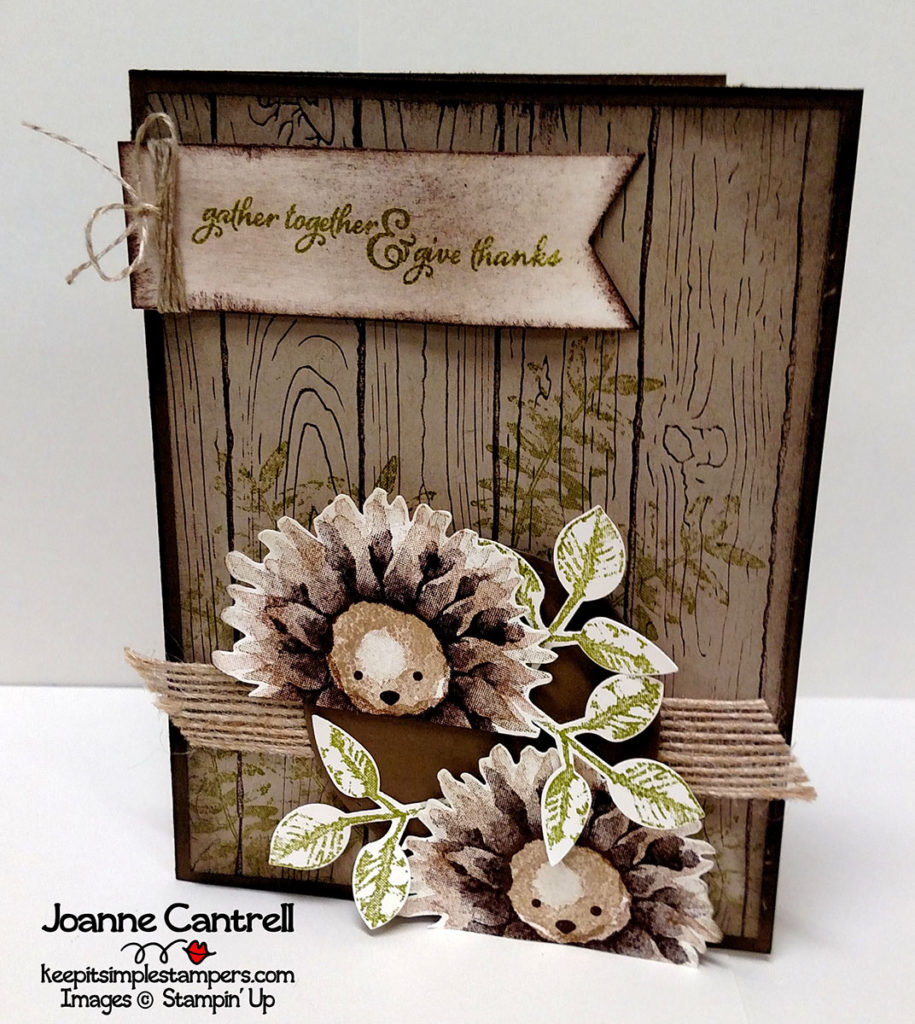
Now, I am not the first one to see these cute little hedgehogs in the stamps… but oh my… are they not the cutest!  I stamped them in Crumb Cake, Soft Suede, and Early Espresso.  I wonder what other things are hidden in this set, don’t you?

Oh – those leaves were also stamped then punched using the new Leaf Punch (144667).  You can save money by buying the punch and the stamp set together as a bundle – the PAINTED HARVEST bundle (146021),
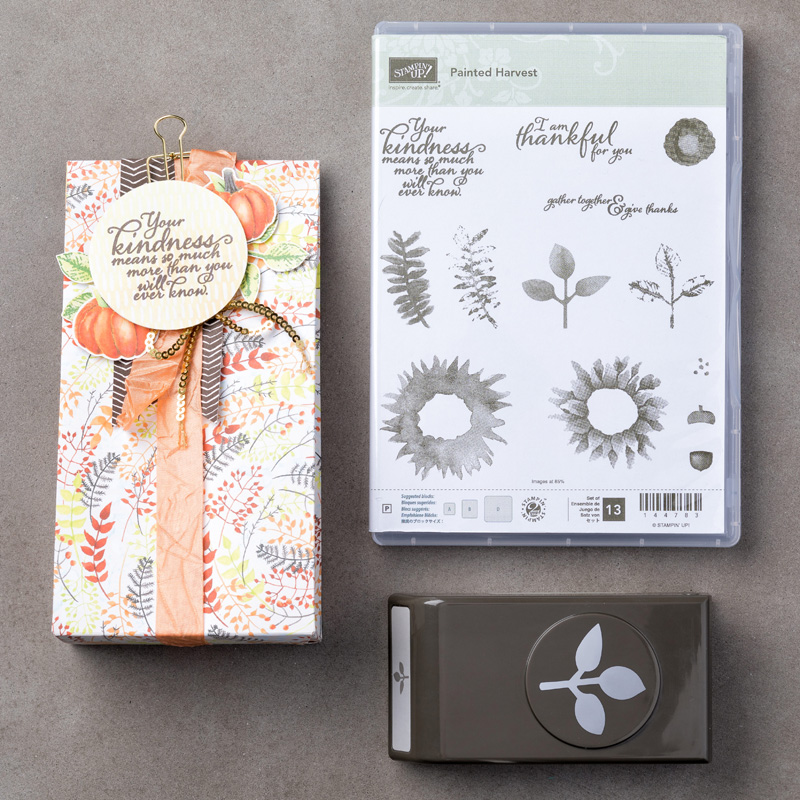
Well, thanks for stopping by!

Now, hop on over to Sara Rayner or hop back to Janet Wakeland

Until next time… Keep it simple, Stampers!

🙂  Joanne
Anything but the Holidays Blog Hop

Isn’t is amazing that just because something is featured in a “Holiday” catalog, it doesn’t necessarily mean that you have to use it for holiday projects ONLY!  This blog hop is going to introduce you to all the other things you can do with these products… ALL projects that have nothing to do with the Holidays. No Halloween! No fall! No Thanksgiving! No Christmas! No Hanukkah! etc.  There will be ANYTHING BUT how you might expect to use these great Holiday Catalog products!

So, Welcome to the Anything but the Holidays Blog Hop!

You are currently visiting Joanne Cantrell here at the very bottom of Southern Illinois in the middle of the United States!

Here are my projects!!!

Now, I saw the above card somewhere – maybe Pinterest or maybe Facebook… for the life of me I cannot find it again to give credit where credit is due.  It was not my own design.  I CASE’d it from someone somewhere… If that was you, please let me know!

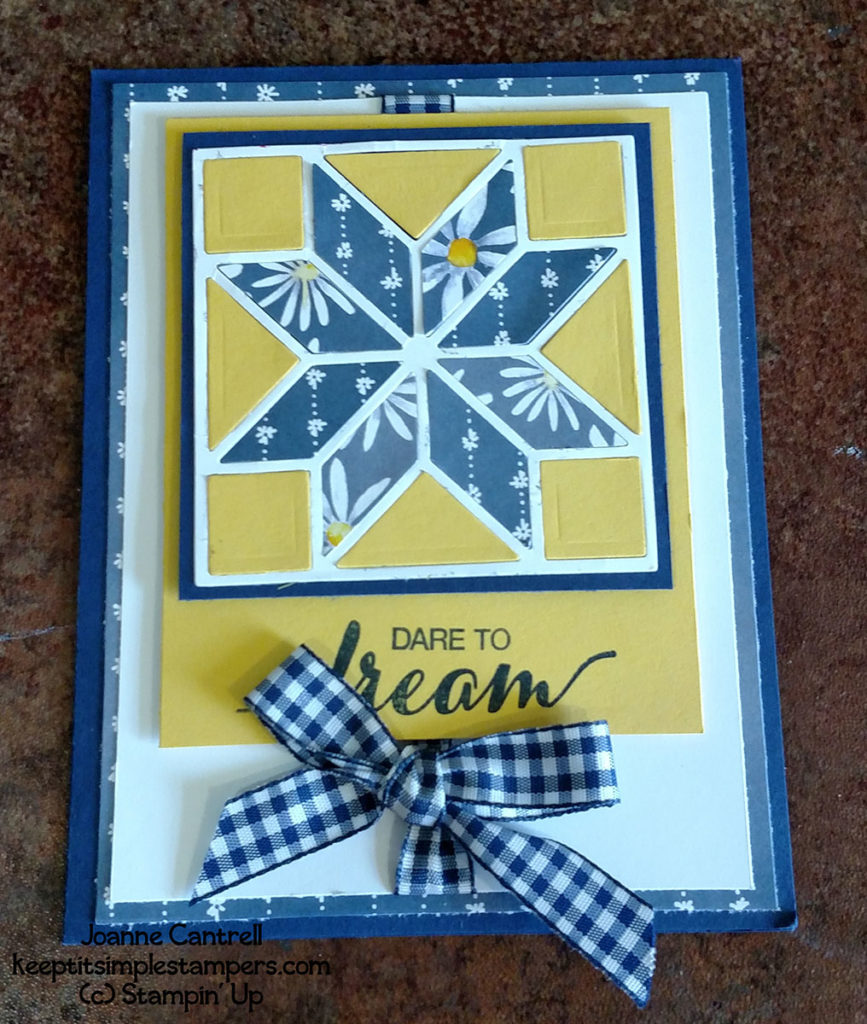
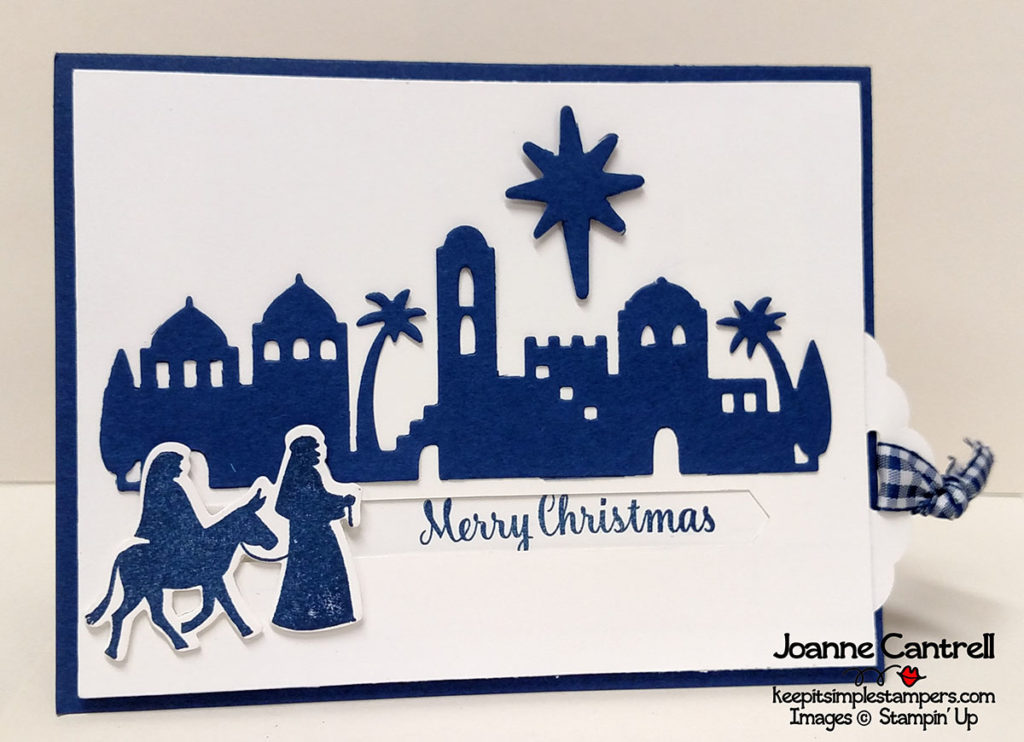
That being said – the card above screams anything but Christmas, but it uses the Quilt Builder Framelits (144673).  These Framelits are part of the very first bundle in the Holiday Catalog and I can see using this set for so much more than just Christmas cards… can’t you?

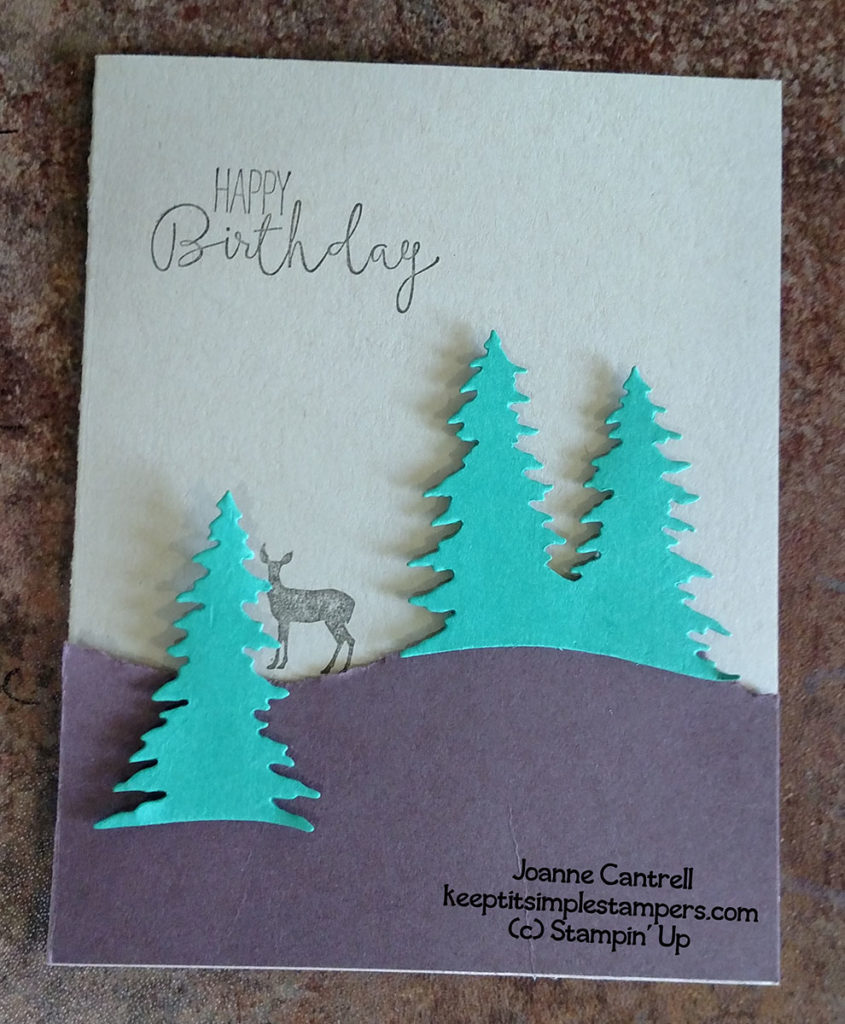
This card was a quick and simple card that uses the Card Front Builder Thinlits (144674).  It’s easy to see how these can be used for masculine cards and more.

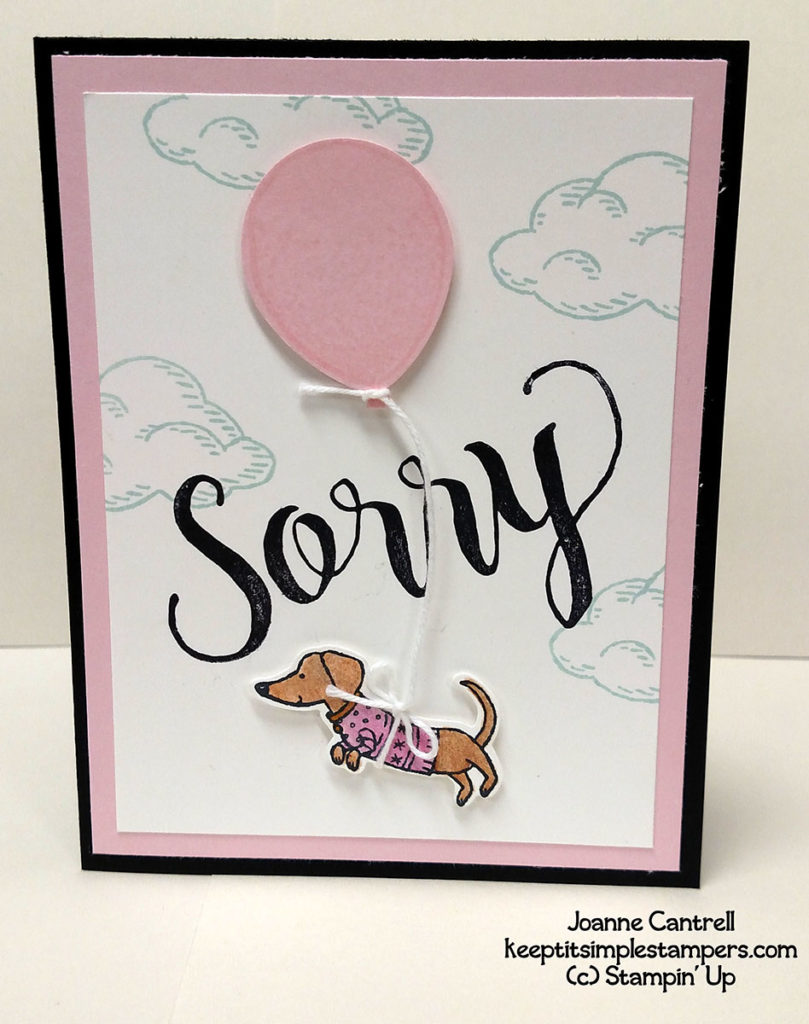
The above card was made for a sweet friend who lost her dachshund a couple weeks ago while in labor with six puppies.  All were lost as well.  So sad for her.  Her dog was the mother of one of mine and was picked up at the same time that we went together to get my oldest dachshund.  Needless to say, I wanted to brighten her day a bit and let her know that I was thinking of her.

I took a cue from Bella & Friends (141870) in the Annual Catalog but used the little pup in the Ready for Christmas Stamp Set (144823) in the Holiday Catalog.  The sentiment came from Sorry for Everything (143820).  This set has the best sentiment for the loss of a pet.

And, while I was at it, I used the cute little doxie on another card that has nothing to do with Christmas!

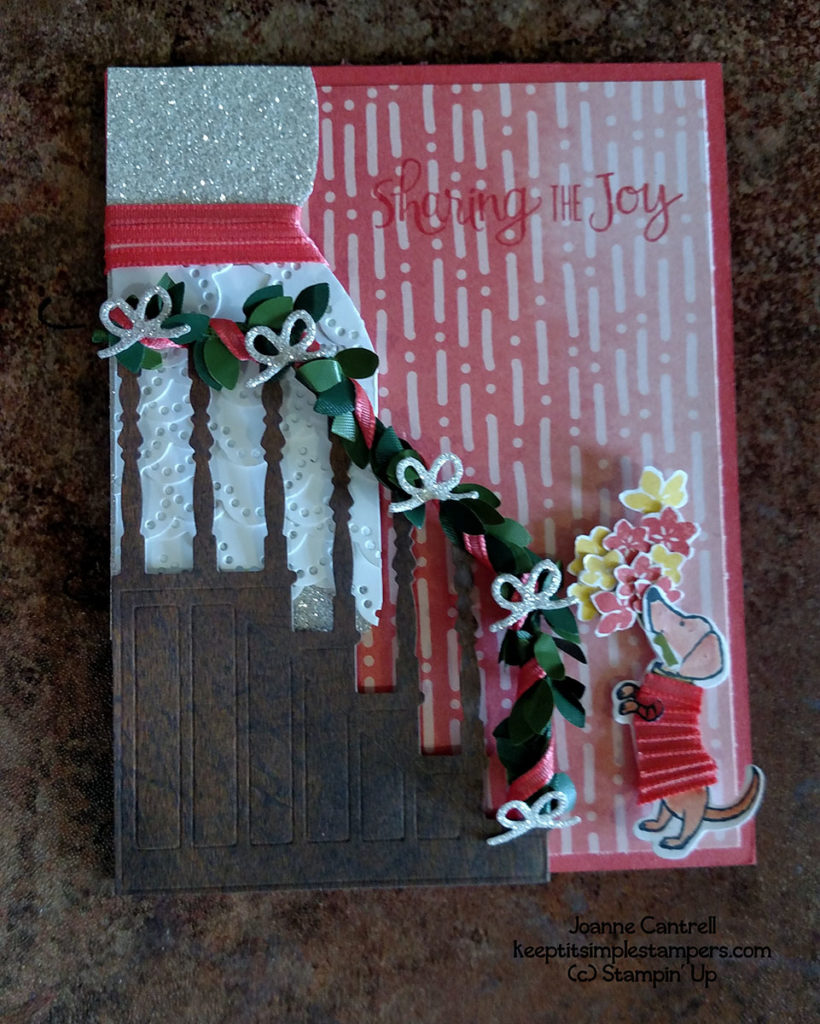
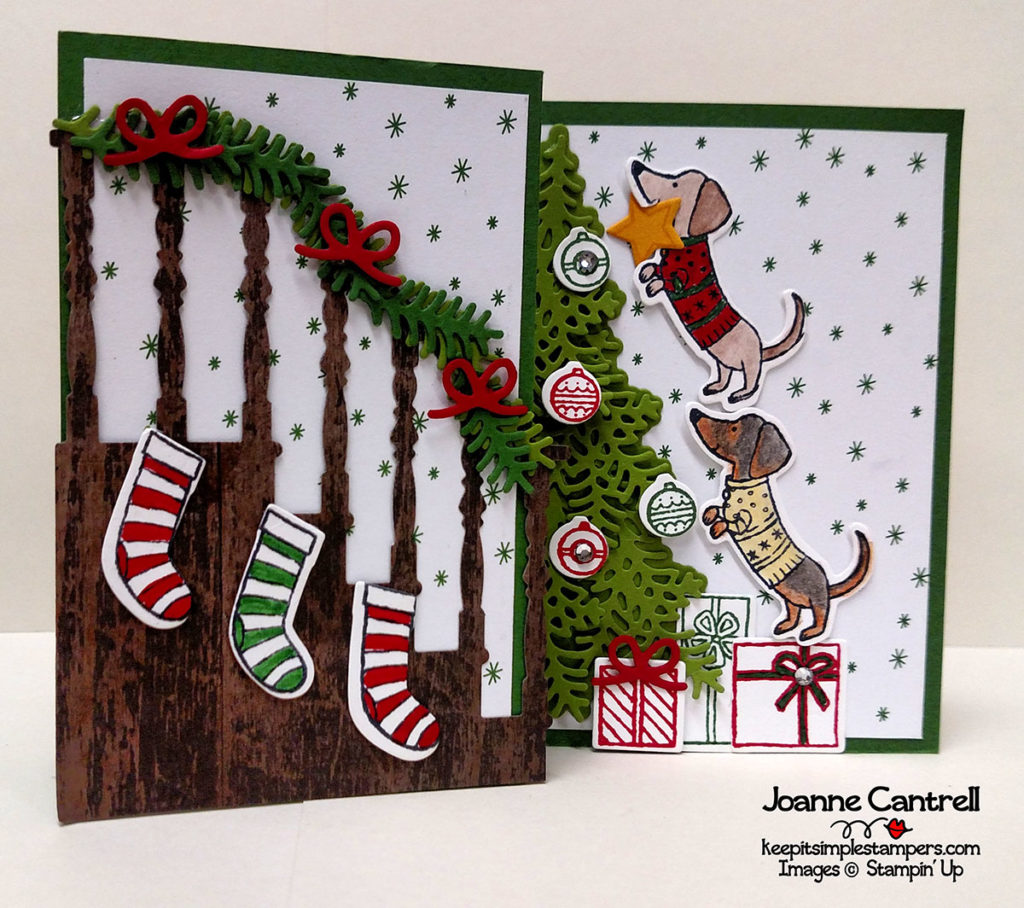
This card also uses the Ready for Christmas set.  But, it also uses the Christmas Staircase Thinlit Dies.  I thought of a bride walking down the staircase with her faithful companion holding the bouquet for her.  The wallpaper came from the Delightful Daisy Designer Series Paper (144137) which also gave me the Calypso Coral color scheme.  The flowers are from the Colorful Season Stamp Set (143726).  Around the staircase, I wrapped a Boxwood Wreath (144176) and some Calypso Coral 1/8″ Sheer Ribbon.  I also used the ribbon for the belt on the dress and the dress on the pup.  Speaking of the dress…  Do you see that… I used the edgelit  found in the Swirly Snowflakes Thinlits (144678) in the Holiday Catalog.

I hope you have enjoyed what you have seen so far!

Now… hop along!!!


Until next time… keep it simple, Stampers!

🙂 Joanne
 

Aim For Alaska Blog Hop – 2017 Holiday Catalog Sneak Peek

What a great time I have been having in Kylie Bertucci’s Aim for Alaska Group.  I have learned so much from the guest “speakers” and the other members.  It’s going to be sad when it ends!  It’s been a challenge to put it all in to practice but in small bites you can do anything… even eat an elephant.

So, thank you for taking time to stop by my blog today.  Our theme this month is a sneak peek at projects made using our favorite items from the new catalog.  This new catalog is so great, how on earth can I choose just one?  But, then again… when people keep asking if I have seen a certain set, something about that set may just mean it’s a set made especially for me!  And, if you follow me at all, you should know the set I am talking about!!!

Which set is that?

Why, it’s the Ready for Christmas Bundle (146056) which includes the Ready for Christmas Stamp Set (144823) and Christmas Staircase Thinlits (144679).  Do you see that little dachshund?  Yep, that’s why it’s the set for me!

So, here are a couple of the projects I made with this bundle.


Are those little puppies putting the star on top of the tree just not the cutest little thing you have ever seen!?!

Here is the card open!


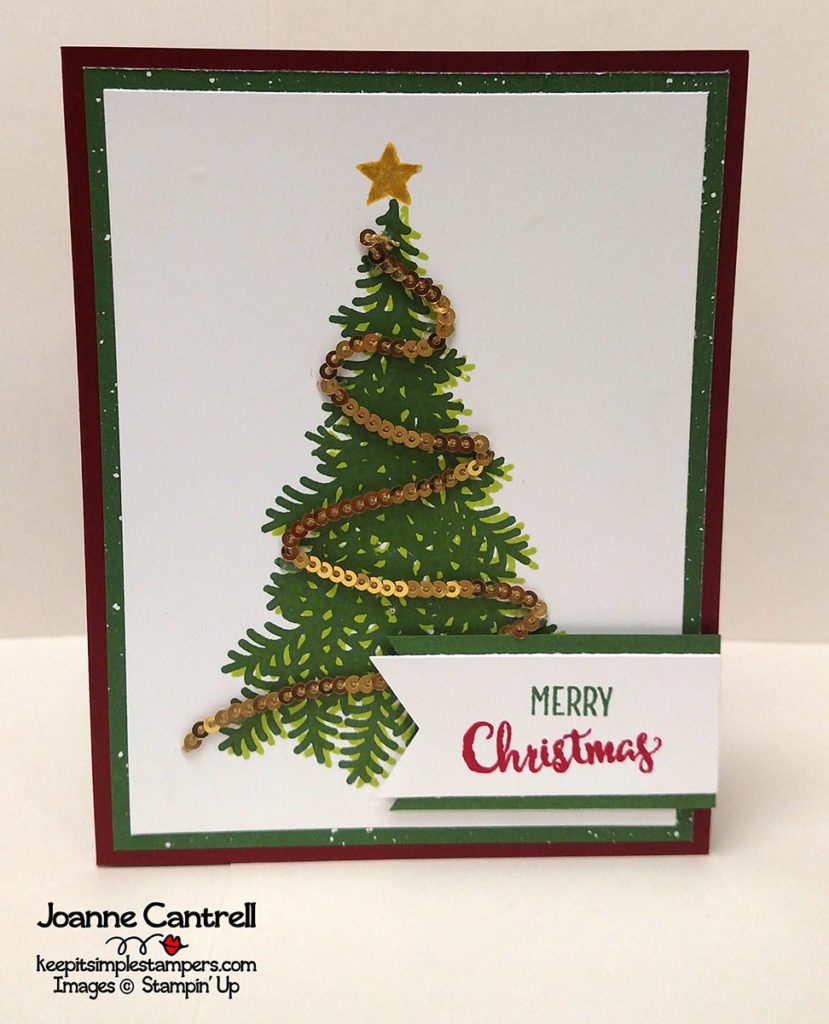
And that font in that sentiment is so lovely!

This one uses none of the dies at all.  It was stamped in Lemon Lime Twist then stamped over in Garden Green

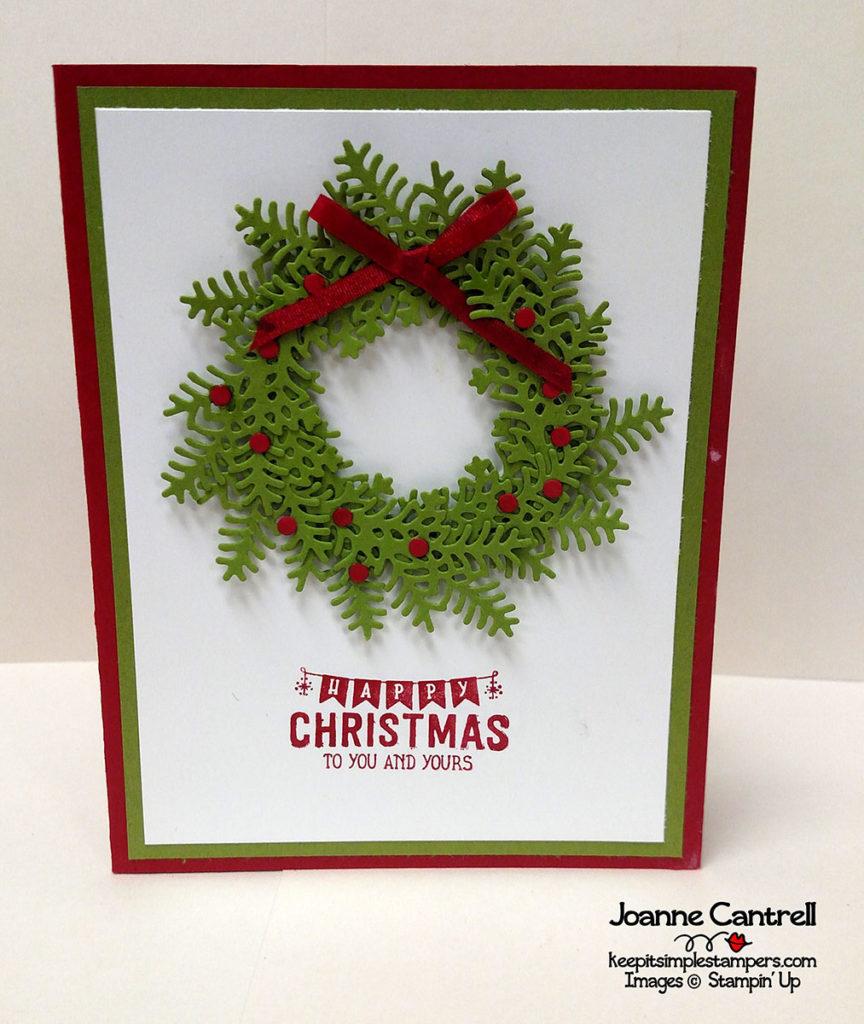
This card uses the branches from the Christmas tree.  I made ring with the 2″ and 1-3/4″ circle punches then used some Snail to attach the branches to the ring.  The berries were made with the 1/8″ punch.  The sentiment came from the Labels to Love set (144970/144967)..

Thank you again for visiting my blog today!  Jump through the rest of the blogs using the list below!

Until nest time… keep it simple, Stampers!

🙂  Joanne

Ink & Inspiration Blog Hop – Inspirational Picture

Welcome to the Ink & Inspiration August Blog Hop! You have currently landed on my page – Joanne Cantrell!
This month, we have been challenged to actually create something from those things we see and say… “Hey wouldn’t that make a great card!”  I can’t wait to see what everyone else has been inspired by… here’s mine!
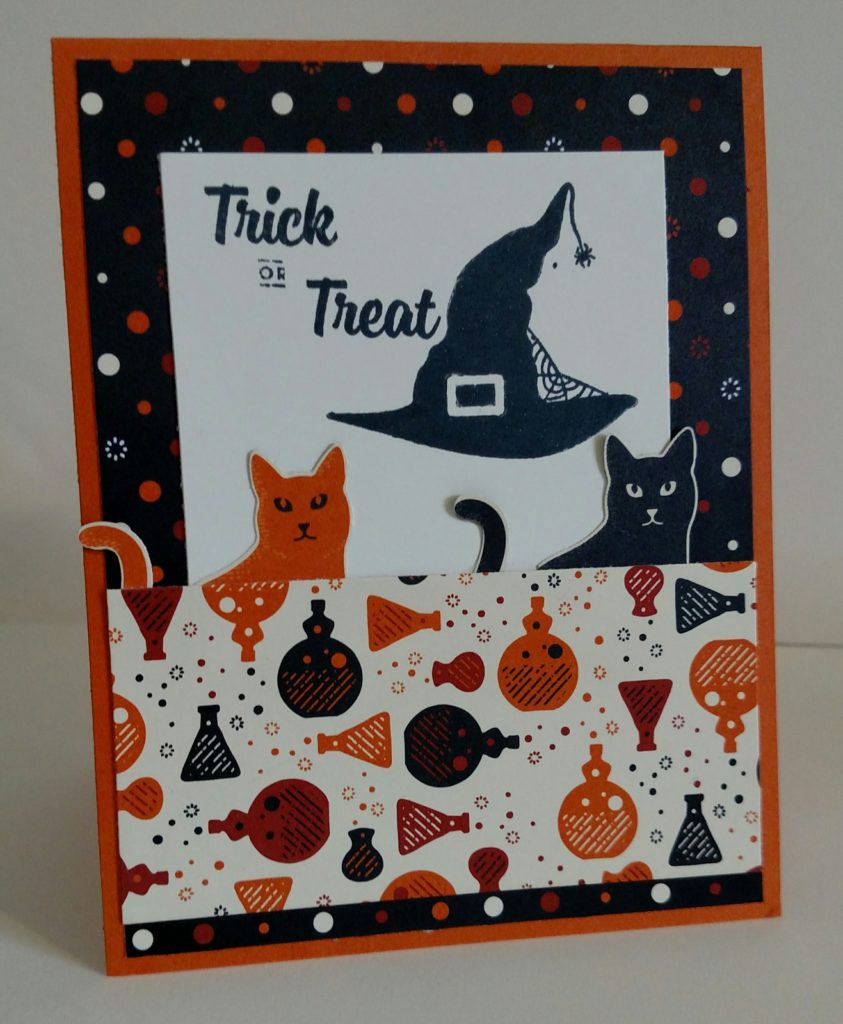
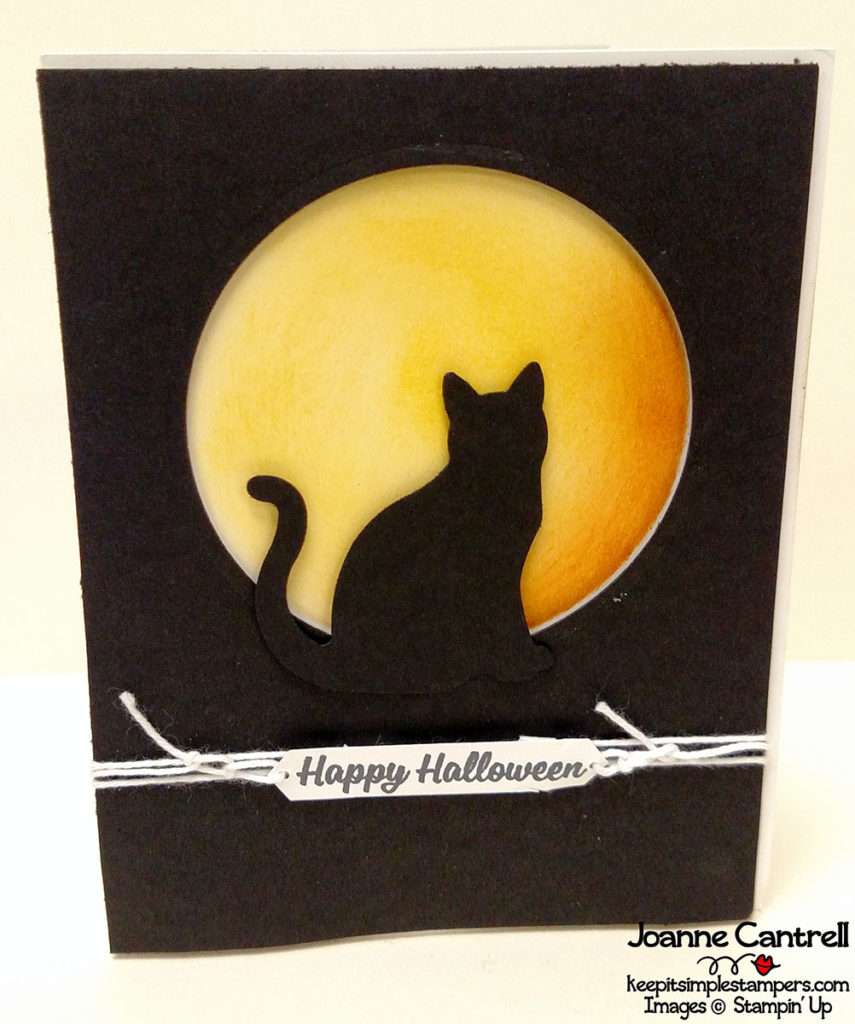
So, I work part time at Yankee Candle in our local mall.  Yankee and Stampin’ Up go so well together!  Every time we get new products in, I am always looking at ways to recreate with my Stampin’ stuff.  I won’t bore you with all my inspiring ideas… but here are a couple!

And, here is the close upon just the cards…

Well, thanks for checking out my inspired projects!  Now, hop along and see what the others ladies have in store for you!

#IIBH if you’re into hashtags.

Until next time… keep it simple, Stampers!

🙂 Joanne