Product Spotlight: Test Tubes

Today is the 4th installment in our 5-day 2017 Holiday Catalog Product Spotlight.  Have you seen anything yet that you just loved? I sure have.  I will be CASE-ing a bunch of them!  There are some very talented Stampers here!

So today, We are here to talk TEST TUBES!

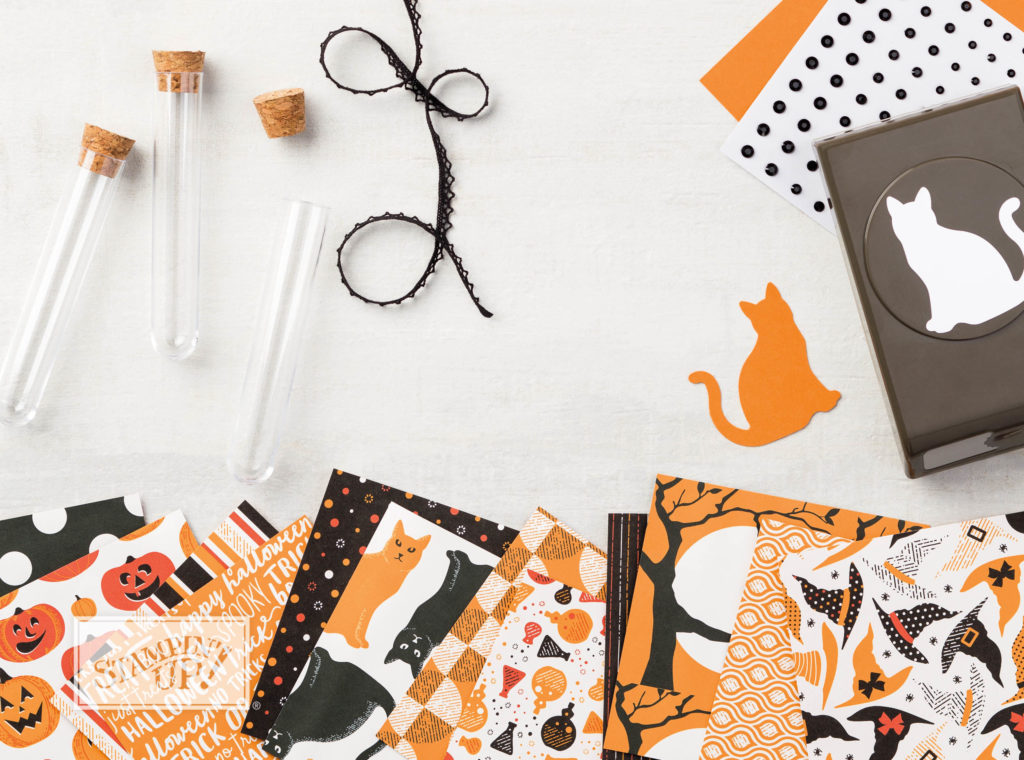
When I told my husband I needed some candy for test tubes, he was very puzzled.  He thought I was doing something with my daughter for her science class.  He just has no clue that TEST TUBES aren’t just for science anymore.  They are a great way to give a treat!  What you can do with them is really only limited to what you can fit inside them.

Here are a few of the things I came up …

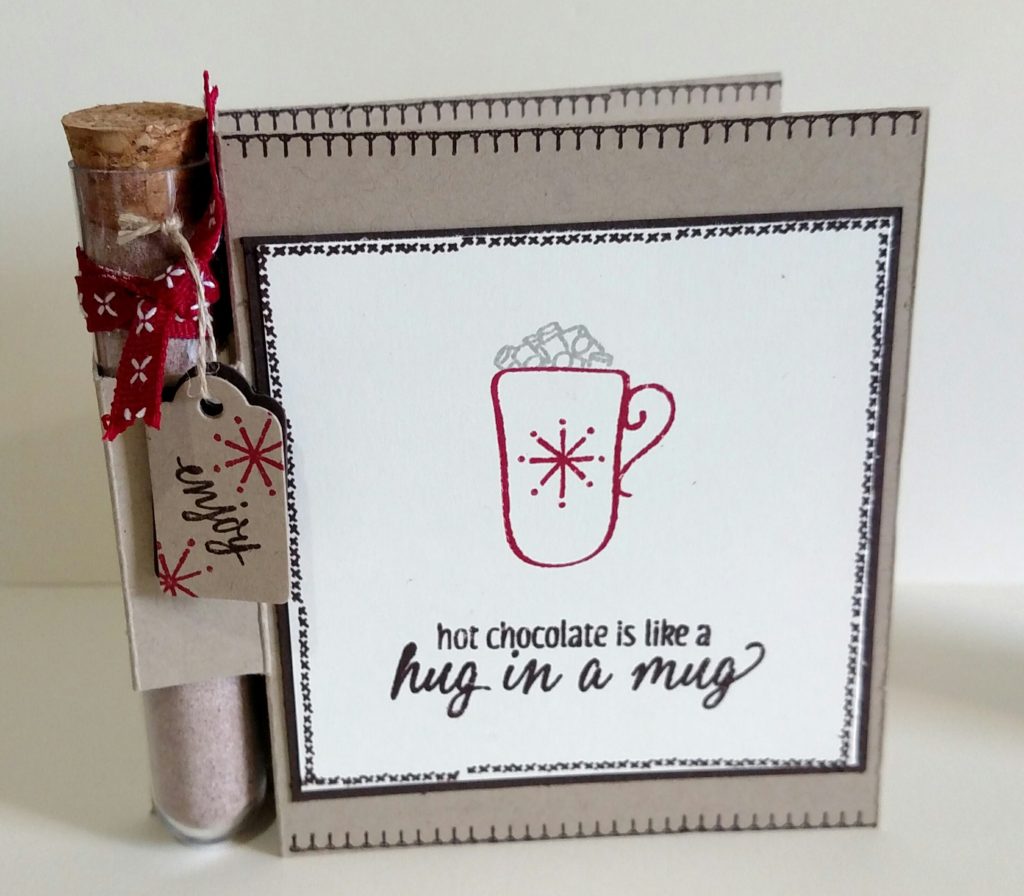
This is your typical hot chocolate packet simply dumped into one of the test tubes.  I created a card for it using the Hug in a Mug Stamp Set (144933).  I cut the little tag using the Wood Crate Framelits (143730).

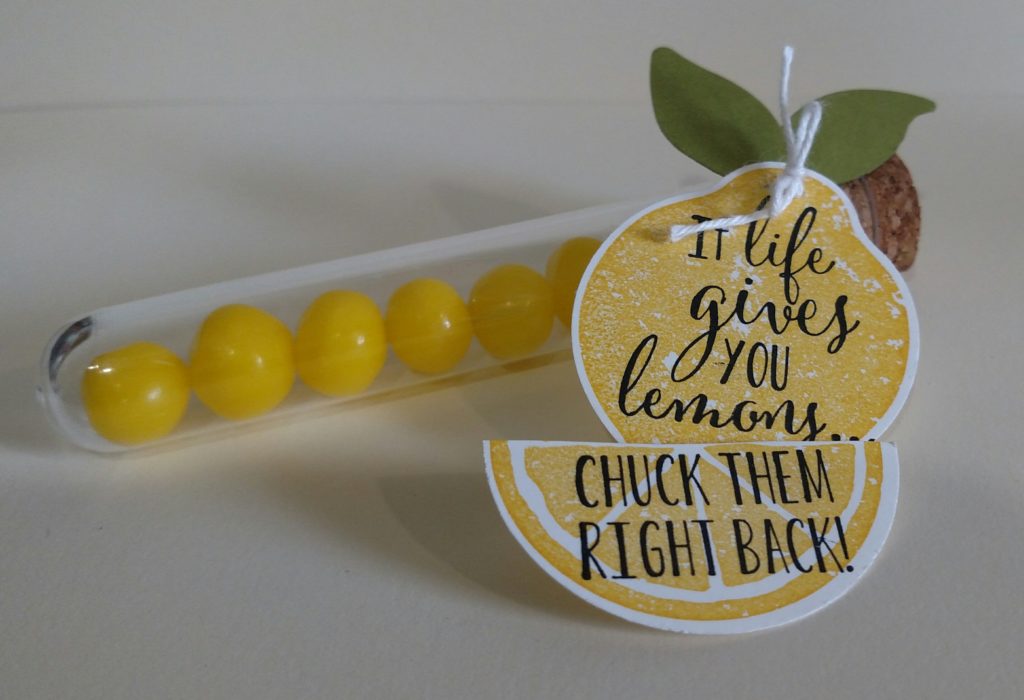
Lemon Heads candy fits nicely into the tube for someone that you want to give a little sour too.  I used the Lemon Zest Bundle (145359/145360) to make the tag.  This bundle includes the Lemon Zest Stamp Set (143805/143808) and the Lemon Build Punch (143712).

But, you can put more than just candy inside these little test tubes…

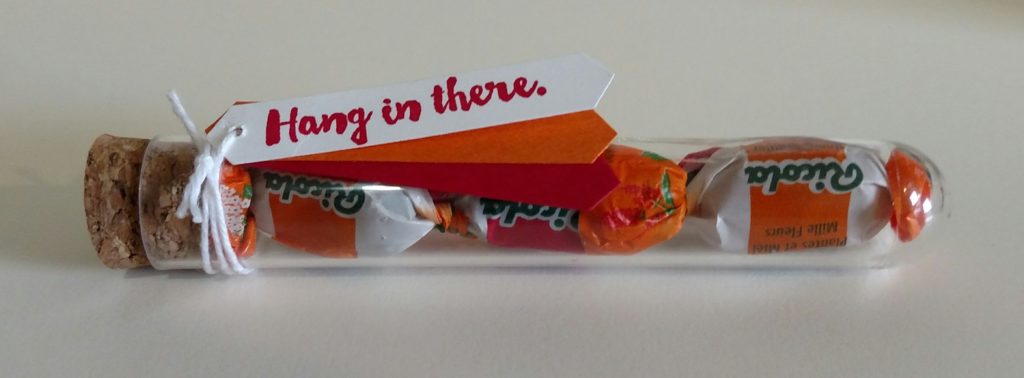
If it fits… it can be a treat!  Here are a couple cough drops and a little tag for a friend who has a cold.  The tag is from the Here For You stamp set (141541/142164) and cut out with the Classic Label Punch (141491).

And for the last one…

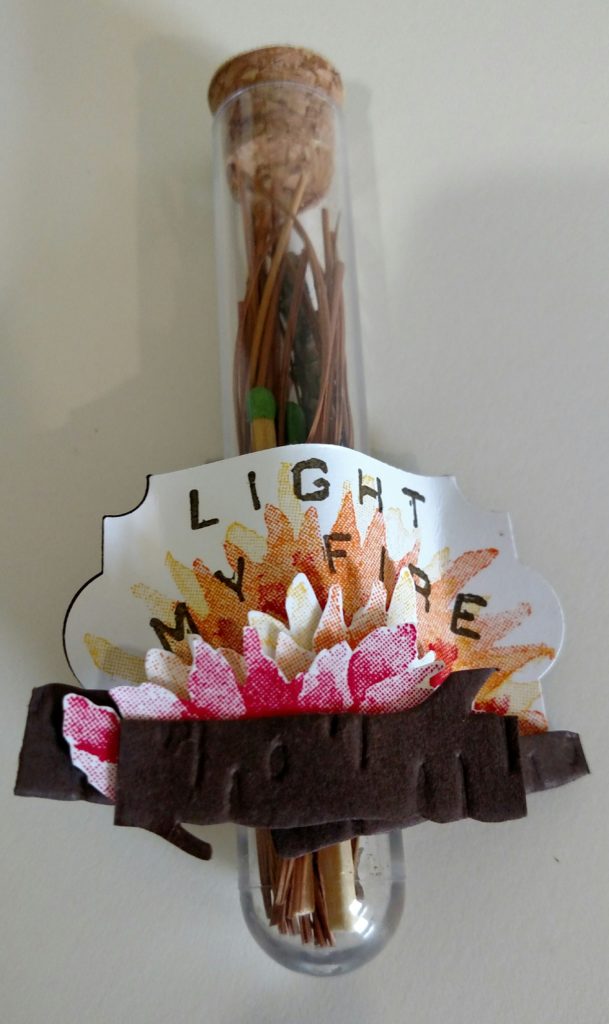
A little fire starting kit.  I grabs some pine needles and twigs off the ground outside my craft room to put in the test tube then slipped in a couple matches.  On the top of the cork, I glues a small circle of sand paper so you can light the match.  The fire on the tag was created using the Painted Harvest (144783)flowers in Crushed Curry, Pumpkin Pie and Real Red.  The logs were embossed using the Woodland Textured Impression Embossing Folder (139673) then fussy cut.  The wording was created using the Little Labeler Alphabet Stamp Set (141936).  And, I used the new Everyday Label Punch (144668) to make the stand.  I cut two pieces and glued the tips together then slipped the tube in between after it dried.

Hope you enjoyed what you see here!

Now, hop on over to Jennifer Van Wart or hop back to Janet Wakeland!

Until next time, keep it simple, Stampers!

🙂  Joanne
Product Spotlight: Vintage Crochet Trim

Welcome to the second installment of the Holiday Catalog Product Spotlight.  Today, we will feature the Vintage Crochet Trim (144611).

This trim can be found on page 53 in the Holiday Catalog which is all the way towards the back with the Halloween stuff.   But, that doesn’t mean it’s just for Halloween!

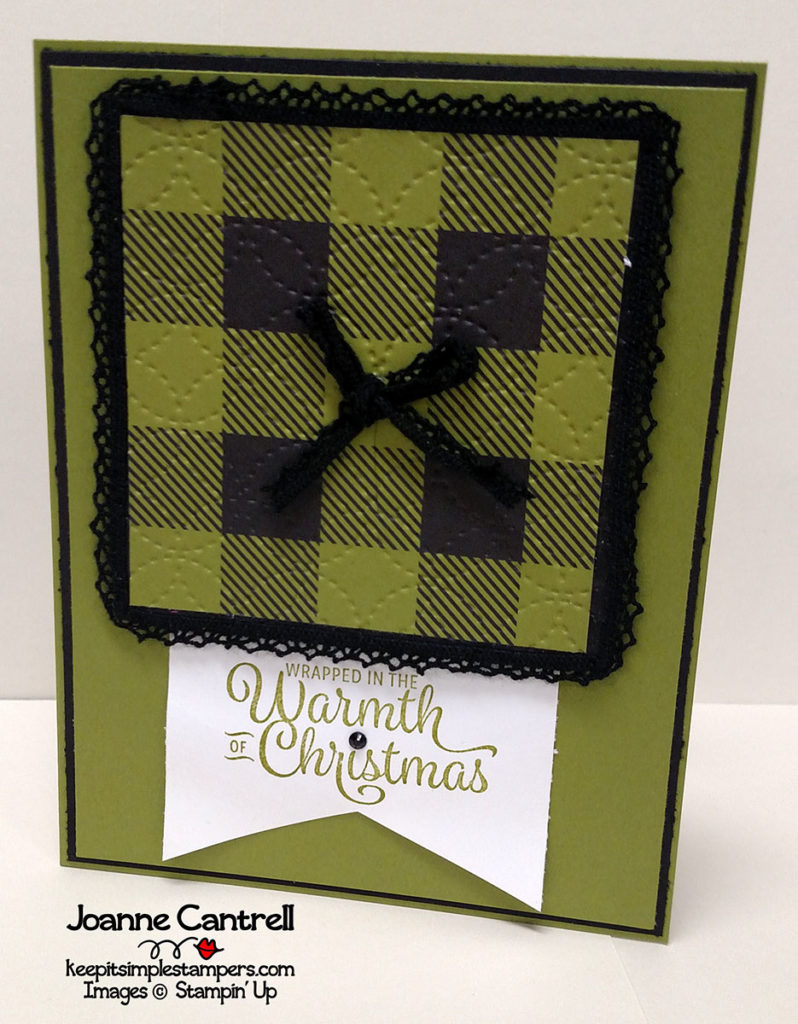
So, the first thing I think of when I think about Crochet Trim is that is it the perfect edging to a blanket.  So, I would be remiss if I didn’t make a little blanket…

I ran a bit of snail around the edge of a square of Basic Black cardstock, then I adhered the trim around it.  I added a square of the beautiful  Merry Little Christmas Designer Series Paper (144621) and ran it through the Big Shot in the new Quilt Top Textured Impression Embossing Folder (144687).  I added the perfect little sentiment from Snowflakes Sentiments (144817/144820).

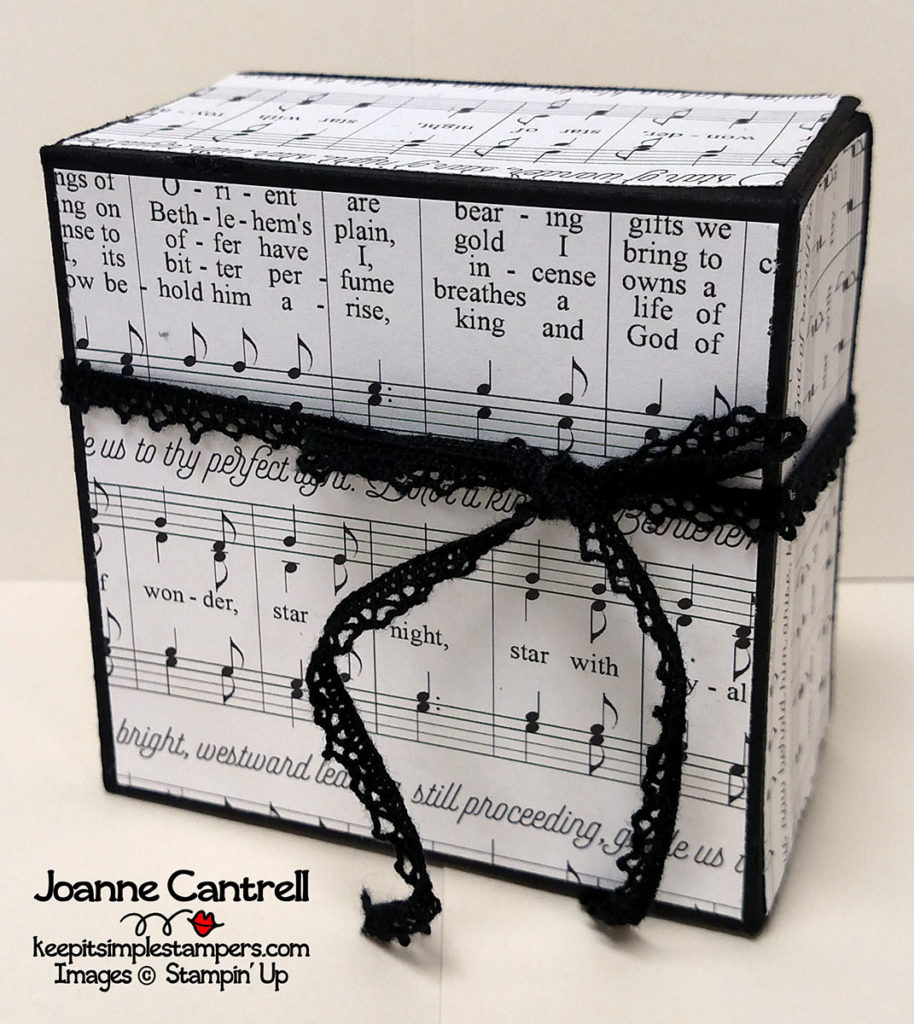
My next project also features a new Designer Series Paper.

This one is called Merry Music Specialty Designer Series Paper (144623).  I just created a simple box and used the Crochet Trim to finish it off with a simple bow.  I suppose a tag could be made for it, but this will be used as a simple box to hold a special treat for a friend!

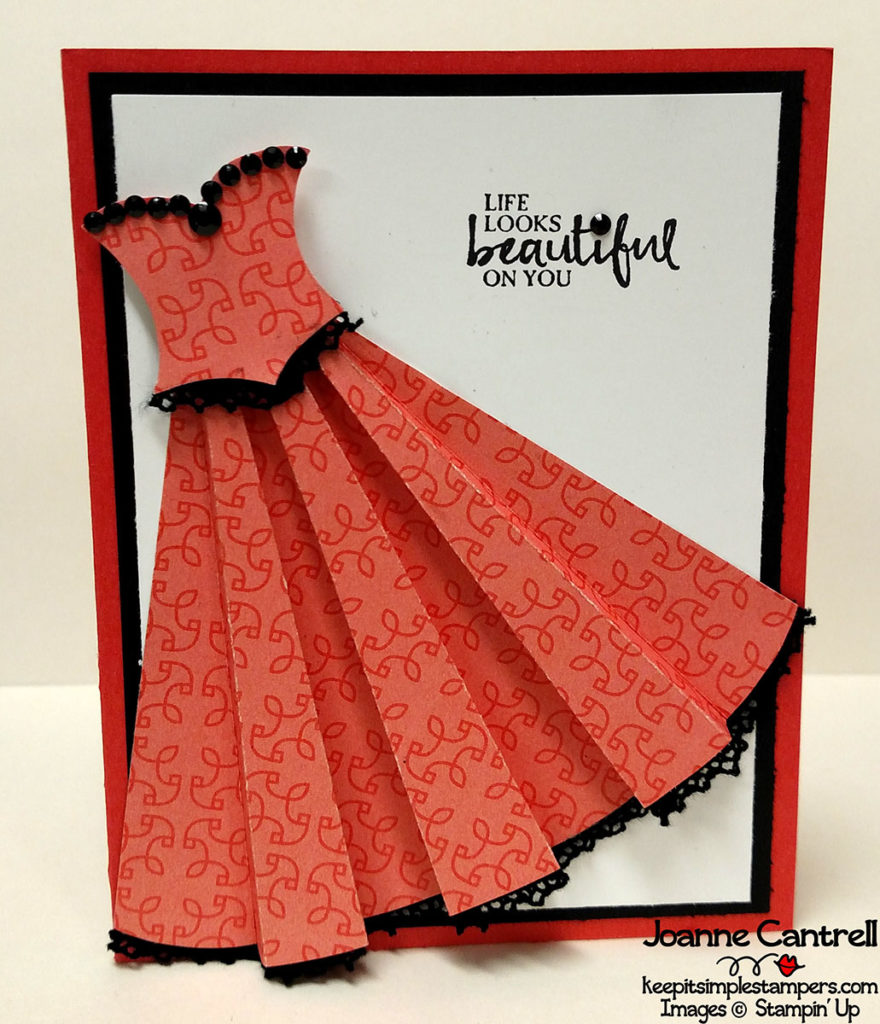
So… Crochet Trim…???  Where else is trim used?  On clothing, of course!

For this card, I created a dress out of the Petal Garden Designer Series Paper Stack (144168) and trimmed it with the Vintage Crochet Trim.  I added some of the new Black Rhinestones (144639) for a little bling.  The sentiment comes from the Beautiful You stamp set (143004/143637)

You can find a printable project sheet with the template for the dress at

https://keepitsimplestampers.com/all-dressed-up/

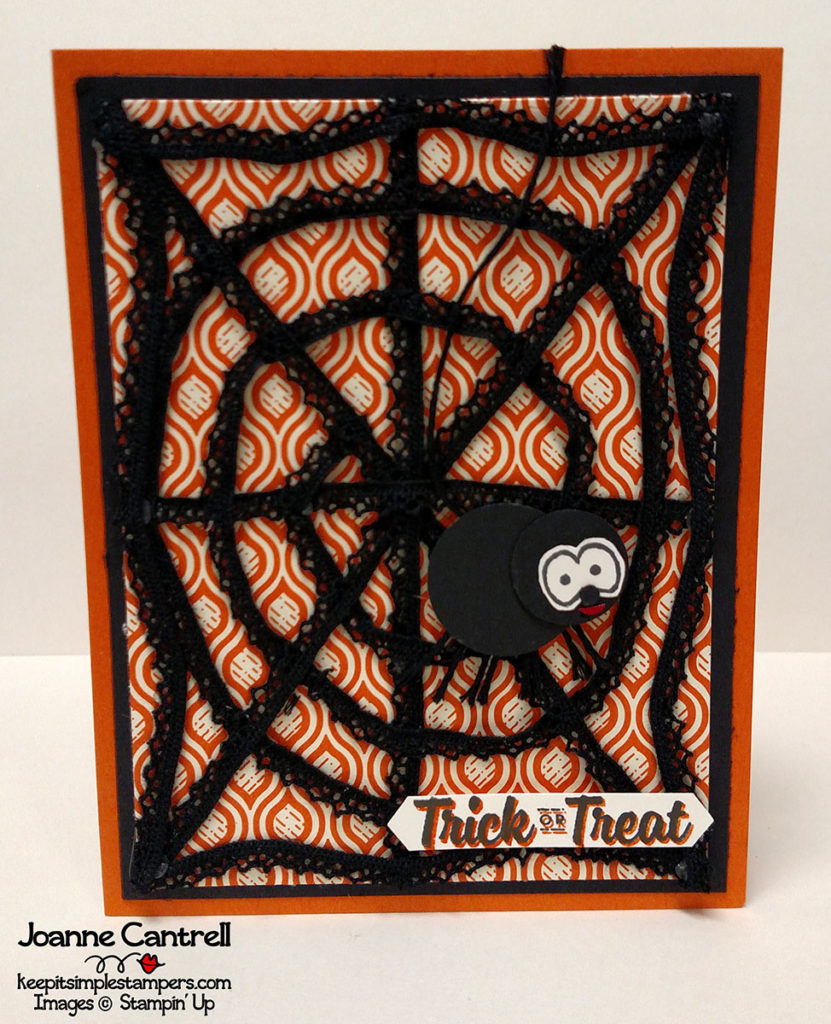
And… I would be remiss if I didn’t create at least one Halloween card with this trim, wouldn’t I.

I used it to create a spider web!  I double stamped the sentiment found in the Spooky Cat Stamp Set (144749).  I used the eyes from that set for the spider and simply punched two circles for the body and added some black twine for the legs and web he is dangling from.

Well, that’s all I’ve got for this one!  How will you get creative with the trim?

Now, hop on over to Sara Rayner or hop back to Teri Wells

Until next time, keep it simple, Stampers!

🙂  Joanne
Product Spotlight: Painted Harvest

Welcome to the Holiday Catalog Product Spotlight Blog Hop!  I am excited to have hopping through these pages to see the versatility of the products available in the 2017 Holiday Catalog.   This Blog Hop features bloggers from all over the world.

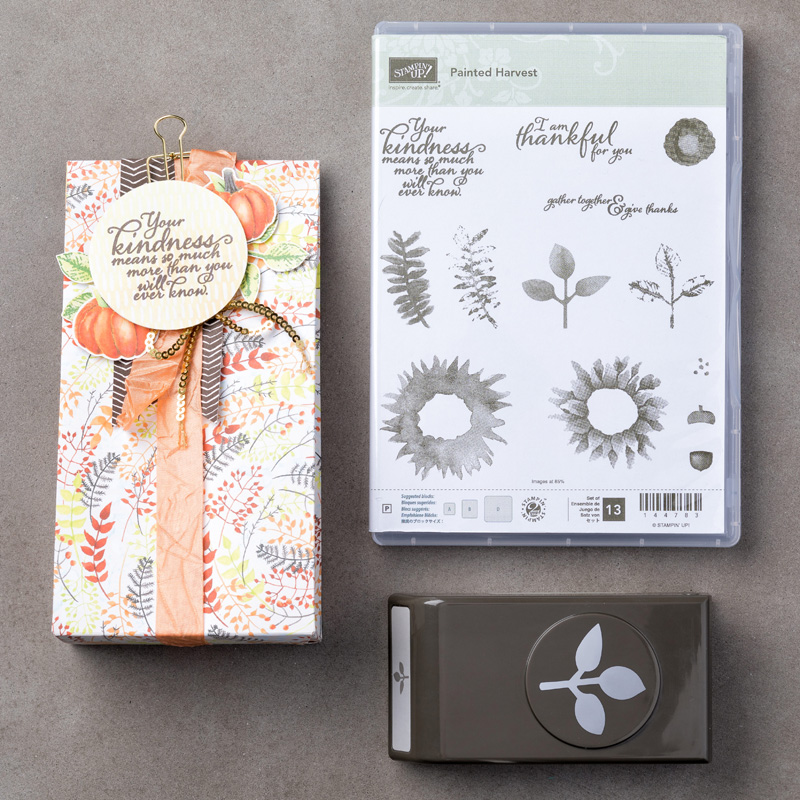
The first product we would like to direct your attention to is the PAINTED HARVEST Photopolymer Stamp Set (144783).  It is really a quite spectacular stamp set that has more uses than you would think upon first glance.

Here is what I have crafted using this set.

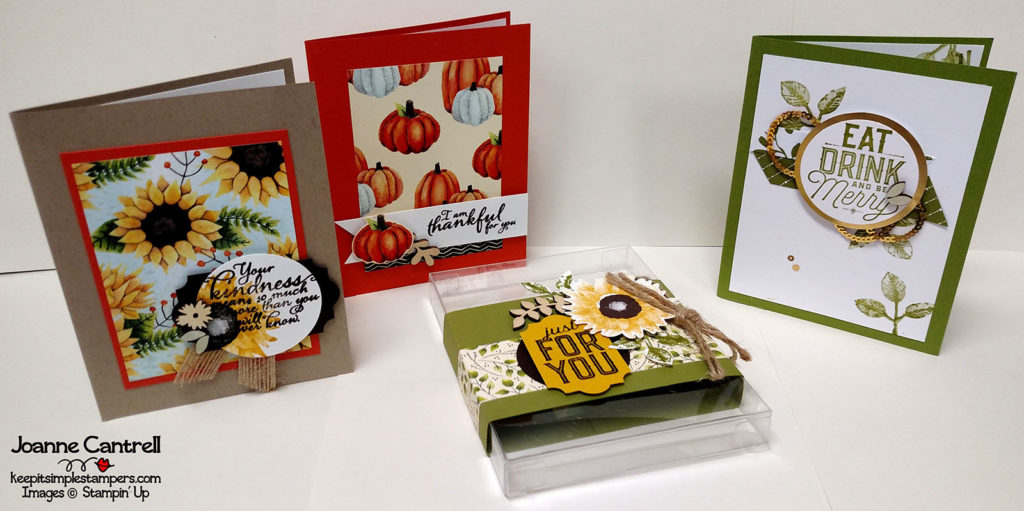
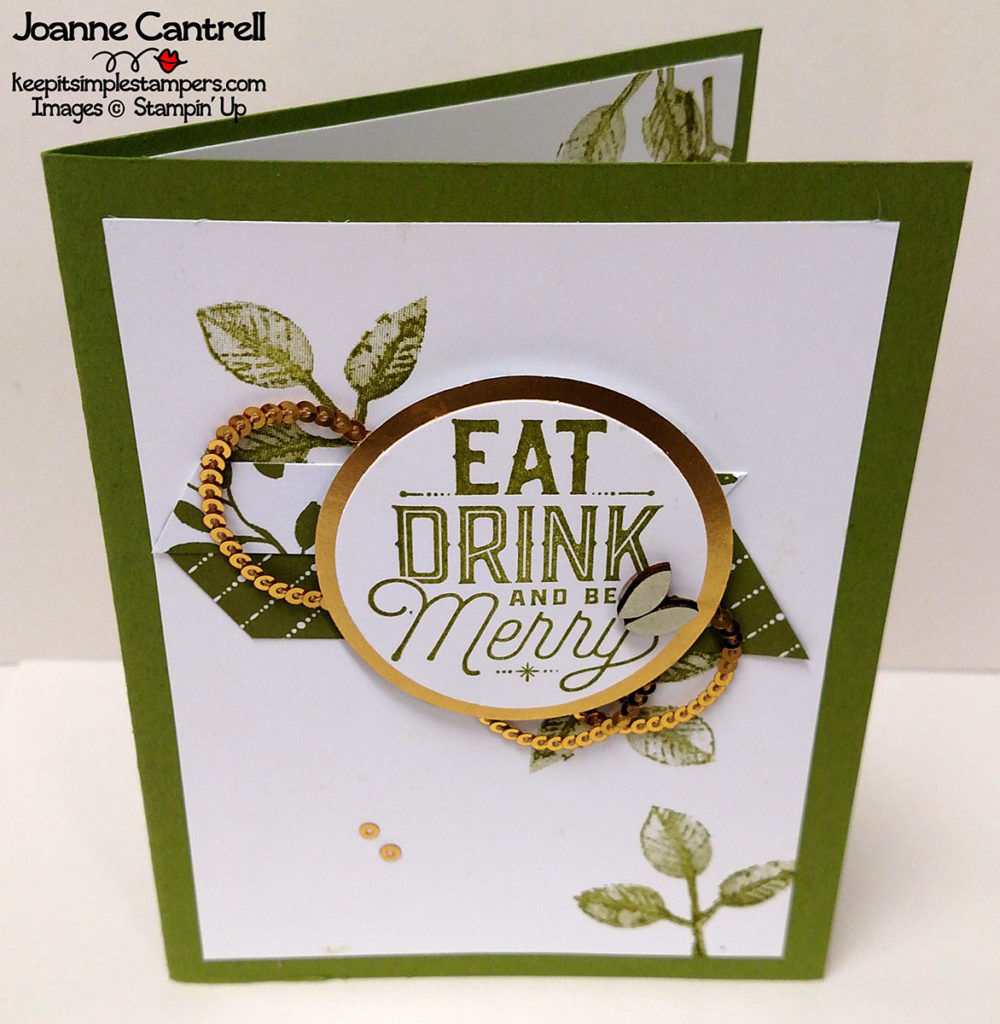
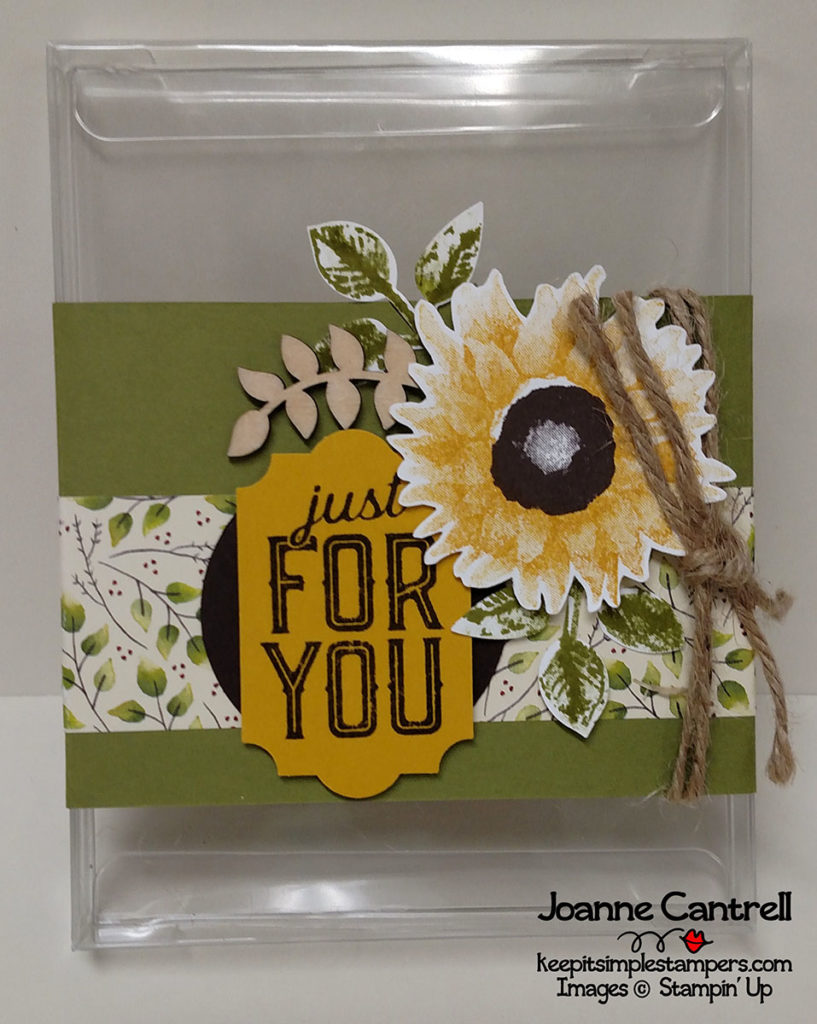
I honestly cannot tell you who created this set.  It was a “make-n-take” that we did at a recent demonstrator event.  Don’t you just love that acetate box!  It can hold 5 embellished cards and envelopes.

Here is an close up of each of the cards as well as the box.  The sentiments come from Painted Harvest as well as Merry Little Labels.  They also show off that beautiful designer series paper!

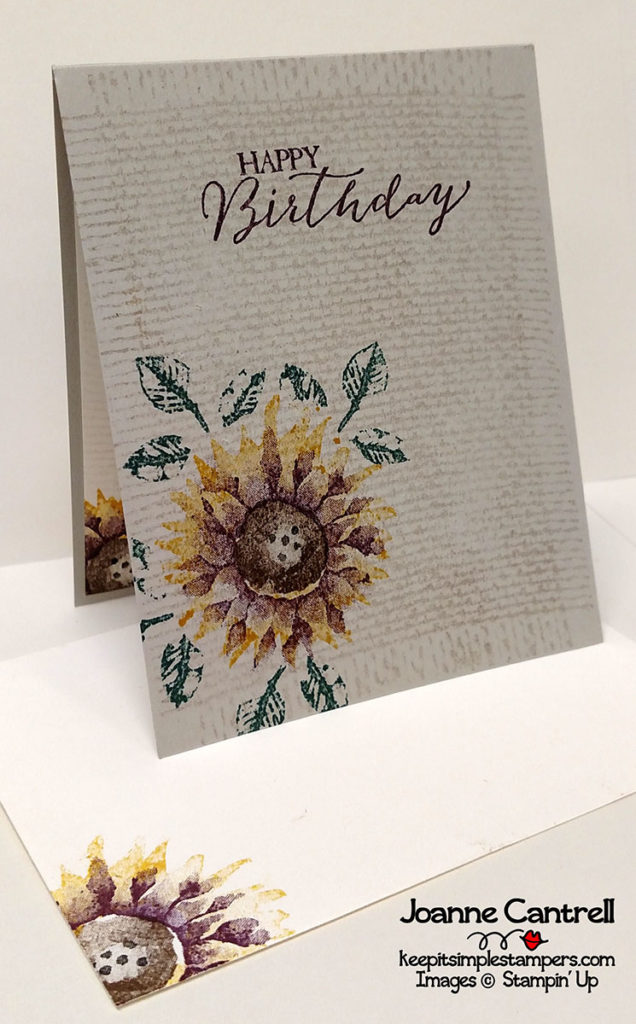
This next card was designed by Carol Payne.  It was part of our “shoebox swap” we did at our last team meeting.  It’s one of the great things about being part of a team of demonstrators.  Stampin’ together is such fun!

What is simple about this card is that there is not punching or cutting.  It is just some masking and stamping.

And, here’s this one…

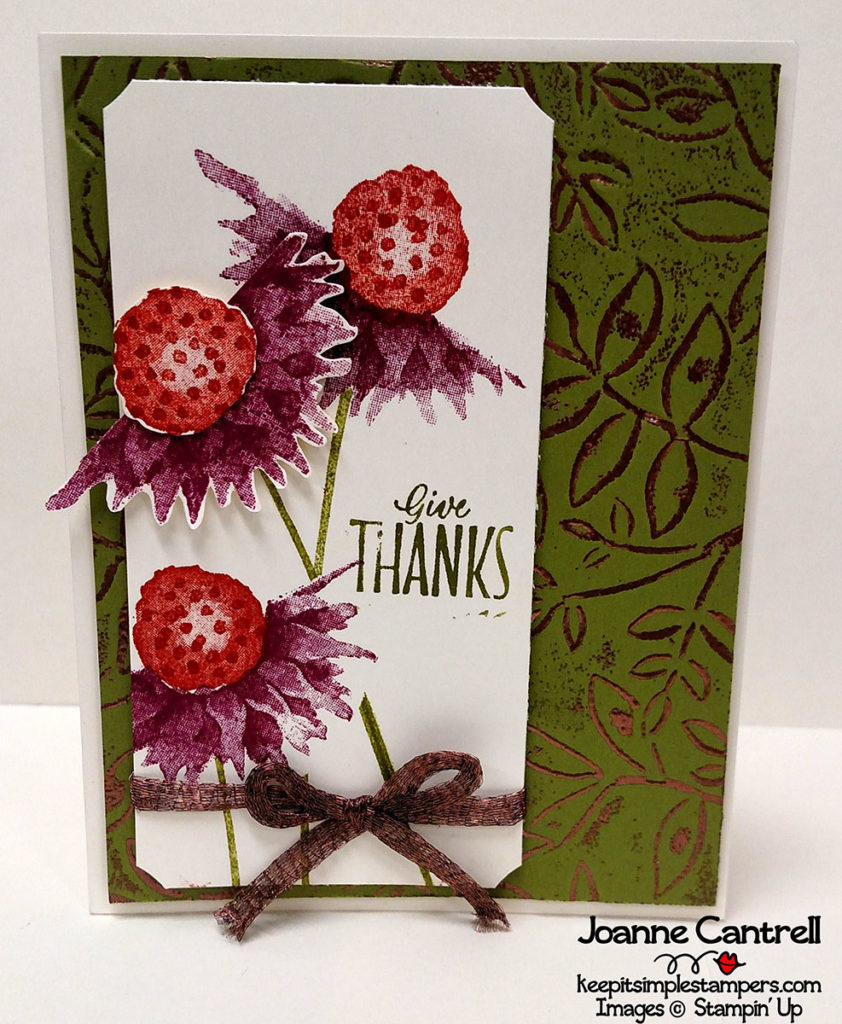
For this card, I used some post-it notes to mask off Very Vanilla paper so that only half of the flower would be stamped and voila… cone flowers!  I did not stamp off any of the center (cone) but made sure to put the pointy side up…

The background was double embossed.  First, I put some VersMark ink on the Layered Leaves Dynamic Textured Impression Embossing Folder (143704) and ran it thru the Big Shot.  I then used copper embossing powder and set it with the heat tool.  It adds a bit of rustic fun!

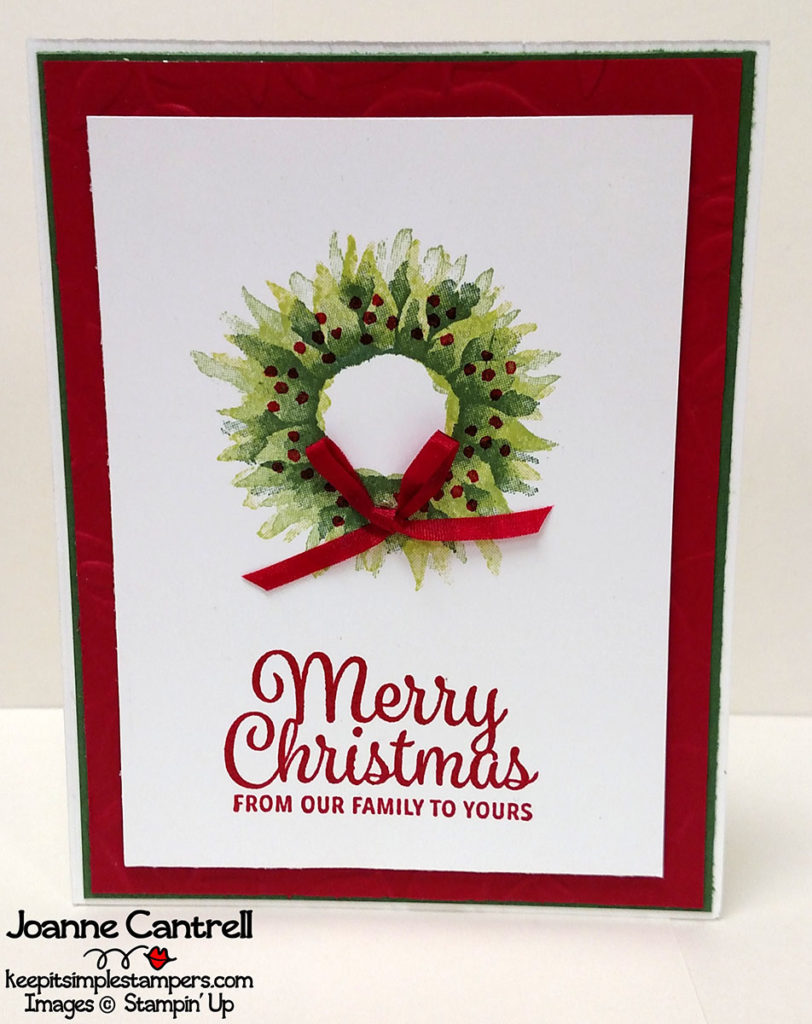
Did you ever think that flower could make a gorgeous wreath?  I layered different greens to create this effect.  On the large flower, I used Lemon Lime Twist then Wild Wasabi.  Then, I used Garden green to stamp the smaller flower. I used the dots image and stamped in Real Red… Then I quickly put clear embossing powder and set it to create a little shine to the berries.  I did the same with the sentiment that came from the Snowflake Sentiment stamp set (144817/144820).

And finally…

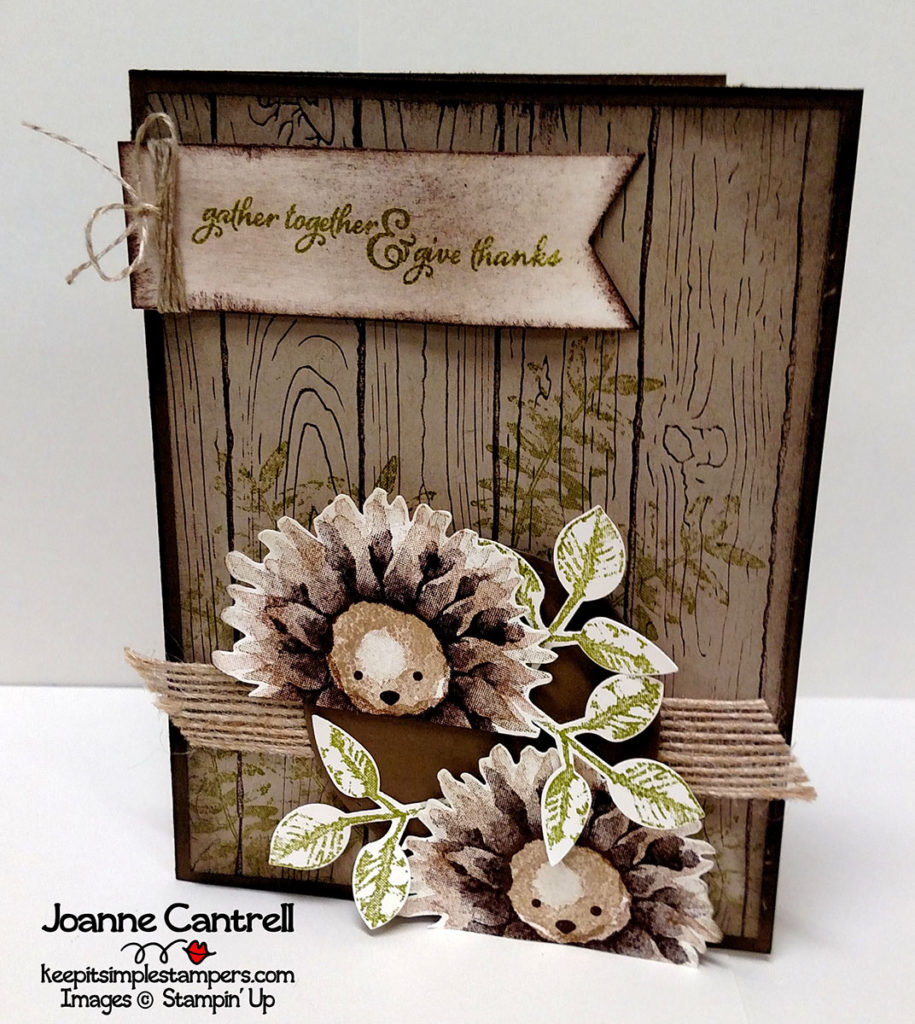
Now, I am not the first one to see these cute little hedgehogs in the stamps… but oh my… are they not the cutest!  I stamped them in Crumb Cake, Soft Suede, and Early Espresso.  I wonder what other things are hidden in this set, don’t you?

Oh – those leaves were also stamped then punched using the new Leaf Punch (144667).  You can save money by buying the punch and the stamp set together as a bundle – the PAINTED HARVEST bundle (146021),

Well, thanks for stopping by!

Now, hop on over to Sara Rayner or hop back to Janet Wakeland

Until next time… Keep it simple, Stampers!

🙂  Joanne