Merry Little Christmas

Hope you all enjoyed the 2017 Holiday Catalog Product Spotlights that I blogged about last week.  That was great fun.  All the gals came up with unique takes on each of the products.

And, I’ll let you in on a little secret…

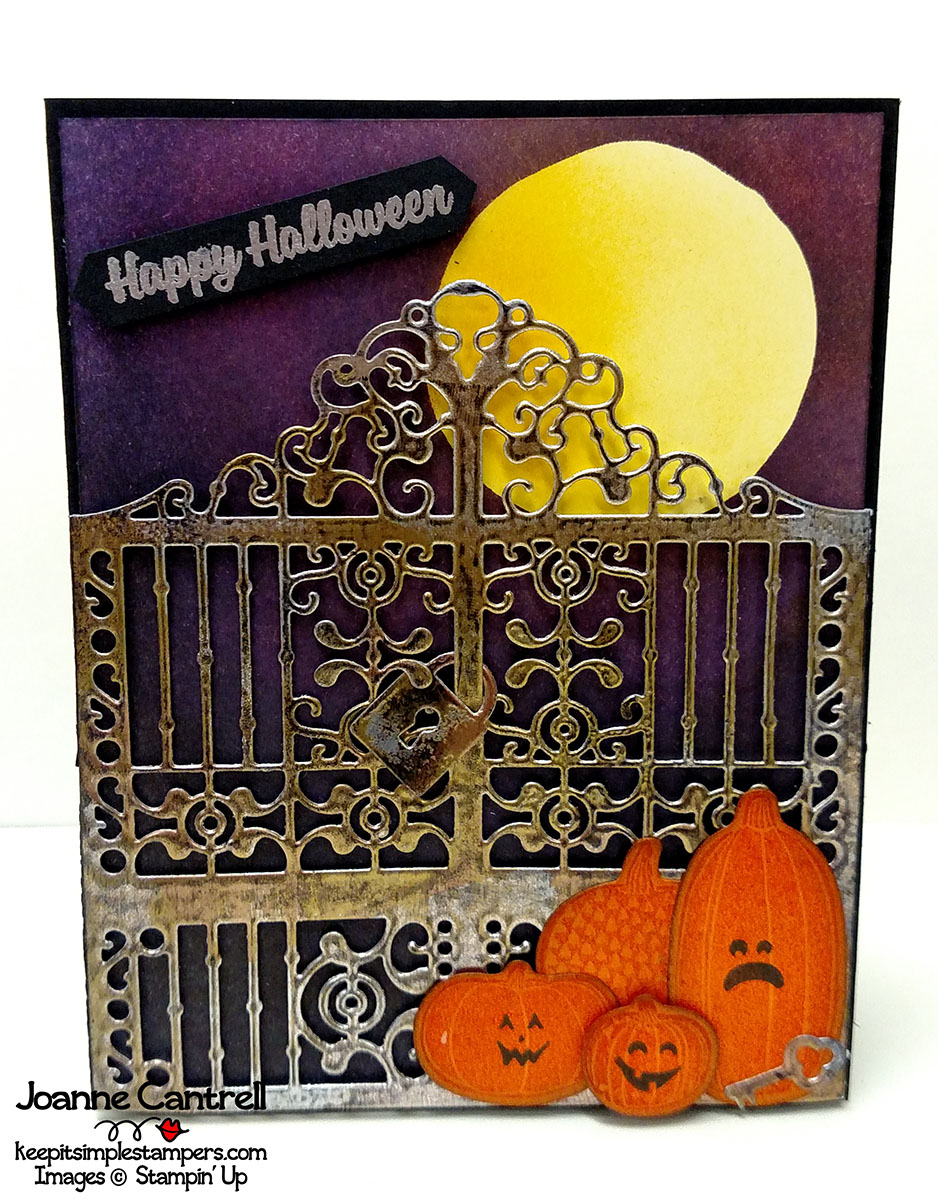
I bought the Detailed Gate just for that blog hop and now I absolutely love it!  So, watch for a whole week of projects featuring that die!

Today, I wanted to show you how a simple piece of Designer Series Paper is really all it takes to create an easy yet spectacular card!

When I first glanced through the catalog, I fell in love with the Merry Little Christmas Designer Series Paper (DSP to those in the know!).


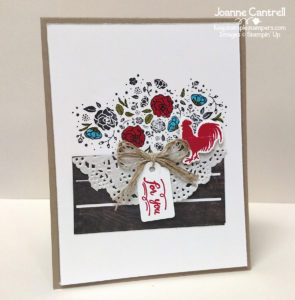
These first two designs were inspired by the work of Lori Pinto.

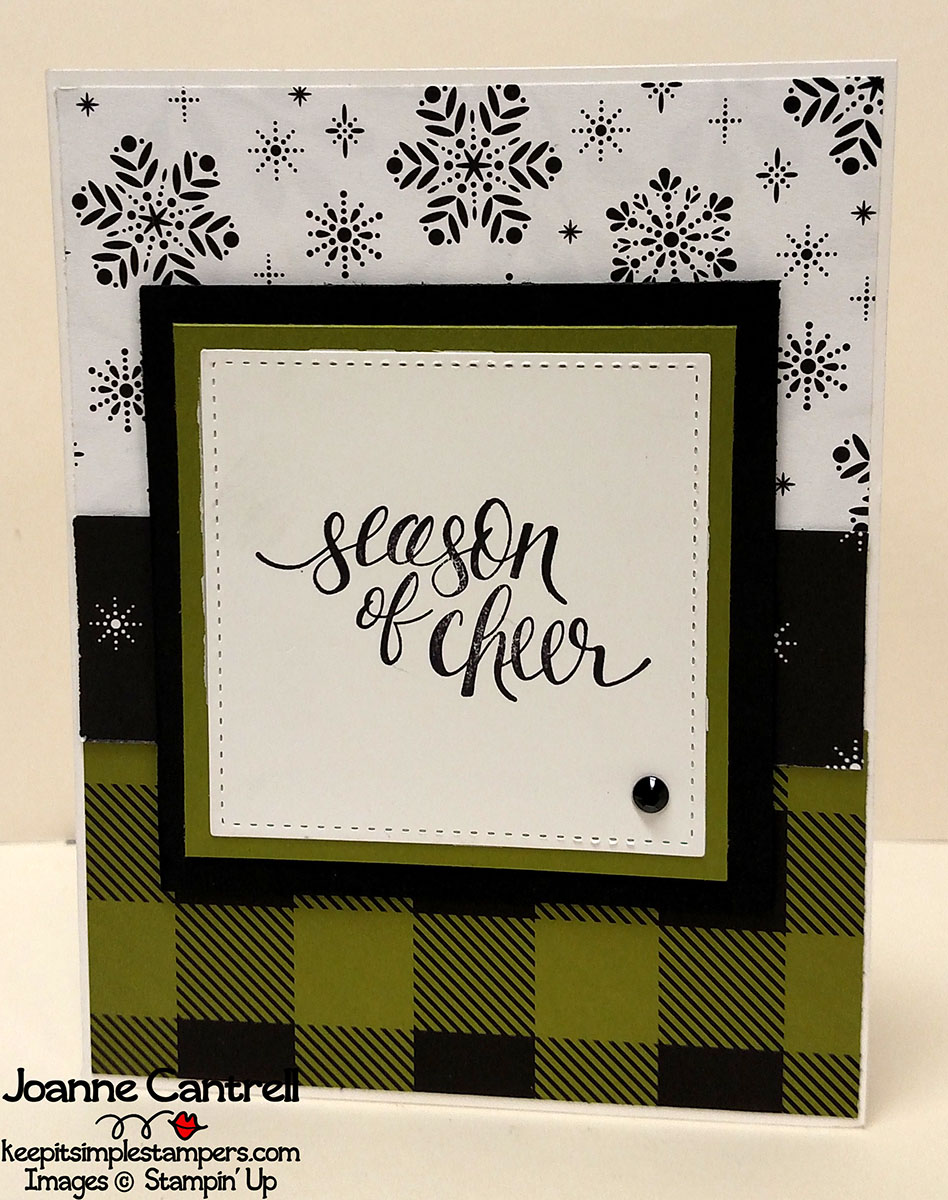
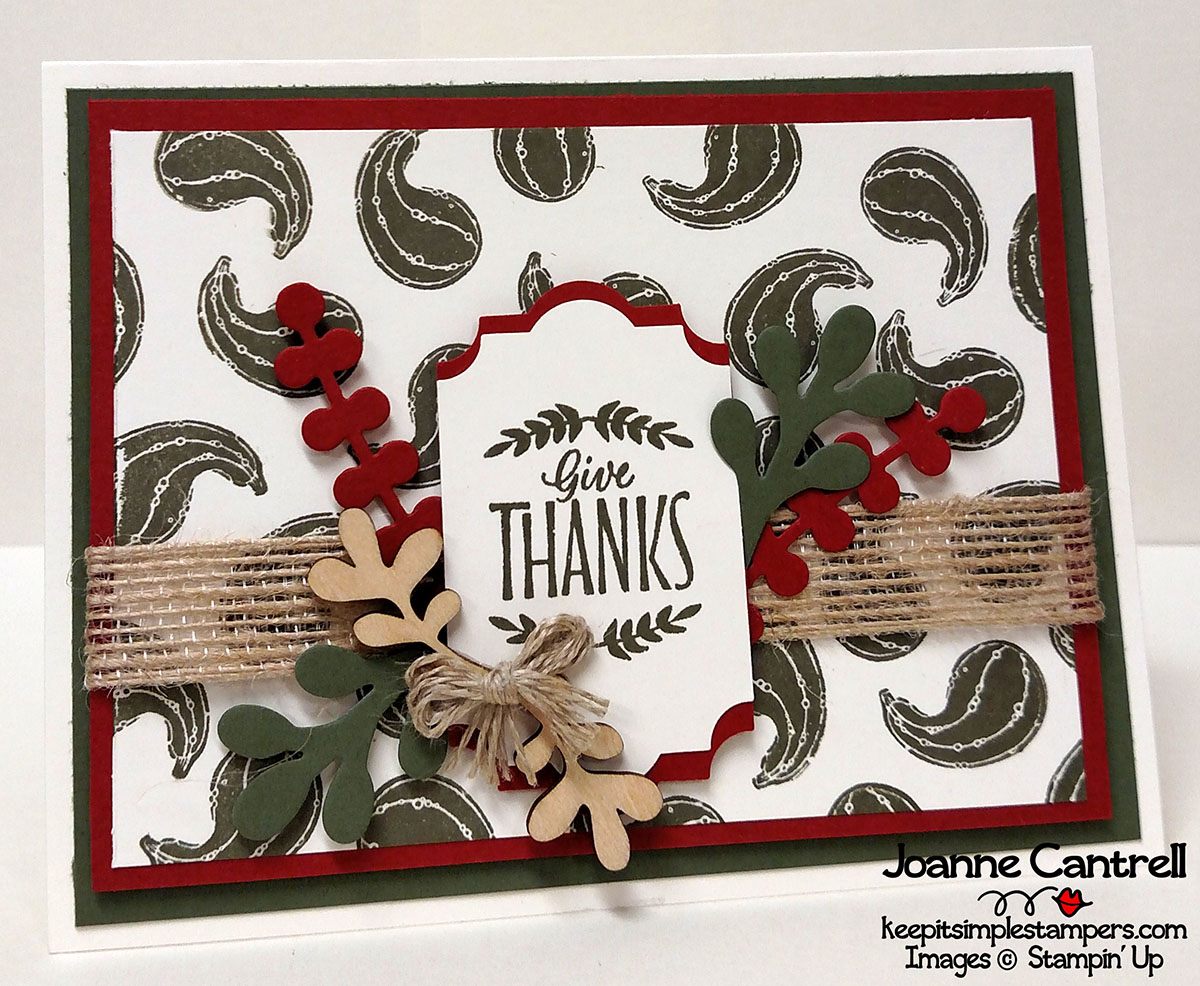
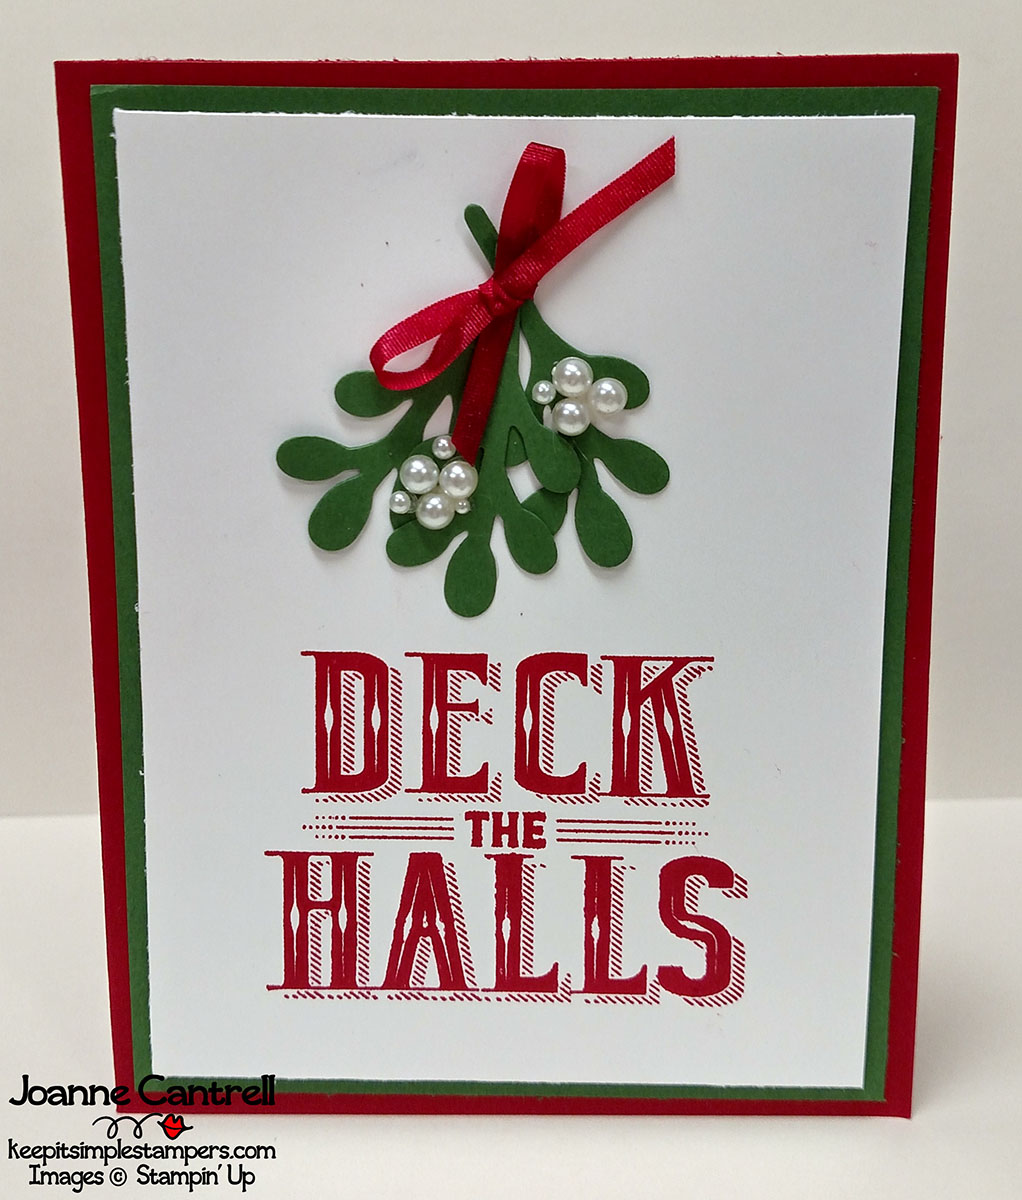
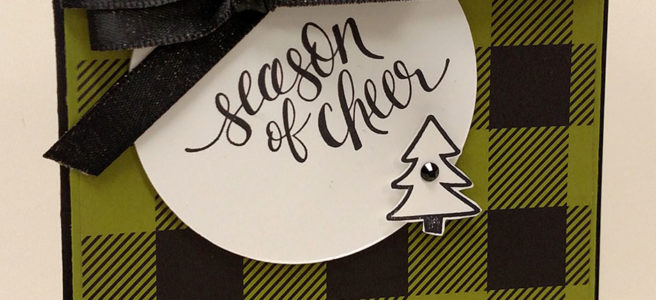
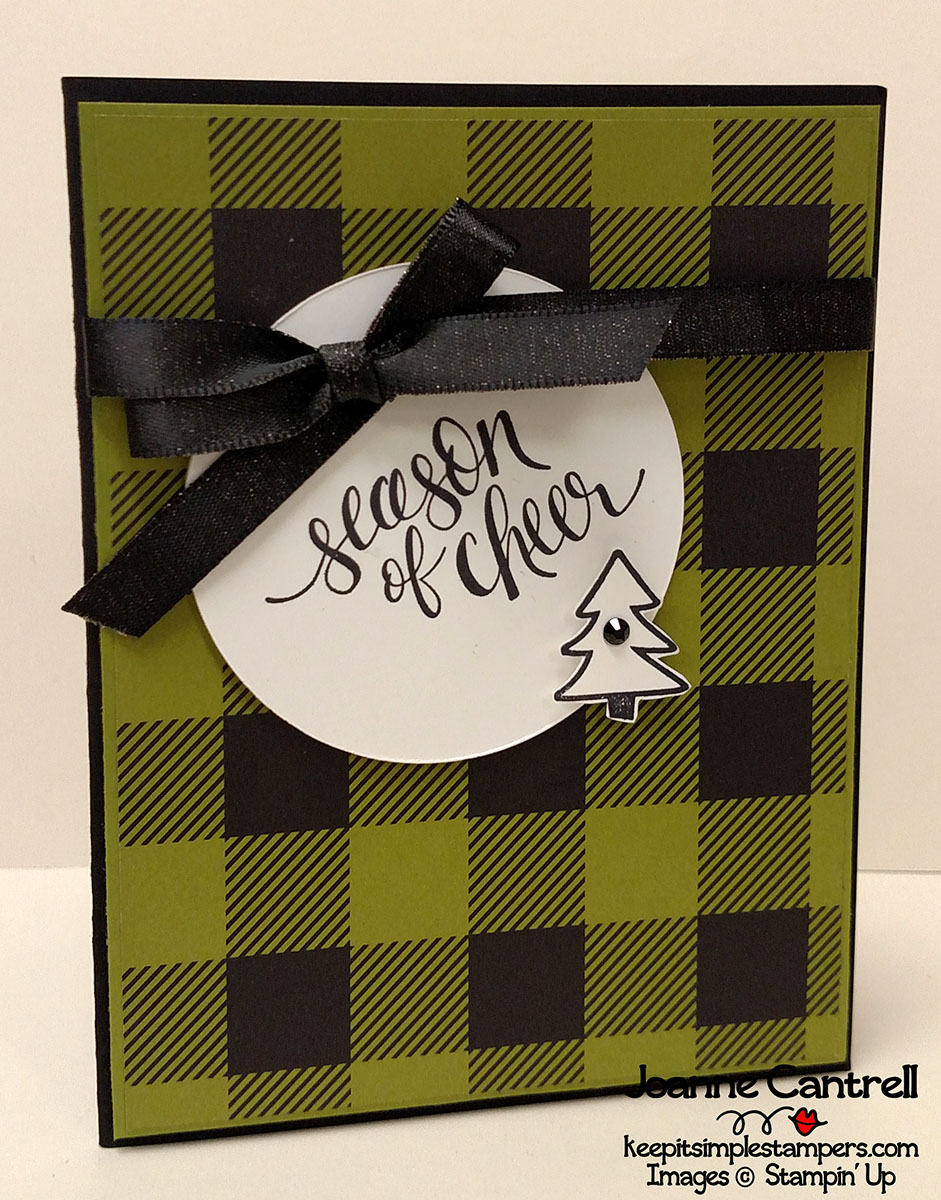
This card  shows three different designs of the paper.  I just love that plaid.  I had to have this paper just because of that plaid!  I created the layers based on the largest square stitched shape.  I then added the sentiment and a little Black Rhinestone for some bling.

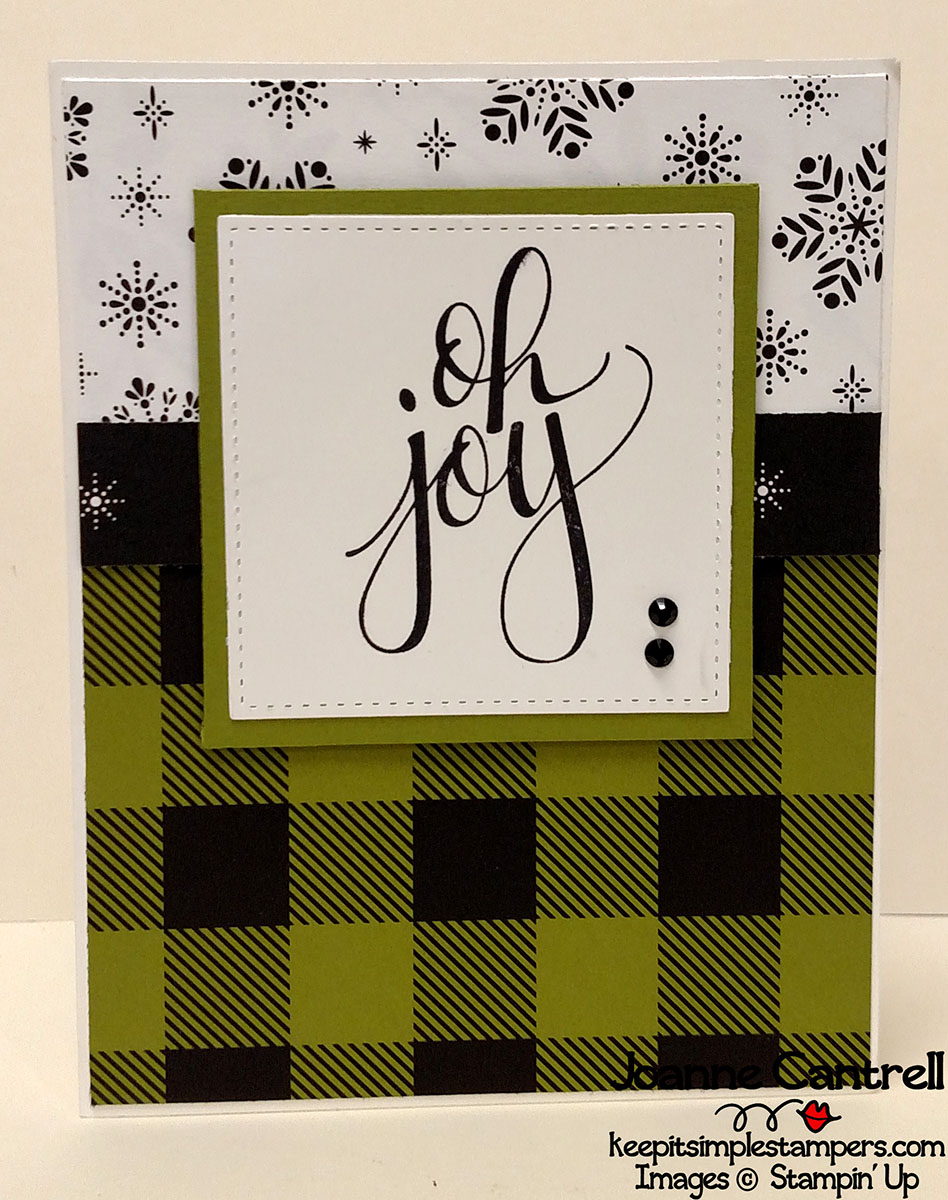
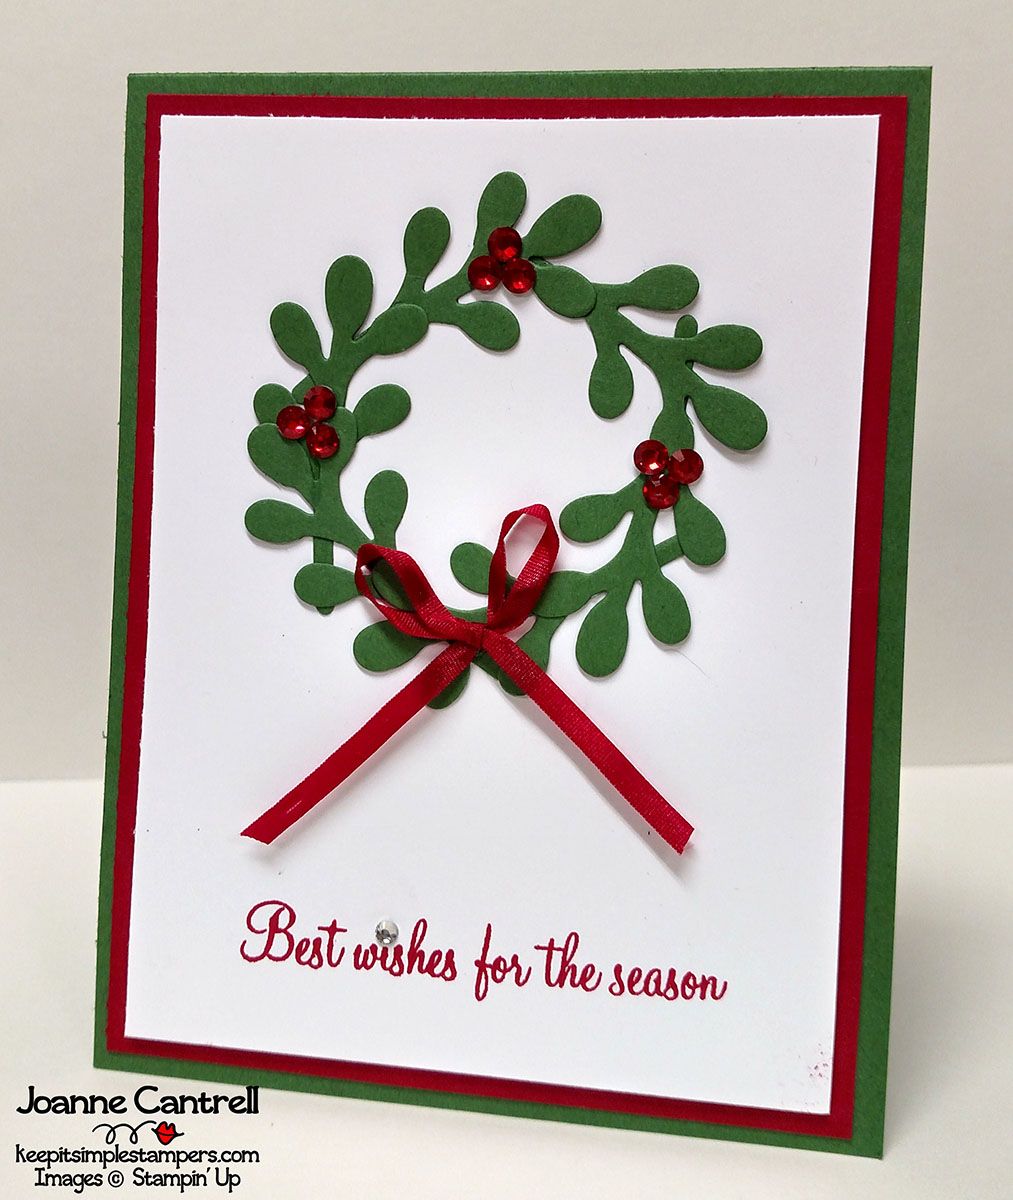
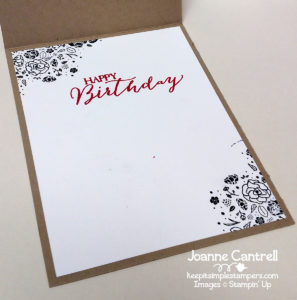
This card is basically the same as the card above.. but so very different.  This is a prime example of “same but different,”  wouldn’t you say!

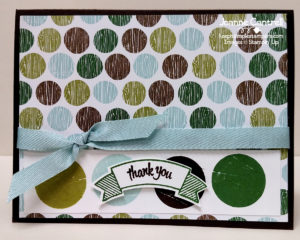
And, here is the last one for the day…

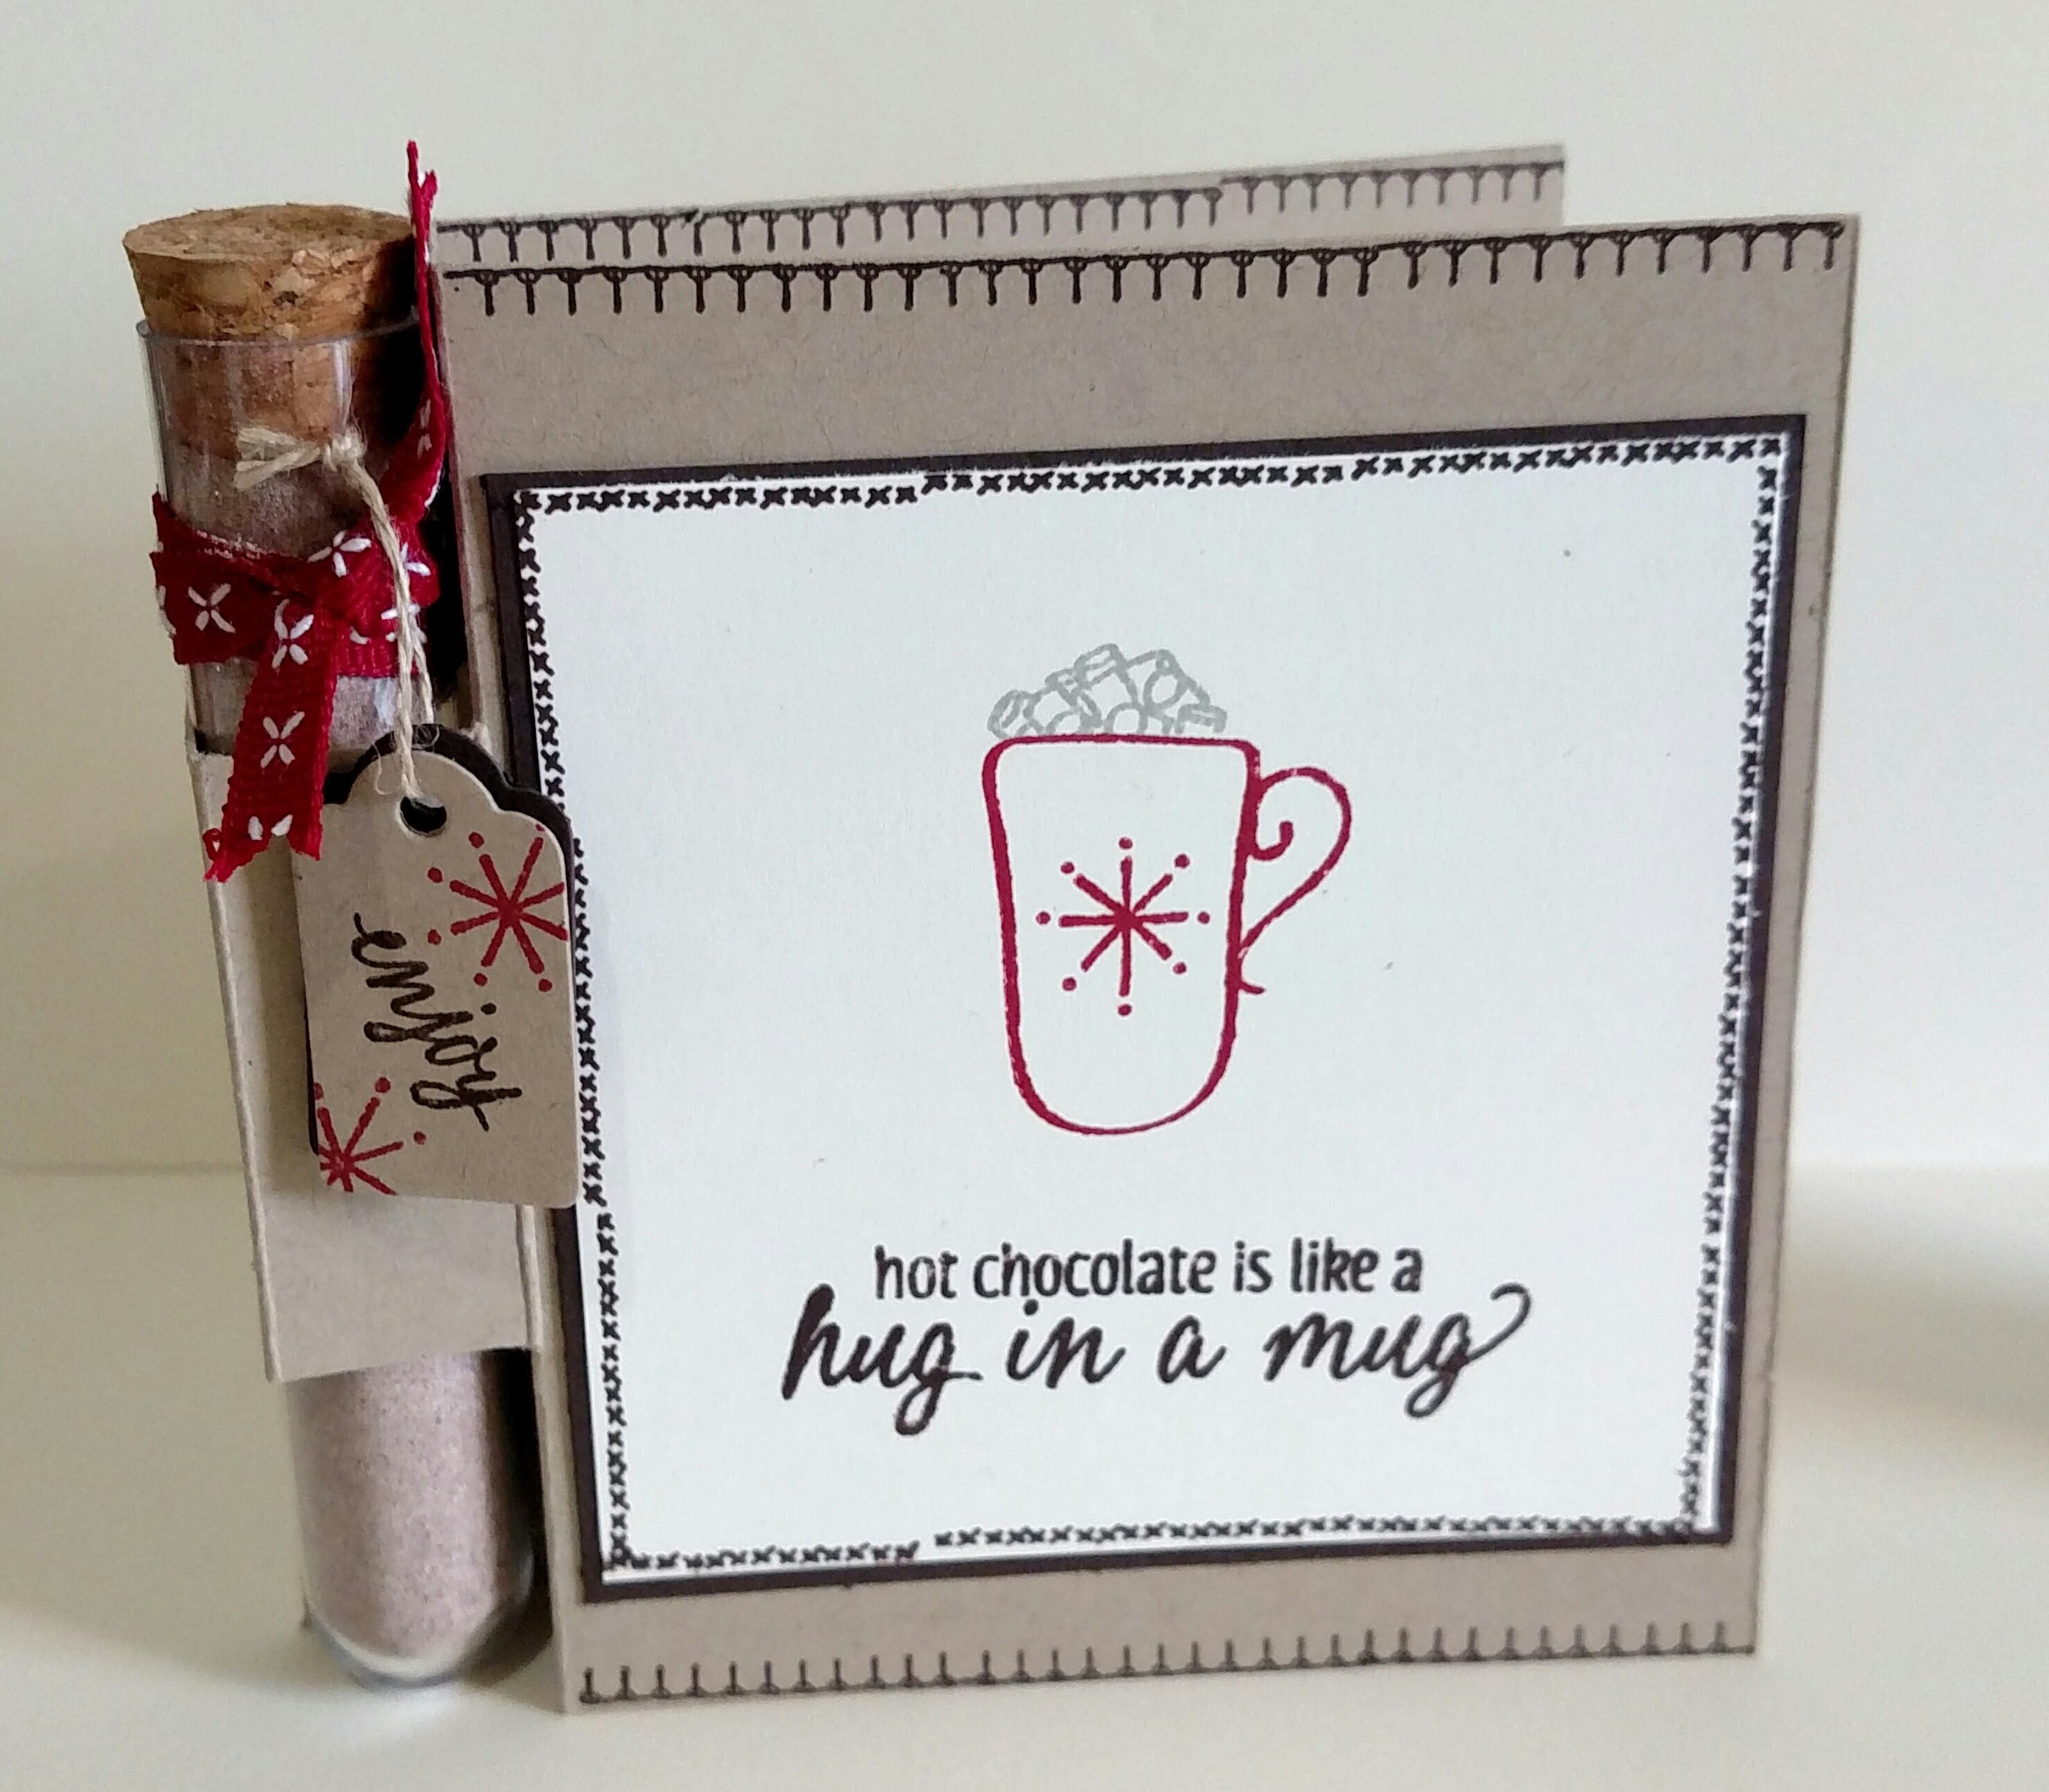
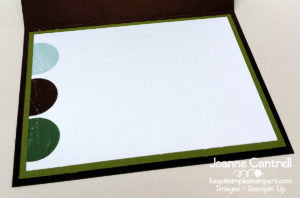
This design was CASE’d from Mary Fish.  She did a treat bag that looked like this.  And, since it’s been awhile, I have done a project sheet for this one 🙂

Proj Sheet – Season of Cheer

You’re welcome!  LOL  Here is a glance at the items used to create this simple card!


Product List


What projects are you thinking of with this Designer Series Paper?  Post them on my facebook page…  the link is on the right hand side —>

Until next time… keep it simple, Stampers!

🙂  Joanne


Product Spotlight: Pick a Pumpkin Bundle

Are you as sad as I am?

This is our last installment in our special 2017 Holiday Catalog Product Spotlight Blog Hop!  But, don’t worry.. just come back and visit us all for new ideas every day!  And, be sure to check us out on Pinterest and Facebook too.  You can find my links on the right-hand side!

So, today’s hop is all about the PICK A PUMPKIN BUNDLE (146024/146025).  This bundle includes the Pick a Pumpkin Stamp Set (144989/144993) and the Patterned Pumpkins Thinlits Dies (144670).

Here is what I have to share with y’all today!

For this card, I used the gourd stamp and created a mock-paisley background in Always Artichoke.  My layers also include Cajun Craze and Very Vanilla.  I used the Thinlits to cut out some of the foliage.  Added a little of the Touches of Nature Elements (144216) along with some Burlap Ribbon (141487) and Linen Twine (104199).  The sentiment is from Labels to Love (144970/144967) and punched out with the new Everyday Label Punch (144668).  To add a bit of interest, I cut another label out of the Cajun Craze, cut it in half and adhered to top and bottom of the sentiment.

This card features the jack-o-lantern faces on the pretty little pumpkin stamps.  I stamped them Pumpkin Pie ink on Pumpkin Pie cardstock.  The faces are Basic Black ink.  Then, I added some shading around the edges with a sponge and the black ink.  They are standing guard in front of the gate.. .but will lend you the key if you ask nice!  The gate is cut from Silver Foil using the Detailed Gate Thinlits Dies (144669).  I then used the “tarnished metal” technique to add age to it.  The background was sponging Crushed Curry, Perfect Plum, Elegant Eggplant, Rich Razzleberry, and Basic Black onto white Cardstock.  I created the mask for the moon by punching a 2″ circle from a post-it note.  I was inspired by the Great Pumpkin.. so you will see this design again…

But… wait… there’s more.  I discovered something when I was picking up some of the foliage I had cut for the first card…

You can use it to make a wreath!

I added some red Rhinestones (just plain ones I colored with a red sharpie!) and a bit of the new Real Ribbon 1/8″ Solid Ribbon (144631).  The sentiment is from the Holly Berry Happiness (142061) which carried over form the 2016 Holiday Catalog.

But, you can use it for more than just a wreath… Look at what else those branches make…

Mistletoe!  Yep, folks… that’s right!  Didn’t see that one coming, did you? LOL

I just glued three of the branch tips together with Tombow glue… added the same ribbon from above and some of the Pearl Basic Jewels (144219).  The sentiment is from the Carols of Christmas Stamp Set (144801/144804).

So, don’t write this set off as just a Fall set… there are plenty more uses beyond.  I can’t wait to see what you come up with!!!

Now, hop on over to Valérie Perlin or hop back to Janet Wakeland!

Until next time, keep it simple, Stampers!

🙂  Joanne

Product Spotlight: Test Tubes

Today is the 4th installment in our 5-day 2017 Holiday Catalog Product Spotlight.  Have you seen anything yet that you just loved? I sure have.  I will be CASE-ing a bunch of them!  There are some very talented Stampers here!

So today, We are here to talk TEST TUBES!

When I told my husband I needed some candy for test tubes, he was very puzzled.  He thought I was doing something with my daughter for her science class.  He just has no clue that TEST TUBES aren’t just for science anymore.  They are a great way to give a treat!  What you can do with them is really only limited to what you can fit inside them.

Here are a few of the things I came up …

This is your typical hot chocolate packet simply dumped into one of the test tubes.  I created a card for it using the Hug in a Mug Stamp Set (144933).  I cut the little tag using the Wood Crate Framelits (143730).

Lemon Heads candy fits nicely into the tube for someone that you want to give a little sour too.  I used the Lemon Zest Bundle (145359/145360) to make the tag.  This bundle includes the Lemon Zest Stamp Set (143805/143808) and the Lemon Build Punch (143712).

But, you can put more than just candy inside these little test tubes…

If it fits… it can be a treat!  Here are a couple cough drops and a little tag for a friend who has a cold.  The tag is from the Here For You stamp set (141541/142164) and cut out with the Classic Label Punch (141491).

And for the last one…

A little fire starting kit.  I grabs some pine needles and twigs off the ground outside my craft room to put in the test tube then slipped in a couple matches.  On the top of the cork, I glues a small circle of sand paper so you can light the match.  The fire on the tag was created using the Painted Harvest (144783)flowers in Crushed Curry, Pumpkin Pie and Real Red.  The logs were embossed using the Woodland Textured Impression Embossing Folder (139673) then fussy cut.  The wording was created using the Little Labeler Alphabet Stamp Set (141936).  And, I used the new Everyday Label Punch (144668) to make the stand.  I cut two pieces and glued the tips together then slipped the tube in between after it dried.

Hope you enjoyed what you see here!

Now, hop on over to Jennifer Van Wart or hop back to Janet Wakeland!

Until next time, keep it simple, Stampers!

🙂  Joanne

CASE’n Point

I know – that’s a play on words.  But, I am here to make a case for CASEing.

First off… What is CASEing?

In the Stampin’ world, CASE stands for Copy And Share Everything.

So, it is my belief, that if you put it on the internet, or share at a public event, it is okay for me to copy it.

On the other hand… if you are going to copy someone else’s work, you must give credit to the original creator (or who you got the idea from).

How do you feel about someone CASEing your work?  I feel very honored.  In fact, that is why I make tutorials for a lot of my cards.  It just makes the copying easier.

Now, when I CASE someone’s projects, I may change something or I may just copy it exactly.  A lot of time, other stamper’s don’t show you what they did on the inside.  I am a firm believer that every card needs something on the inside – even if there is no sentiment.

So, here’s what I’ve been CASEing this week.  And, might I add, This is the first time in a month that I have been able to get into the craft room and create.  It is so hard not to want to run home from work after I get an idea and go make it.  But, working over 65 hours a week right now has me very tired!

This first card was created by Elizabeth Green

It uses the new WOOD TEXTURES product suite on page 159 in the Annual Catalog.  The suite includes the WOOD WORDS Stamp Set (143925/143928), the WOOD CRATE Framelits Dies (143730), and the WOOD TEXTURES Designer Series Paper Stack (144177).  By combing those products with a little ink and cardstock, you get the fabulous card above!

This card came from Lisa Ma

This card features another new product suite.  This one is called the COFFEE BREAK suite and it can be found on page 31 in the Annual Catalog.  It includes the COFFEE CAFE Stamp Set (143677), the COFFEE CUPS Framelits Dies (143745), and COFFEE BREAK Designer Series Paper.  I combined that with some of the new Classic Weave Ribbon and the Banner Punch to create this card.  Oh – and those circles.. they came from the same Wood Words set used on the card above!

The last card I am going to show you today came from Sandy Haynes.

This card uses another new product suite.  This one is called the BIRTHDAY MEMORIES suite and can be found on page 68.  It includes the BIRTHDAY DELIVERY Stamp Set (143660), the BIRTHDAY FRIENDS Framelits Dies, and the BIRTHDAY MEMORIES Designer Series Paper.  What’s great about this suite is the that the Framelits not only cut around the stamped images, but they also cut out some of the images from the DSP.  How cool is that?

Well, that’s it from me for now.

What have you recently CASE’d?

Until next time… keep it simple, Stampers!

🙂  Joanne